At any celebration, the main decoration of the table is a festive dessert. Cake "Bear" can be prepared in various ways, and the unusual design and execution design will certainly appeal to both adults and children.
Material Content:
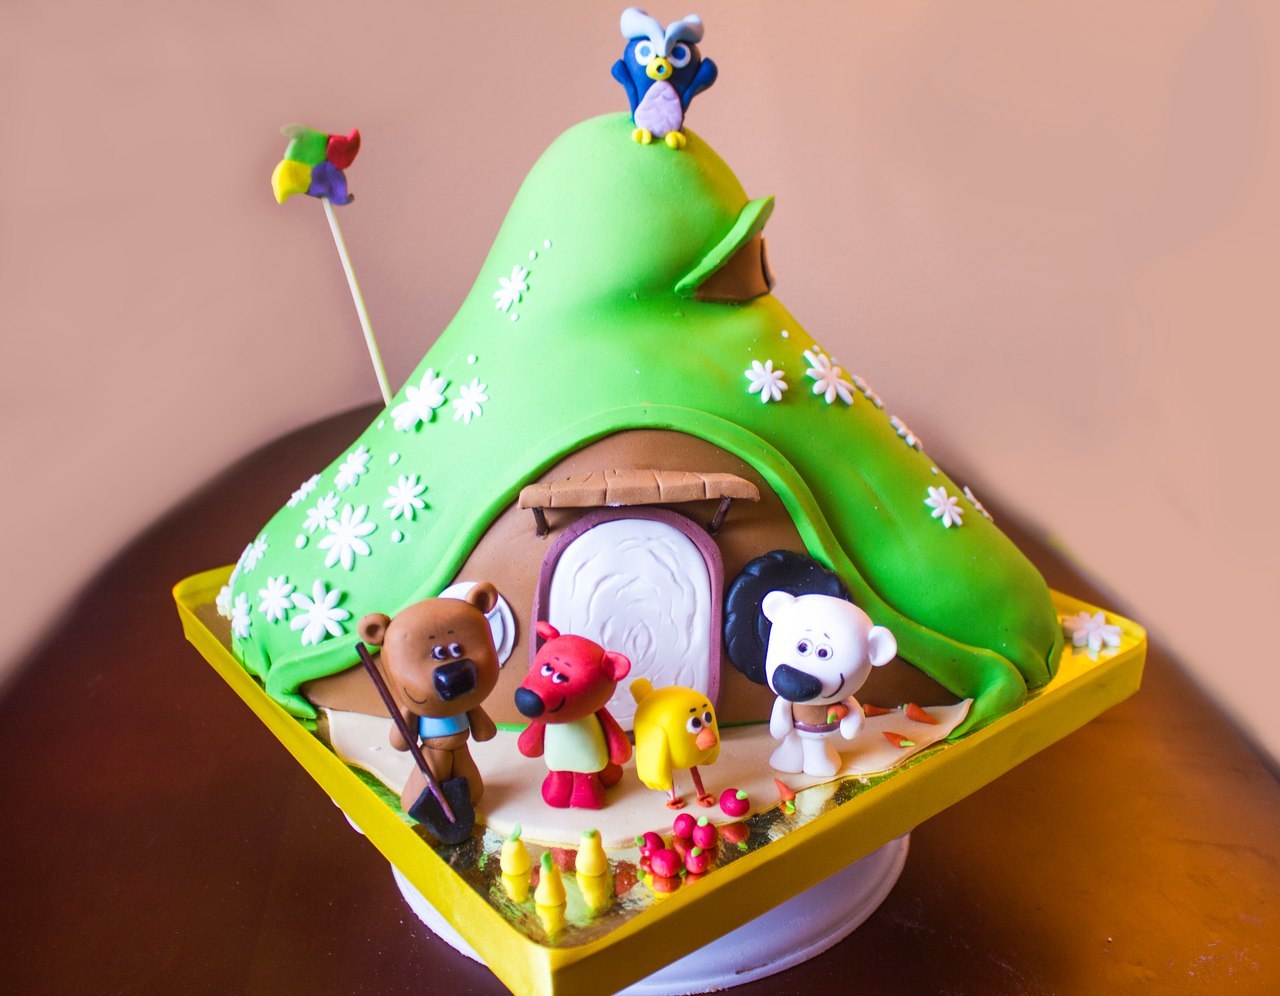
Amazing Bear in the North Cake
This recipe is considered one of the main ones, because according to it our mothers and grandmothers baked this cake during the period of total deficit.
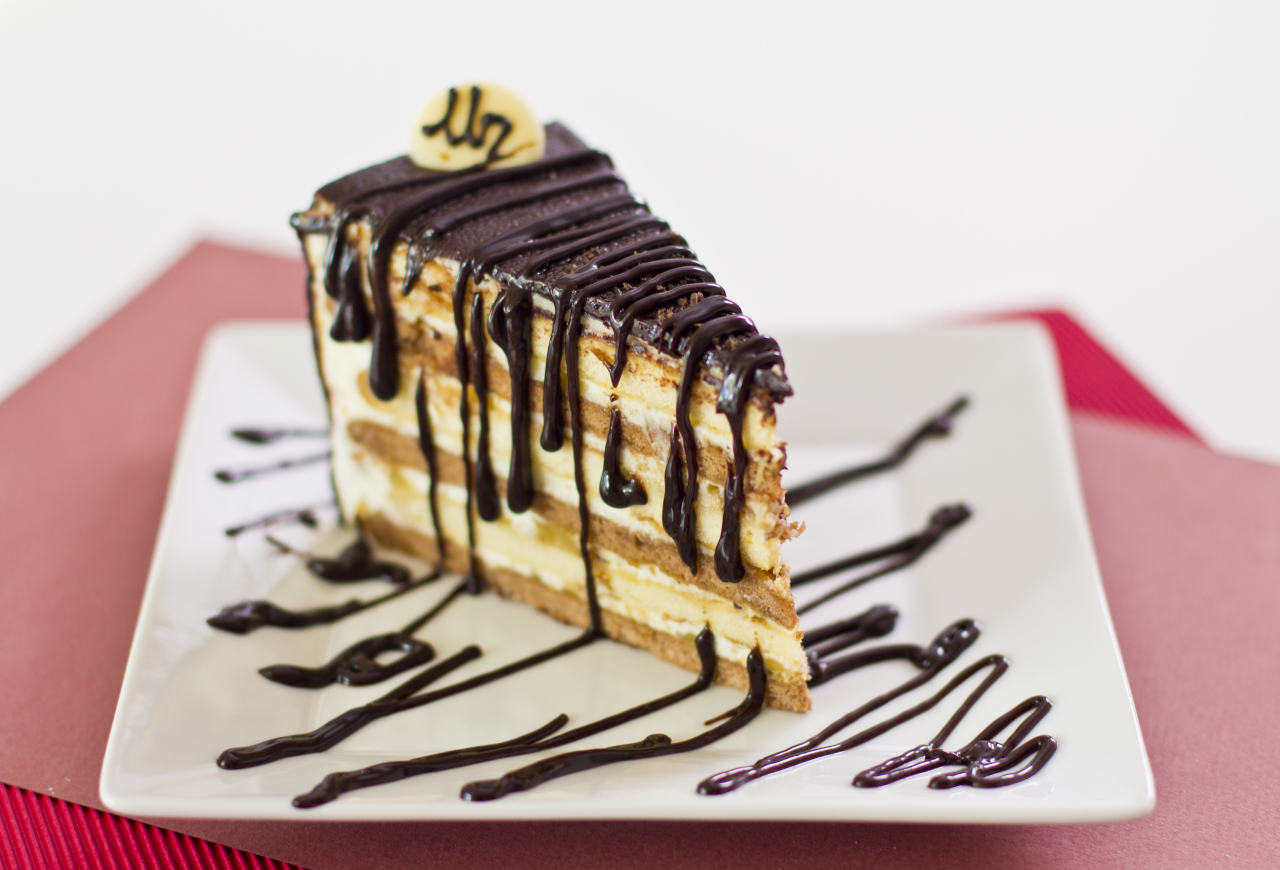
The time-tested recipe has not undergone significant changes, and a cake prepared on its basis turns out to be both tasty and inexpensive.
You will need:
- flour - 3 cups;
- thick sour cream - 3 glasses;
- sugar - 2 glasses;
- butter - 50 g;
- cocoa - 3 tsp;
- soda - 0.5 tsp;
- walnuts - 100 g.
Step by step cooking:
- Bring the oil to a liquid consistency over minimal heat. Pour, mixing, half the norm of sugar. Combine with a glass of sour cream and quicklime soda.
- Add half the rate of sifted wheat flour. The dough should not become thick. Divide it in half, add cocoa powder in one piece.
- Pour the flour, which remains, in equal proportions into both halves of the dough.
- We form 2 elastic, soft buns, one of which will be light, and the second - dark. Each bun is divided into three parts.
- Bake 6 cakes on greased baking paper. Each ball needs to be slightly rolled out with a rolling pin. Sprinkle the fingers with flour and carefully stretch the cake in different directions, thus gradually increasing its diameter. This will make it more difficult with a rolling pin because of the lack of eggs in the test and the associated low elasticity.
- Pre-pierce cakes with a fork in several places. Bake for 8 minutes at 200 degrees.
- Align the hot cakes with a plate. Cropped edges will be sprinkled.
- For cream, 2 cups of sour cream must be beaten with the remaining half of the sugar.
- When assembling the cake, we observe the order of light and dark cakes, on each of which we apply a layer of cream and nuts.
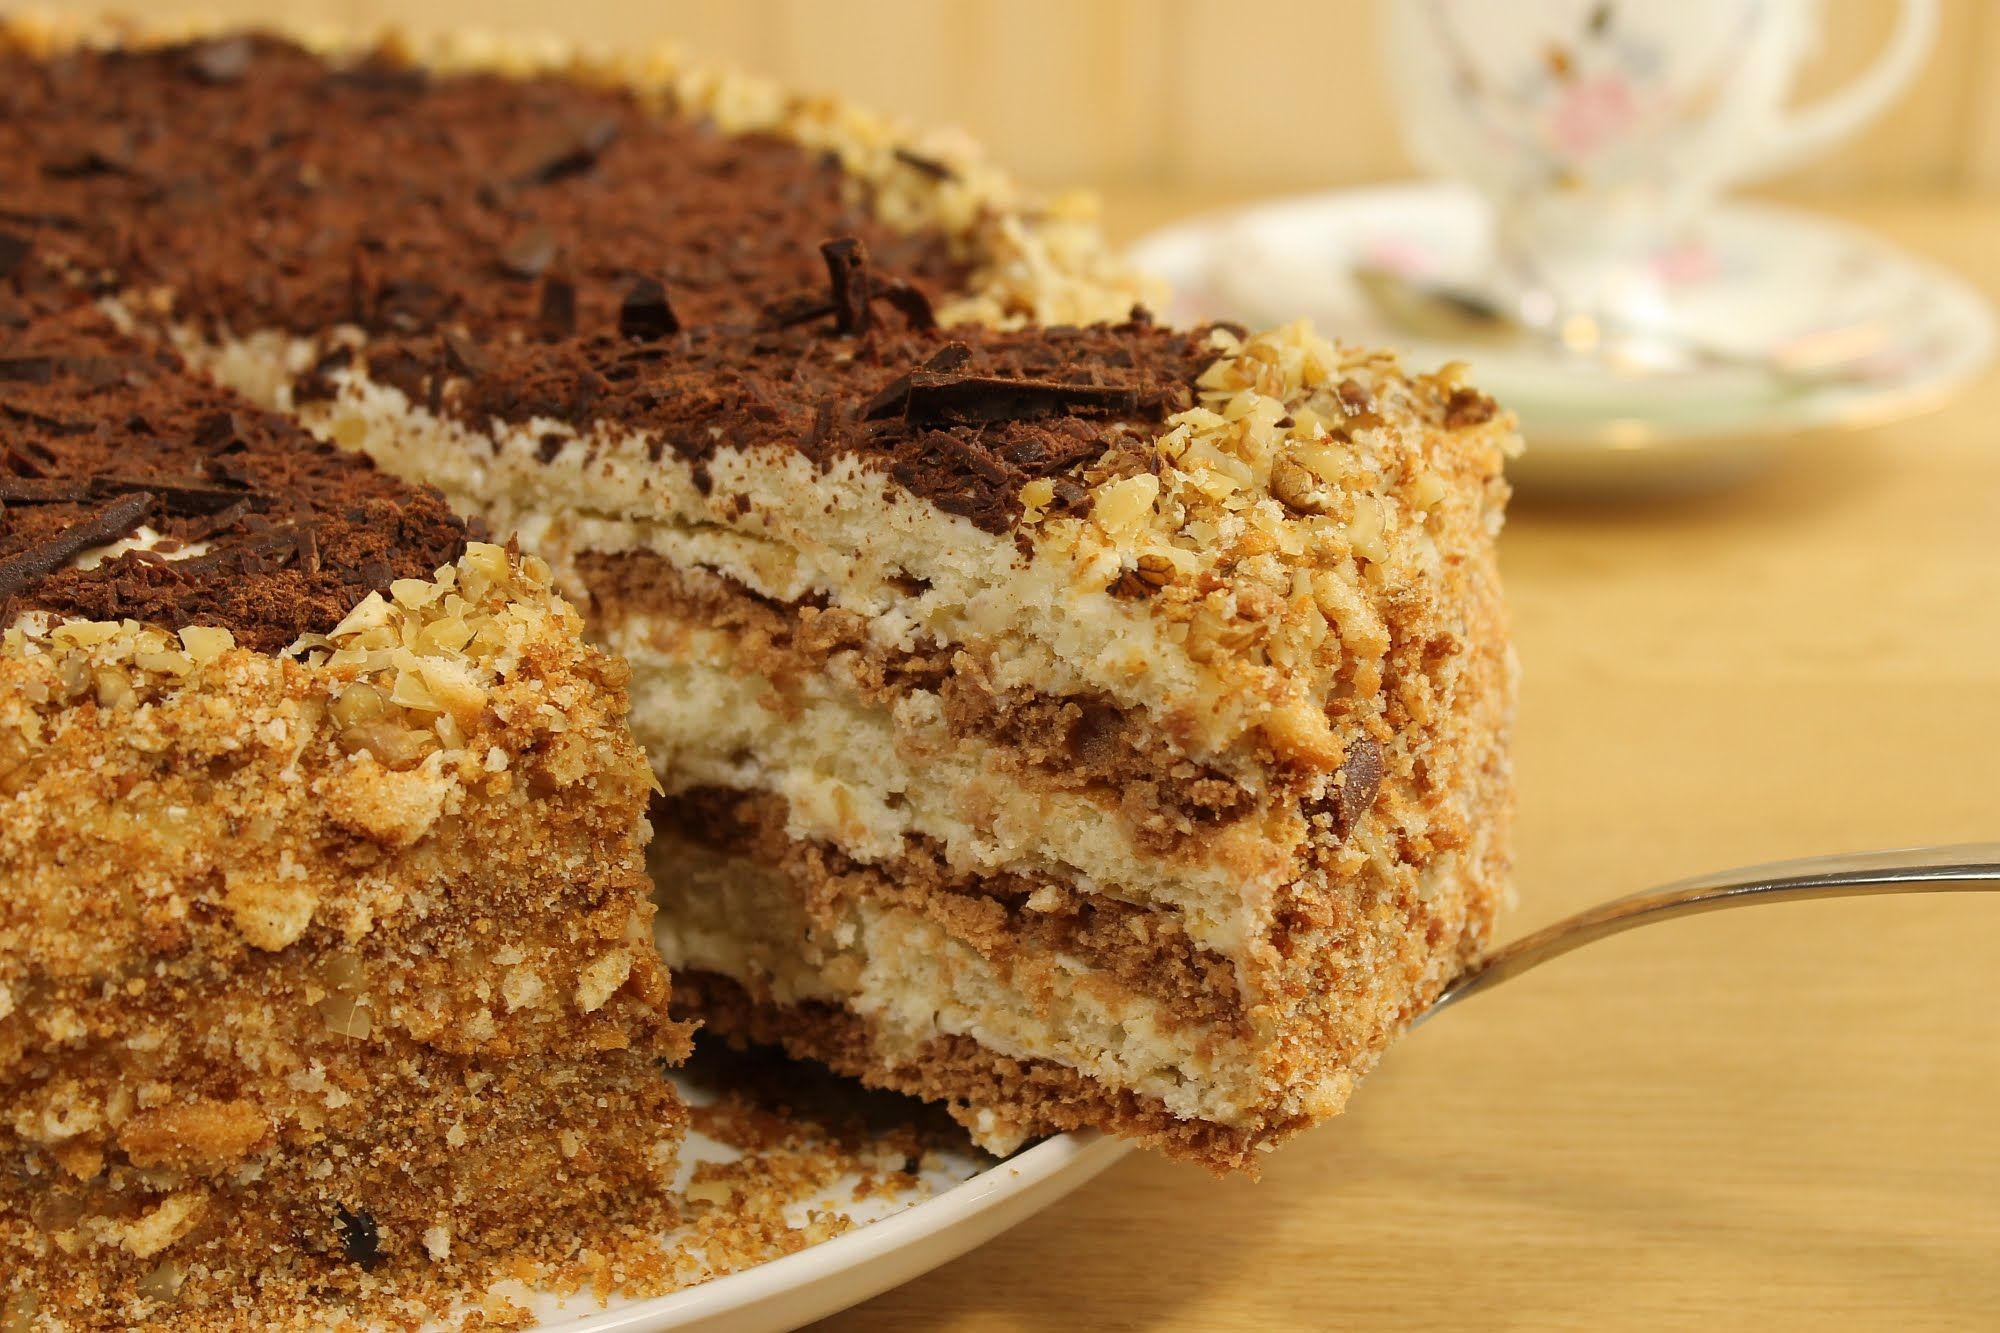
The classic cake "Bear in the North" does not need original decoration and decoration. Traditionally, the upper and sides are coated with cream and sprinkled with biscuit crumbs obtained from cut edges.
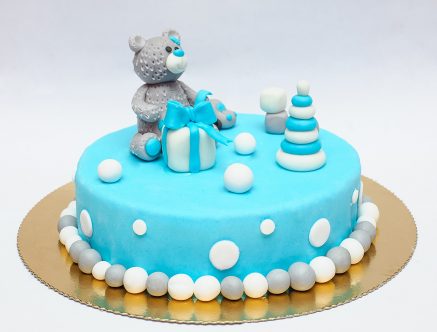
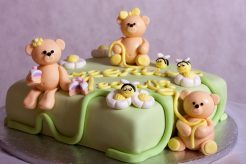
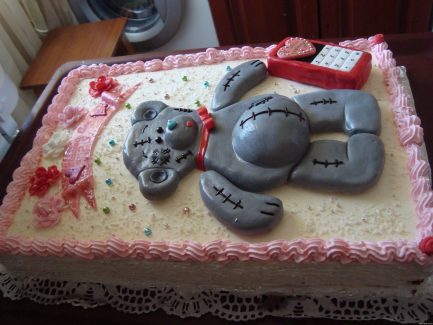
Children's dessert with bears from mastic
It’s not difficult to prepare mastic bears. And you can decorate with them any dessert intended for children of different ages - from cottage cheese soufflé and berry mousses to chocolate cakes and biscuit cakes. Sour cream cake with condensed milk, decorated with mastic bears - a great option for a children's holiday dessert!
You will need for the test:
- flour - 1.5 cups;
- sugar - 1 cup;
- sour cream - 0.5 cups;
- eggs - 2 pcs.;
- cocoa - 1 tbsp. l .;
- soda - 1 tsp;
- cinnamon - 0.5 tsp.
For cream:
- butter - 1 pack;
- condensed milk - 1 can.
For mastic:
- dark chocolate - 100 g;
- honey - 1 tbsp. l ..
Step by step cooking:
- Knead the dough by mixing all the ingredients.
- Pour into a round shape, bake at 180 degrees 15 - 20 minutes.
- Cut the cake in half, then each half into 2 more parts.
- Soak in any syrup or jam diluted with water.
- Spread cakes with a cream made from whipped condensed milk and soft butter.
- Sprinkle the top with chocolate chips or chocolate icing.
- To create mastic in the microwave, melt the chocolate and mix with honey.
Readiness is checked as follows: a piece comes off the total mass and is flattened by fingers. If the edges of the resulting cakes do not tear, then the necessary consistency is achieved.
Mastic can be rolled out and cut out teddy bears with molds, which can only be placed on the sides of the resulting cake. It’s best to decorate its top with volumetric bears sculpted manually:
- Roll out a thick sausage and divide it into 2 parts.
- We form 2 paws, on the edges with a toothpick we make small notches, claws.
- Lubricate the paws with a brush dipped in water, glue them to the body, slightly pressing.
- From the sausage we thinner in the same way the front legs, outline the claws, connect with the body.
- A head is made of a larger ball, a smaller ball is divided into 2 parts - these are ears. We glue everything together.
- The nose, mouth and eyes can be fashioned from mastic or drawn with condensed milk.
- The bear should dry out a bit, after which it can be placed on the cake.
You can make one teddy bear bigger and put it in the center. For stability, large parts are best connected with toothpicks, but guests must be warned in advance. If you want to decorate the whole cake with figures, it is advisable to make the bears small and plant them in a circle.
Children's cakes with bears as the main characters at the festival will surely attract the attention of young guests and delight the birthday boy not only with their appearance, but also with their taste!
Dainty "Teddy Bears"
Little children know and love bears from the famous cartoon. To please the kids, you can make an excellent chocolate children's cake, decorating it with your favorite characters.
You will need:
- sponge cakes - 3 pcs.;
- milk - 400 ml;
- semolina - 3 tbsp. l .;
- chocolate paste - 250 g;
- butter - 1 pack;
- sugar to taste;
- lemon zest;
- any fruit.
Step by step cooking:
- Cook semolina and cool.
- Beat butter with granulated sugar, add lemon zest. Combine semolina with oil.
- We coat each cake with the resulting cream, lay on top the slices of your favorite fruits - banana, kiwi, apples or orange.
- Cover the top cake and sides of the dessert with chocolate paste and send the cake to the refrigerator. The surface of the chilled cake can be leveled with a hot knife.
- Bears can be made of mastic made from chocolate and honey. Gelatin cubs are also suitable for decorating a children's dessert.
By including imagination, you can come up with many ways to decorate the finished cake. For example, taking in equal proportions condensed milk, milk powder and powdered sugar, you can cook milk mastic. After cooling, it remains only to roll it out and fit the whole cake with the received “coverlet”. Uneven edges should be carefully trimmed, and mastic balls painted with different food colors using gel food colors should be thrown along the lower edge.
Bear Cake
The recipe will help you quickly and easily create a kids cake using commonly available ingredients and any teddy bear-like baking dish.
You will need:
- flour - 125 g;
- sugar - 125 g;
- honey - 50 g;
- eggs - 4 pcs.
Step by step cooking:
- Combine honey with granulated sugar and a little salt.
- The eggs are cooled and driven alternately into the sugar mass.
- Beat it with a mixer to a foamy consistency.
- Gradually introduce flour, preventing the appearance of lumps.
- Place the batter in a silicone mold, oiled.
- Bake for 20 minutes at 190 degrees.
- We take out already chilled.
By increasing the number of ingredients, you can bake several of these cubs and layered them with sour cream or chocolate cream. Children will definitely appreciate the cake in the shape of a bear, because it was created by the hands of a loving mother and simply cannot be tasteless or ugly!
Sour cream treat
To prepare a delicious and healthy dessert of sour cream and fruit, you will need a blender, one large silicone mold in the form of a teddy bear or several small ones.
You will also need:
- sour cream - 450 g;
- strawberries - 600 g;
- strawberry jelly - 170 g;
- lemon juice - 2 tbsp. l .;
- water - 2 tbsp .;
- banana - 1 pc.
Step by step cooking:
- Pour jelly with boiling water, mix. Add chopped strawberries.
- Put a slightly cooled jelly and a banana in a blender, mashed with a fork and sprinkled with lemon juice.
- Add sour cream, beat until smooth.
- Pour everything into a mold, keep it in the refrigerator for 5 hours.
To easily remove the finished sour cream dessert from the mold, dip it in hot water for a few seconds.
Serve refreshments in a cold form so that the teddy bear does not melt.
With edible picture
Cakes with a beautiful edible picture on the surface are becoming increasingly popular. For the manufacture of such masterpieces, special food printers and natural dyes are used. At home, you can also create a work of confectionery art manually, without possessing artistic skills and without spending extra money.
To work, select and print on paper a picture with the image of the character that you want to place on the surface of the cake. Prepare the necessary ingredients and accessories for drawing. You can cover any cake, the main condition is that its surface should be flat.
One of the easiest and most delicious homemade cakes is the Honey cake, cooked in a pan.
You will need for the test:
- flour - 3 tbsp .;
- sugar - 150 g;
- butter - 2 tbsp. l .;
- honey - 2 tbsp. l .;
- eggs - 4 pcs.;
- soda - 1 tsp.
For cream:
- milk - 3 tbsp .;
- sugar - 150 g;
- butter - 2 tbsp. l .;
- flour - 50 g;
- yolk.
To create a picture:
- gelatin;
- pastry bag;
- food glaze of different colors;
- translucent parchment paper;
- plastic or glass from the photo frame.
Step by step cooking:
- Melt honey, sugar and butter while stirring over low heat. Place in a water bath, introduce beaten eggs, soda. When foam appears, extinguish the fire.
- Combine with flour to a plastic state, form slices, and then stretch them with your fingers in a pan and fry the resulting cakes without oil on both sides.
- Beat sugar with egg yolk. Dissolve flour in half the volume of cold milk. Heat the other half over low heat.
- When the composition reaches a boil, add the beaten yolk and the milk and flour mixture. Mix. When the cream reaches a thick state, add oil and turn off the fire.
- With the resulting cream, coat the cakes and the sides of the cake.
- Melt gelatin in a water bath and cover it with a thin layer of cake surface.
- On the back surface of a glass or plastic base, glue the printed drawing with tape. If the inscription is supposed to be used on the cake, the image must be printed in a mirror image. Glue parchment paper on the upper side of the base.
- In different containers we prepare glaze of different colors. We fill the pastry bag with dark glaze and circle all the contours of the picture that are visible through the glass on the parchment. Changing colors, paint over all areas of the picture.
- We give the drawing a little dry and on top of the contours we apply the main color with a thick layer, filling in the resulting image.
- Cool the picture in the refrigerator for half an hour.
- First, gently separate the parchment with the printed pattern from the glass base, then turn it over and quickly transfer the image to the cake. Lightly press the parchment paper to the surface, after which the picture will remain on the cake, and the parchment will easily separate from it.
By connecting imagination and making a little effort, you can get an excellent children's dessert with an image of your favorite character. The cake itself can be absolutely anything - sand, honey or biscuit, as well as the cream used as a layer.
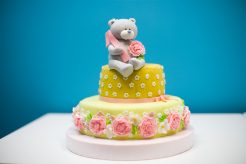
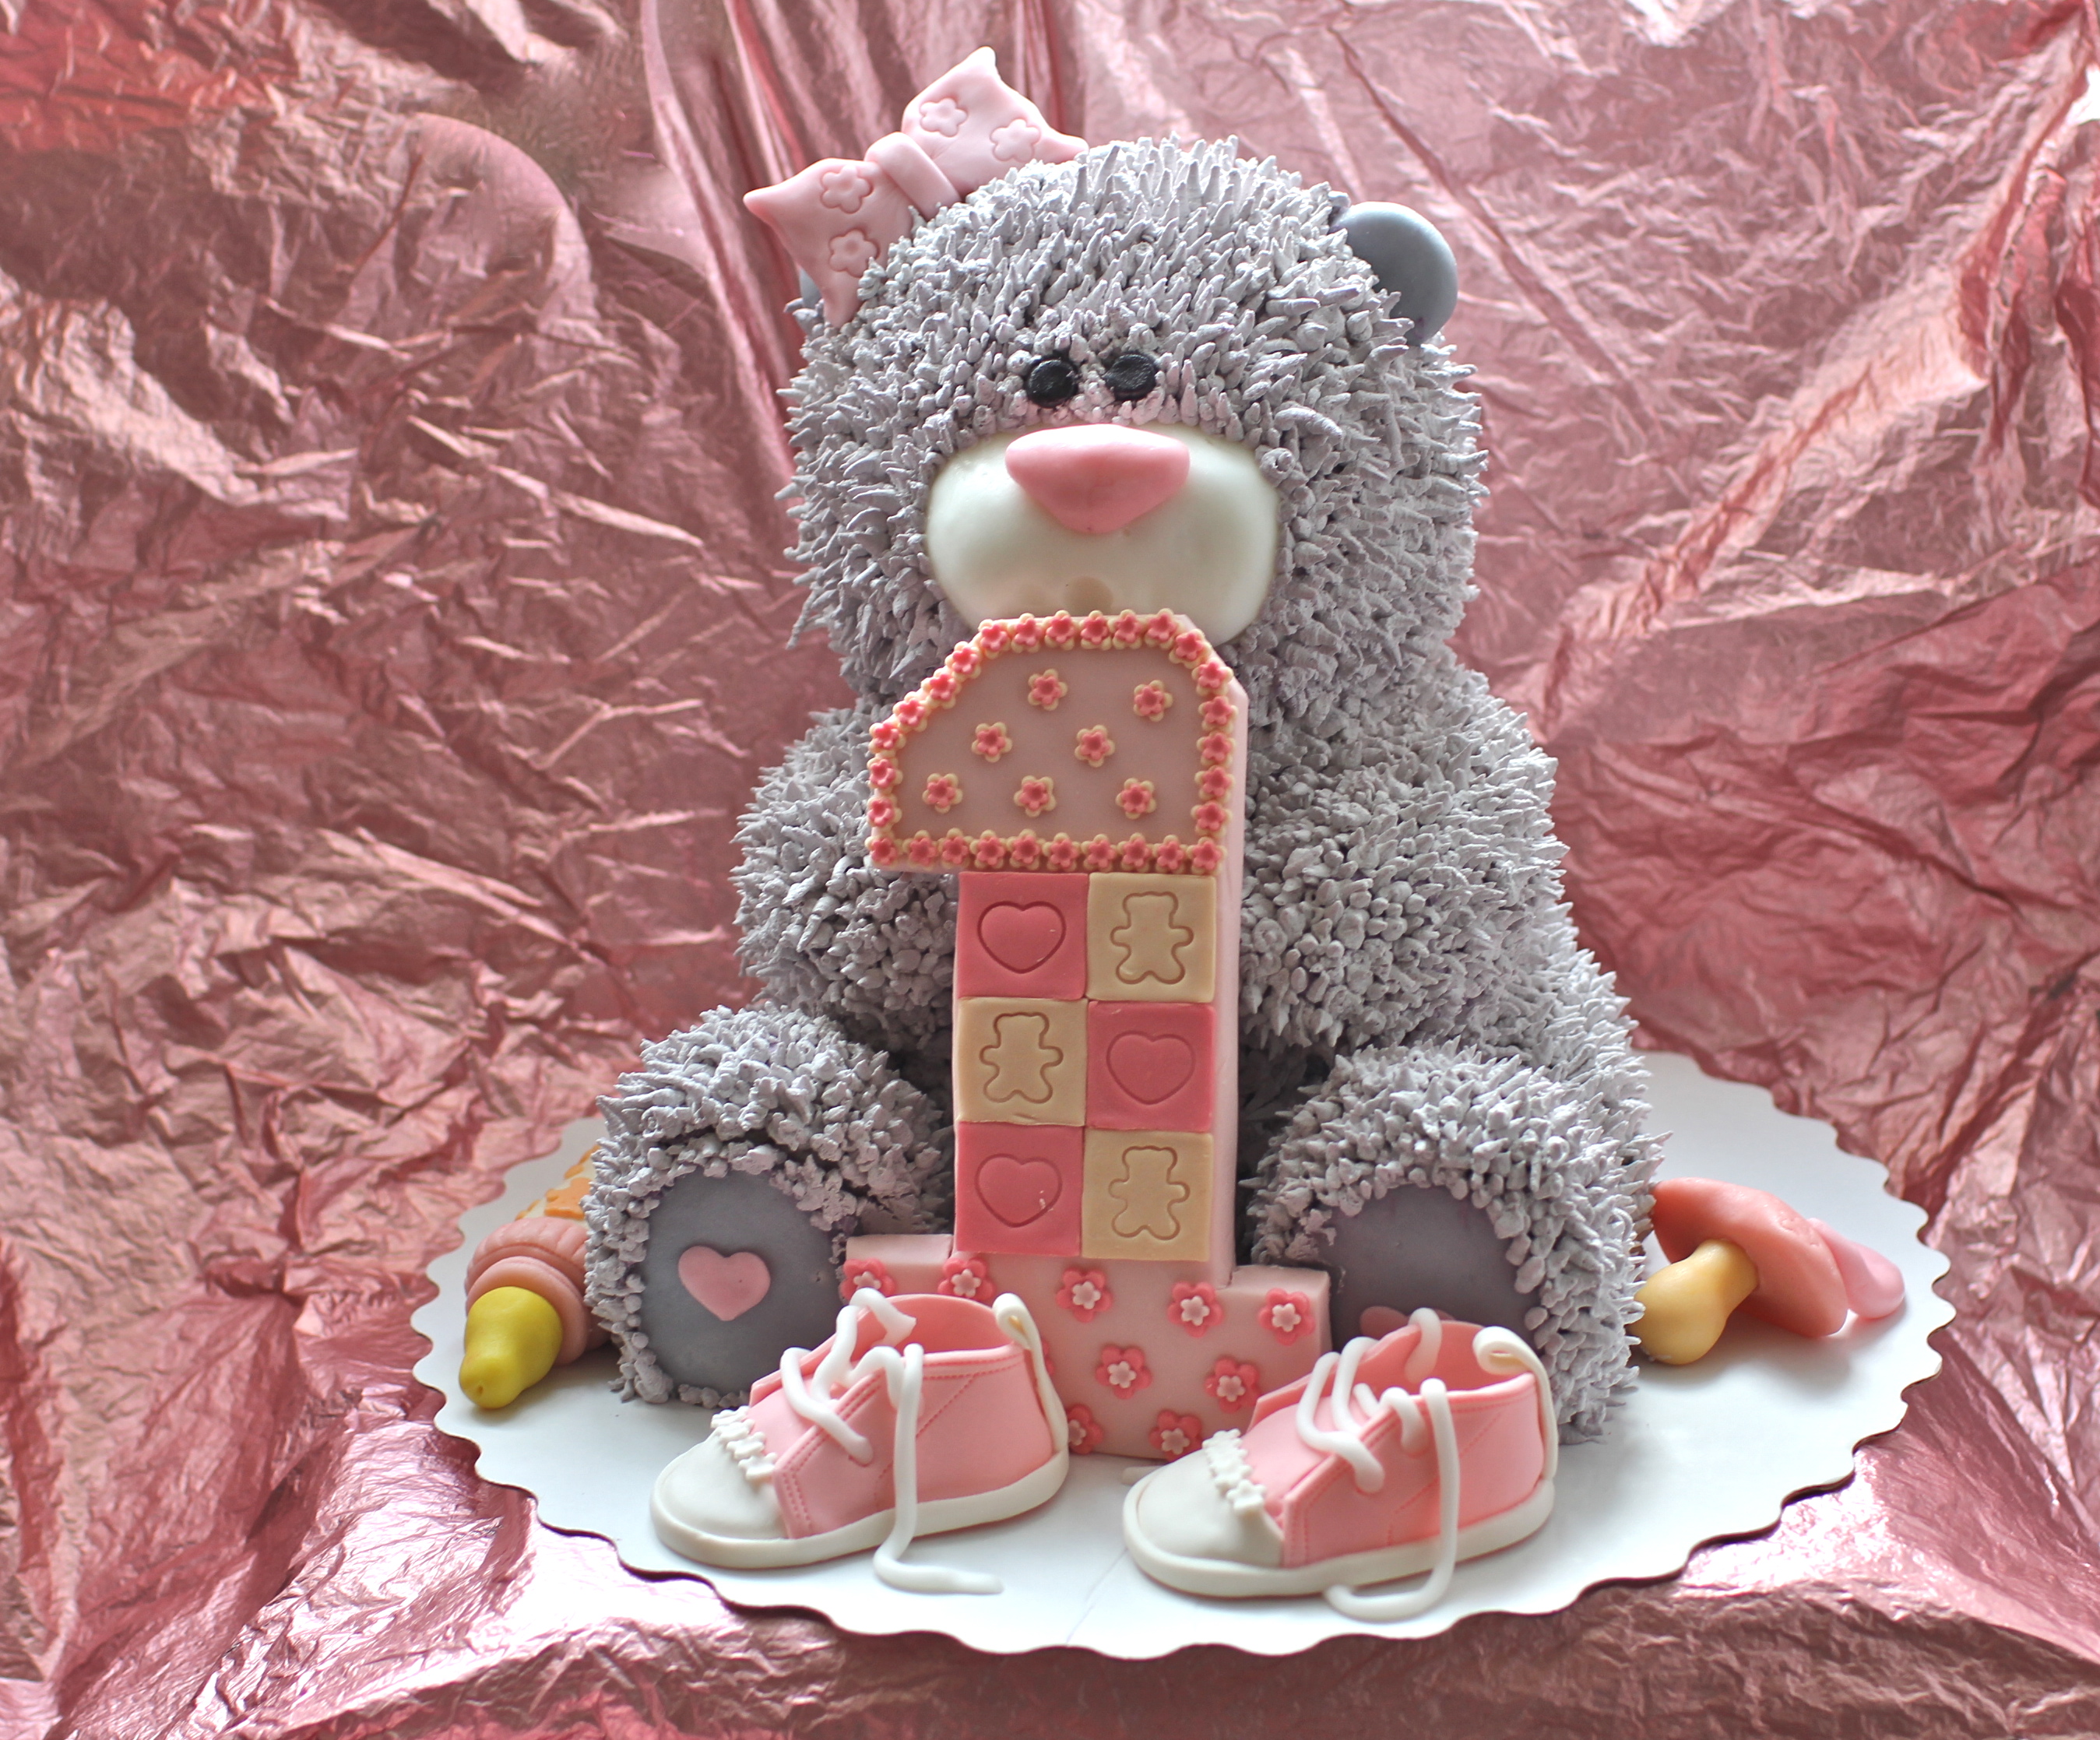
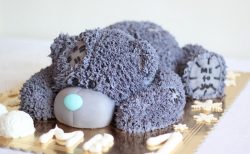
Cake "Teddy Bear"
Children will like a cake decorated not in the usual way, but in the form of a voluminous teddy bear known to everyone. It is not necessary to spend a lot of money on his purchase. At home, prepare such a masterpiece under the power of every housewife.

You will need for a biscuit test:
- flour - 250 g;
- starch - 250 g;
- margarine - 1 pack;
- eggs - 4 pcs.;
- sugar - 1 tbsp .;
- lemon juice - 2 tbsp. l .;
- soda - 2 tsp;
- salt to taste.
For cream:
- butter - 600 g;
- egg whites - 5 pcs.;
- sugar - 1 tbsp .;
- cocoa powder - ¼ st ..
To decorate:
- cocoa powder - 100 g;
- chocolate mastic;
- confectionery dyes of different colors.
Step by step cooking:
- Chilled proteins must be beaten with sugar until a stable consistency. A small amount of salt will help them not fall off.
- We introduce dry ingredients - flour, starch and soda, slaked with lemon juice. Add the yolks and margarine in the melted state.
- Knead everything. We bake 4 cakes at 200 degrees for 10 minutes each.
- For cream, beat pre-chilled proteins until strong peaks appear.
- Pour the water gently boiled with sugar. Beat until cool.
- Softened oil is gradually introduced into the cream in small parts. As soon as the cream thickens, add cocoa powder.
- Putting the cake together. The largest cake will act as the basis. The rest is cut in half. On both sides of the main cake we retreat 5 centimeters and cut off 2 parts that will be paws.
- We also cut off the third side and cut a small rectangle towards the center of the cake.
- From the remaining cakes, we cut round billets, which we coat with cream and place in the middle of the main cake, forming the body and head.
- From the previously made scraps, the “soles” of the paws are obtained. We connect all the parts and coat the figure of the bear with the cream obtained. If it is not enough, you can use thick sour cream diluted with sweet water to the required consistency.
- So that the bear doesn’t differ from the real one, we decorate it with cream “wool” with the help of a pastry bag and a special nozzle with many holes.
- Ears, eyes, nose and mouth can be made of mastic mass or painted with a cream.
Cake "Teddy Bear" will surprise both adults and children, because it not only looks like a toy, but also has a great taste of delicate biscuit.
Making baby cakes in the shape of bears opens up a wide scope for imagination. Use any kind of dough, toppings and creams. Add to the decoration elements from marmalade, sweets or candy, and then your dessert will become a real masterpiece!


