Modern methods of manicure have long stepped forward. Now nail - craftswomen can create on the nails, any kind of drawing without much trouble. One of these techniques can be called manicure stamping.
Material Content:
Stamping - what is it?
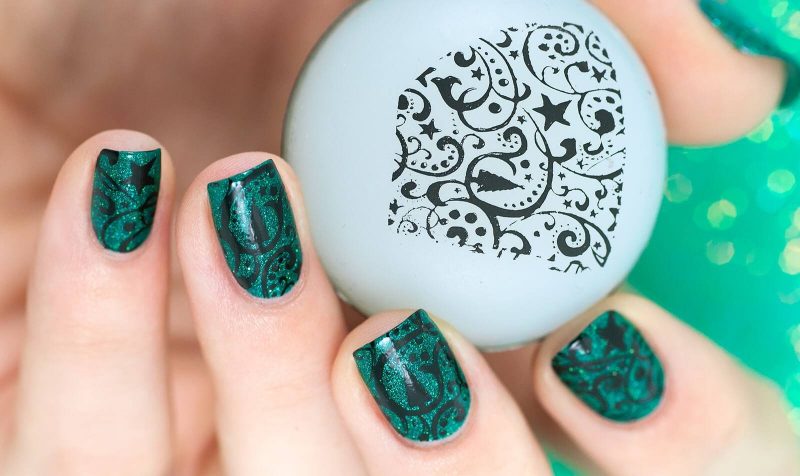
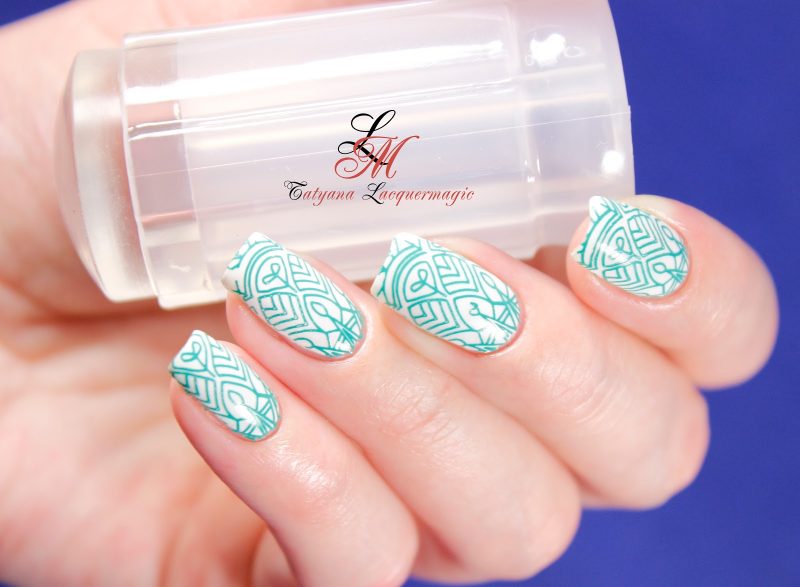
Stamping is a drawing on a nail using a plate on which a drawing and a stamp are depicted. Recently, stamping for nails has become quite popular, since its use is not difficult even for amateurs in manicure. This nail art technique has appeared relatively recently, but is already universally used by masters of various levels.
Do it yourself
If you think that stamping can be done exclusively in a nail salon, then you are deeply mistaken. In the presence of certain skills to make a drawing on the nail with the help of a plate and a stamp will not be difficult.
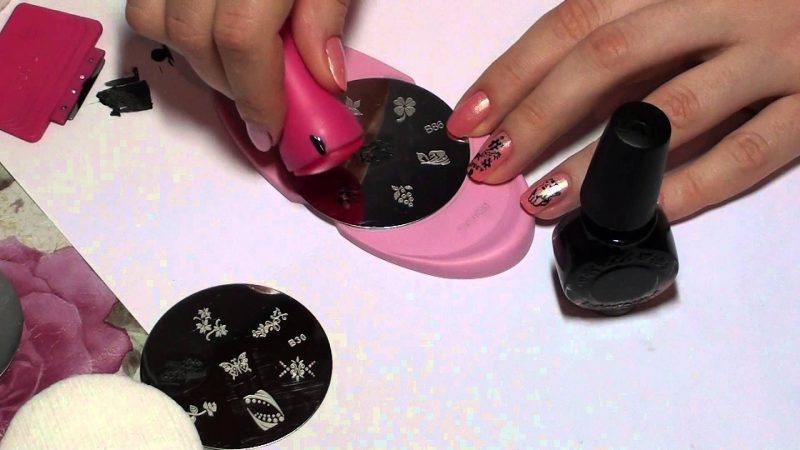
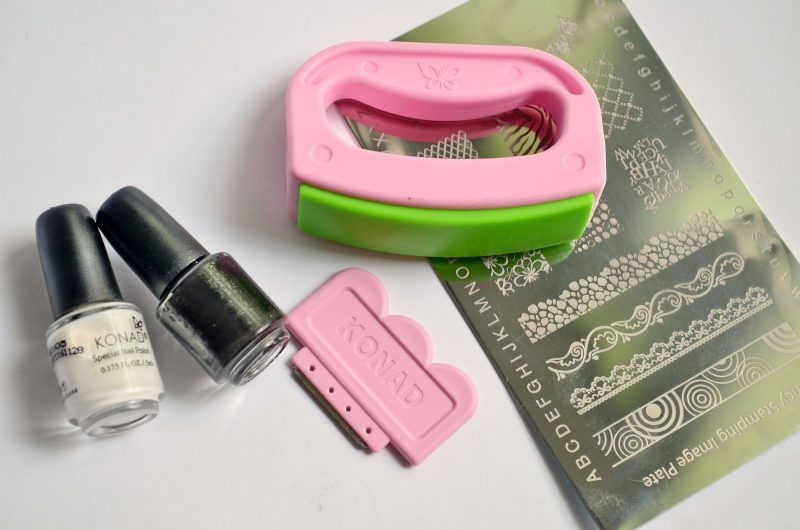
So, to create a nail pattern using the stamping technique, you will need the following devices:
- stamping plates;
- stamp;
- varnish of two colors: one is applied as a base, and the second is used for a pattern;
- scraper.
You can also purchase a ready-made set for stamping, so as not to buy all the instruments separately.
The step-by-step process of applying a pattern to the nail plate will look like this:
- Apply the base for the nails, and on top the main color.
- Dry the varnish well so that it is not sticky. The drying method will depend on the type of varnish you choose - the usual one dries in the air, and the gel is dried in a special LED or UV lamp. The base coat must be perfectly even.
- Moisten a cotton pad with nail polish remover and wipe it with the plate, scraper and stamping stamp. So the picture will be clearer.
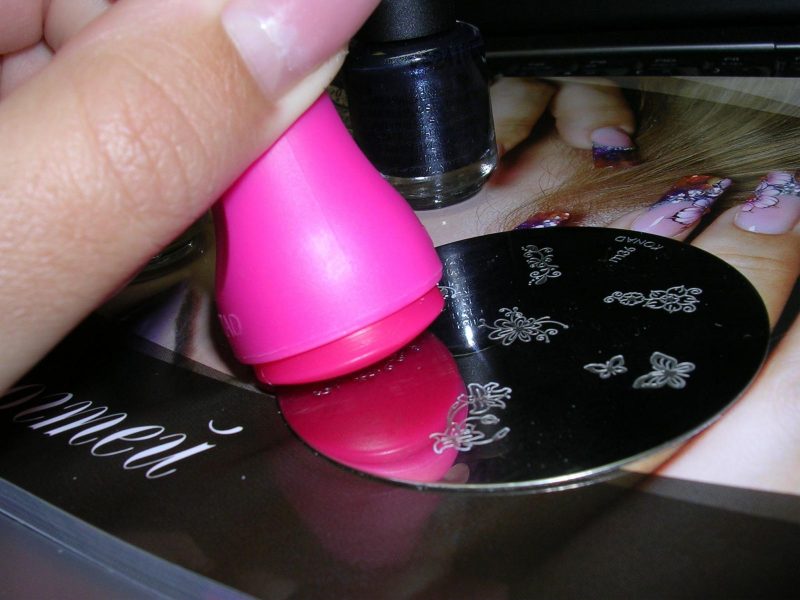
- Apply a thin layer of varnish to the plate with your chosen pattern.
- Use a scraper to remove excess by moving away from you.
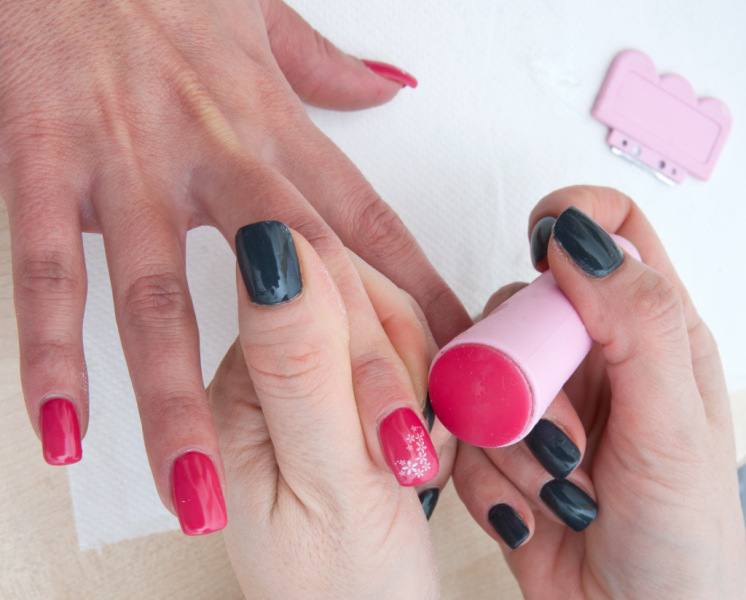
- While the varnish is not dry, firmly press the stamp to it and see if the pattern is completely printed on it.
- Transfer the stamp on the nail with a stamp. If something does not suit you, then redo the pattern by repeating all the previous steps.
- Top with art. a fixing layer of clear varnish.
What are stamping plates?
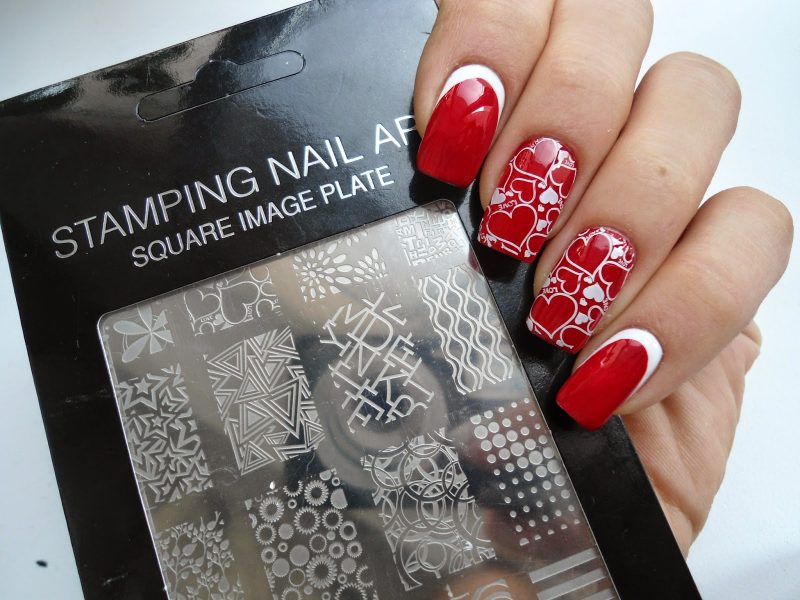
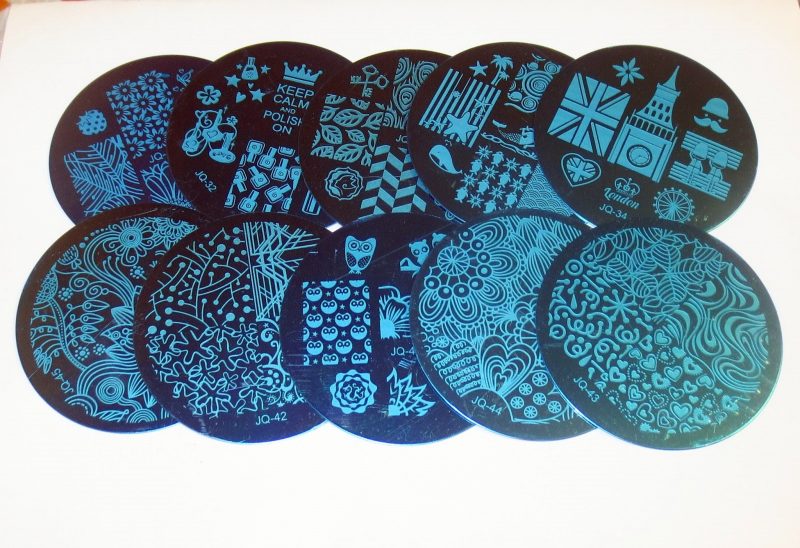
Stamping stencils usually differ in shape and material. They are square, rectangular, round, made of metal or plastic. Manicure masters advise using rectangular metal plates.
When choosing a plate, it should be based on its packaging and appearance as a whole. Verified manufacturers pack the products securely in an extra case, which eliminates damage. Refuse the purchase if you notice at least a couple of scratches on the plate, especially if they get on the stencil. You will not get a beautiful and clear picture with a defective blank.
As for the patterns, there are a lot of them. Your choice may be limited only by imagination. With one plate, you can create a variety of manicures, if you experiment with colors and styles.
What varnish is better to take under nail stamps?
There is no definite opinion as to which varnish to use for stamping. It can be like gel, acrylic or the most ordinary varnish. The difference will only be in the application and drying technology.
Manicure experts advise using acrylic varnish for stamping patterns. It has a dense and dense consistency, which makes it more pigmented, unlike budget options that do not have such a brightness of color.
You can use both ordinary and gel varnishes for stamping, only they must be thick. Pay attention to this point. If you apply the pattern with cheap varnish, then it will turn out ugly: there will be bald spots, the pattern will turn out to be voluminous, etc.
If you use acrylic varnish, be sure to shake the bottle before use, otherwise the color will not be so bright, since the pigment in it has the property to settle on the bottom. All steps must be done as quickly as possible, since if the varnish dries, the surface will have to be completely redone and the manicure will be ruined along with your mood.
It is included in the kit?
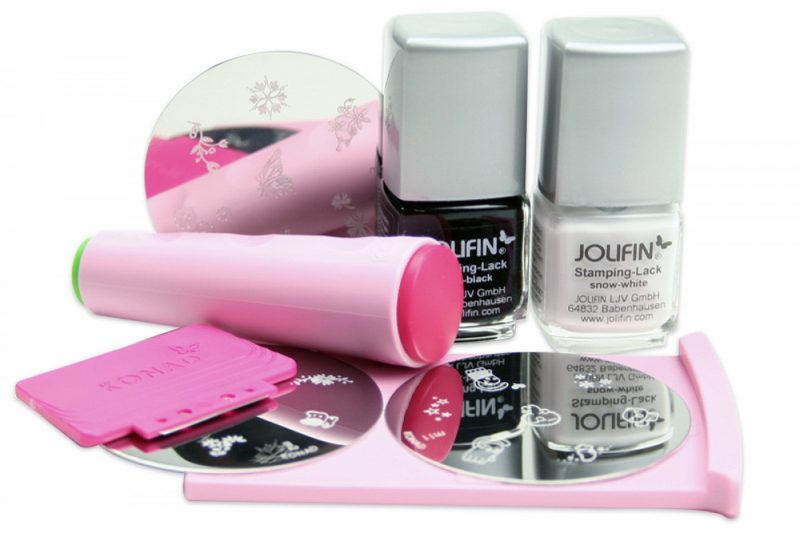
Many manufacturers began to produce ready-made stamping kits, which includes all the necessary tools:
- one or more plates;
- stamp;
- scraper.
The set will turn out to be cheaper than all its components separately. However, the quality may be lower. If the scraper is almost impossible to spoil, then the stamp and plates will not differ in a good way.
Note that it is better to use a stamp with a transparent top, so it will be easier for you to monitor whether the drawing is printed well. A removable pad will not be a superfluous addition, because over time everything has the property of deteriorating.
The scraper should not scratch the plate, so it is better to give preference to a device made of plastic rather than metal. The scraper should be free of nicks that could ruin the stencil. This is a very important point, so try not to neglect it.
How to use?
There are no specific guidelines for using stamping tools. Of course, they must be constantly kept clean and cleaned with a special product called clinser or a simple nail polish remover after each use.
Also take care of your tools. Do not peel off the varnish that has dried on the plate with your hands, it is better to soak it with a product and remove it with a cotton pad. Take care not to scratch the plates. Use only quality accessories from trusted manufacturers.
Stamping gel - varnish
Experts unanimously argue that gel polish is categorically not suitable for applying a stamping technique. “Why?” You ask.The answer is quite simple: despite the high pigmentation and brightness of the gel and shellac, because of their consistency, high-quality art using a stencil will not work.
The gel is too liquid, so it will not print properly on the plate and will simply drain from it. Therefore, it is recommended to use already dried gel polish as a base for stamping.
Nail Design Ideas
Only your own imagination can limit you in terms of design of the nail plate. Now a huge number of different stamping stencils have been released, and each girl can choose the right option for herself.
It can be:
- geometric patterns;
- hearts, butterflies, flowers, stars;
- abstract mosaic;
- a manicure with snowflakes in the winter season will look very atmospheric;
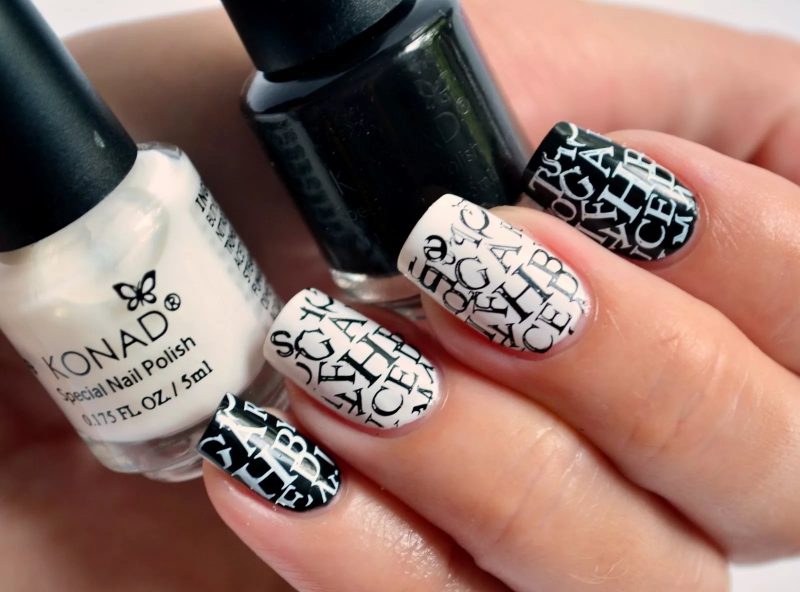
- letters and words. With their help, you can write anything on your nails without spending several hours drawing a picture using a special manicure brush.


