A pink manicure is a great solution for lovers of classics and those who are bored with a white jacket. The variety of shades of varnish allows you to make a stylish manicure for both an adult woman and a young girl. Pink nail design, contrary to popular belief, is no longer a sign of infantilism, but a synonym for grooming and style.
Material Content:
Tips for combining colors
The pink color of the varnish is easily combined with other colors, as it is not extravagant.
And yet there are several recommendations:
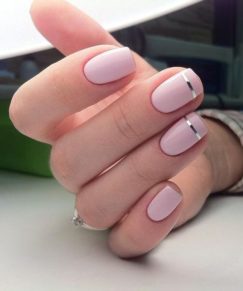
- The easiest way to make a manicure in pink is to choose one favorite shade. Pastel pink is perfect for the official work dress code, candy pink for the summer, peach pink can be used for French manicure.
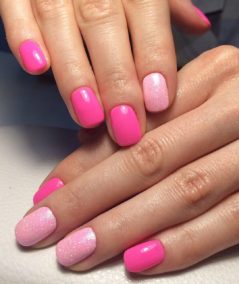
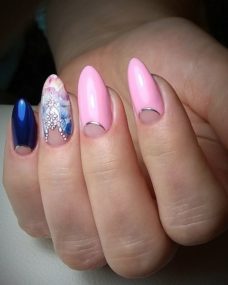
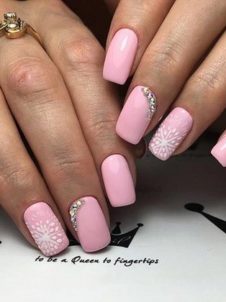
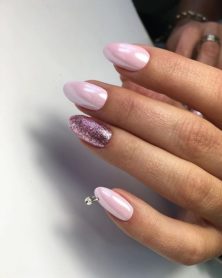
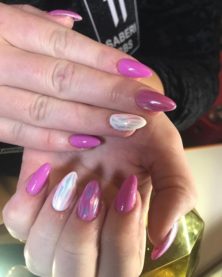
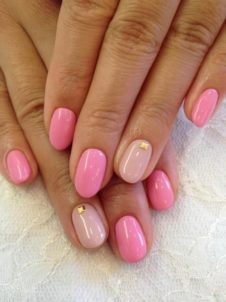
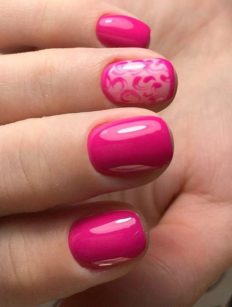
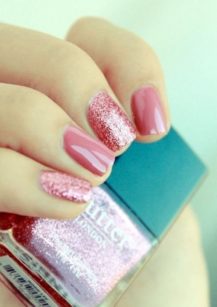
- The combination of two shades of pink. For example, the selection of the ring finger in Feng Shui. As well as a combination of two pink varnishes with different effects: glossy and matte.
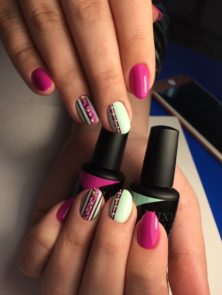
- A combination of pastel pink and black. The most popular design is to draw black lines or figures on solid pink nails.
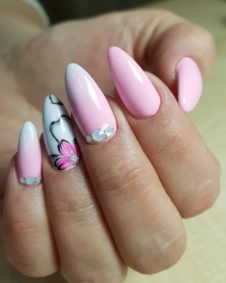
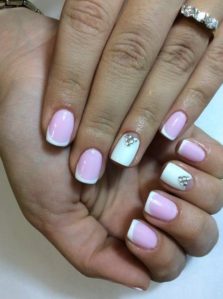
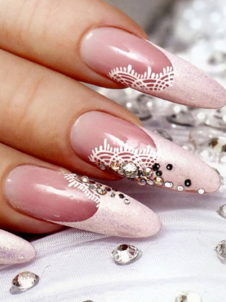
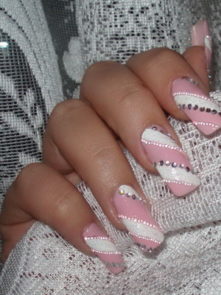
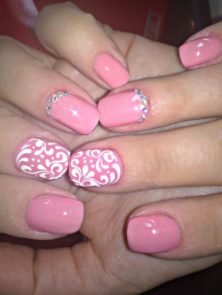
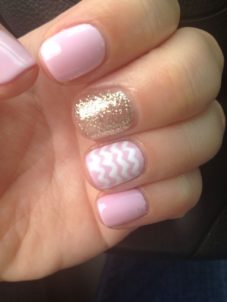
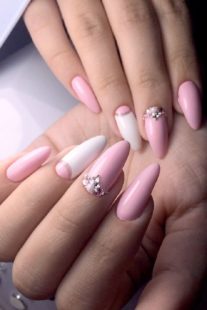
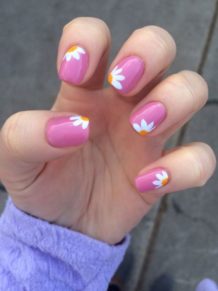
- The combination of pink and white. The most “clean” and gentle option.
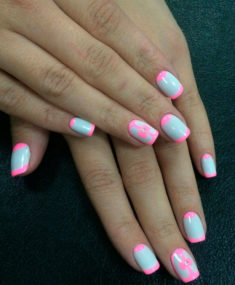
- A win-win option for a night party is a combination of neon pink varnish with any other neon color.
- A combination of “candy” shades: pink and blue, pink and pistachio, pink and lemon.
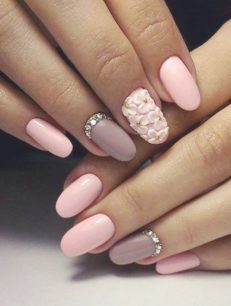
- In the autumn-winter period, the combination of pink color with coffee and chocolate shades looks very “warm”.
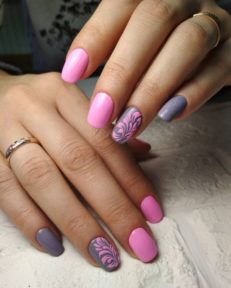
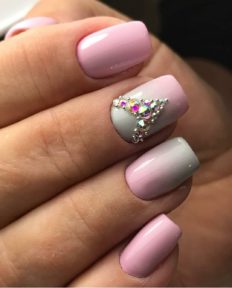
- Gray-pink manicure. Mouse-ash shades are advantageously combined with pink varnish.
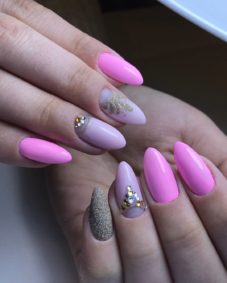
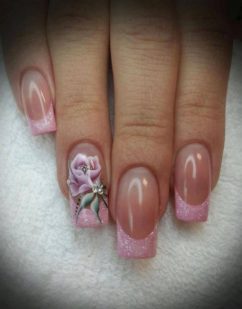
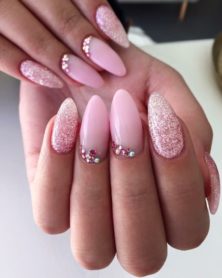
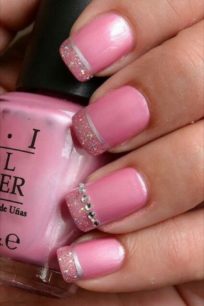
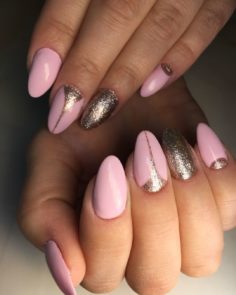
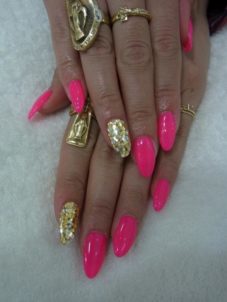
- The pink color looks very festive, surrounded by shades of precious metals: gold and silver.It can be both monophonic options with a small gliter, and large loose spangles.
The main advice! Manicure is one of the ways to express yourself. Therefore, do not be afraid to combine incongruous, at first glance, shades. This is just a varnish that can be removed at any time.
New Nail Designs 2018-2019

Nail fashion is constantly changing. Bright coral short nails were replaced by a white jacket on long nails. Then, long nails were replaced by "bare" manicure on short ones.
The most popular designs of 2018 and 2019 include the following:
- Manicure in pink (pastel), wine, cherry and brown colors.
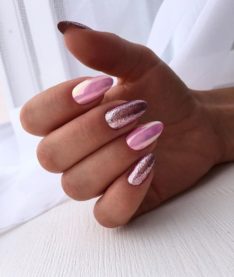
- The use of rubbing (powder).
- Stamped drawings.
- Rhinestones, sparkles, adhesive-based ribbons.
- Marble manicure. On the nails, patterns imitating a real stone are drawn.
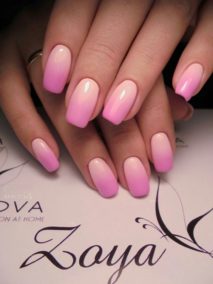
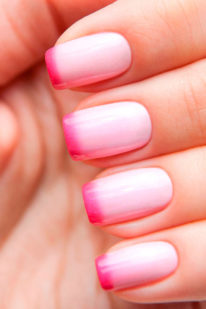
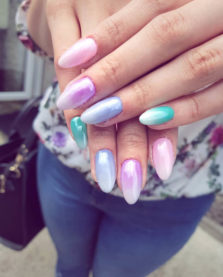
- Ombre (gradient).
- The most unexpected novelty of nail design is “naked” manicure.
The fashion is almond-shaped and oval, as well as a “soft square”.
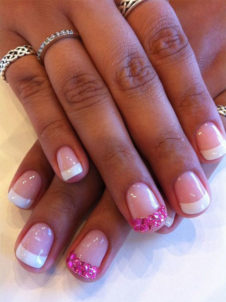
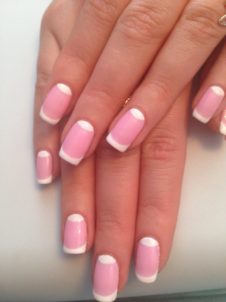
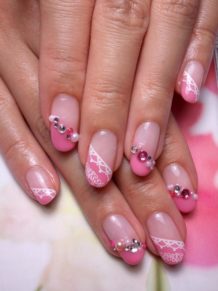
Pink manicure with a jacket
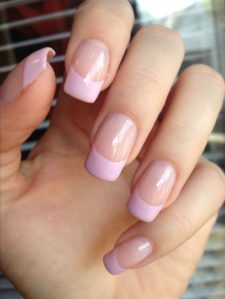
French manicure (French), no doubt, is a classic in nail fashion. Already not the first generation of girls decorates them their nails. Originally conceived as suitable for any outfit of top models, manicure has not changed much over decades. Except that the "smile" is now drawn not only on the tip, but also on the base of the nail.
To perform a pink manicure with a French jacket, you will need:
- soft buff;
- a degreaser or a conventional varnish remover;
- base coverage;
- pink varnish;
- varnish, which will be used to draw a "smile" (if desired, it can also be pink, only in a different shade);
- stencils to create a French manicure or brush;
- topcoat.

Step-by-step instructions for performing a pink manicure with a French jacket:
- Perform a cut or unedged (European) manicure.
- Sand the nails with a buff and degrease.
- Apply a base coat and let it dry completely.
- Use pink varnish to cover.
- Then, fixing the stencils or using a brush, draw a contrasting color on the strip on the tip of the nail.
- After complete drying, apply the finish.
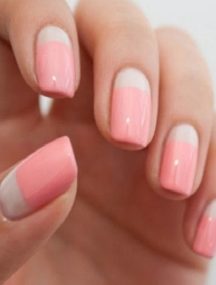
One of the variations of the French manicure is “moonlight”. Its difference from the above manicure is that instead of a strip on the tip of the nail, a semicircle is drawn at the base of the nail bed.
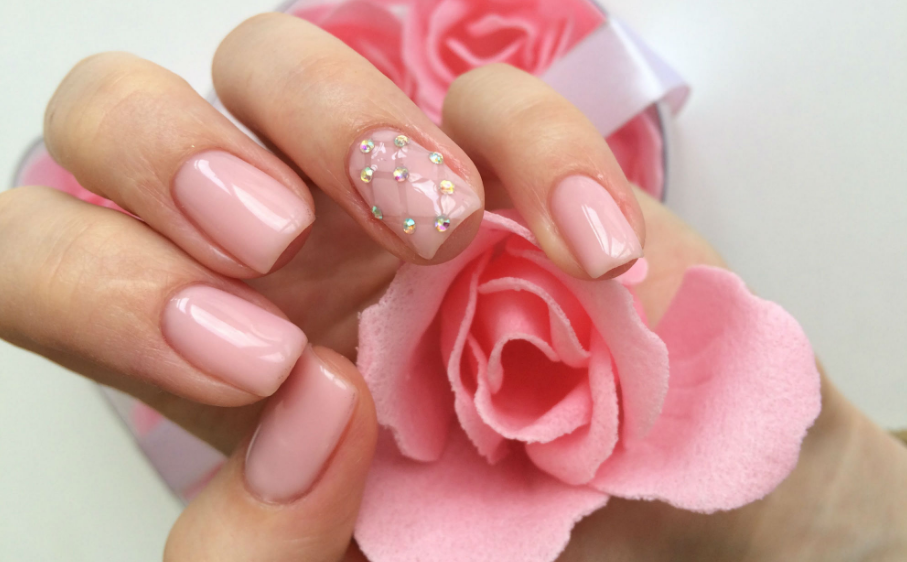
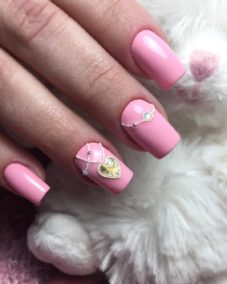
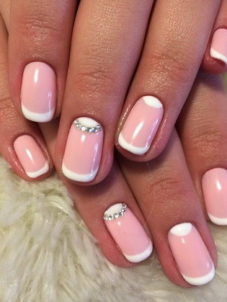
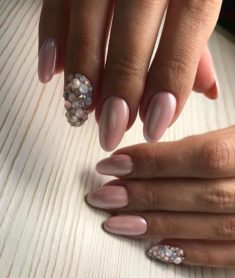
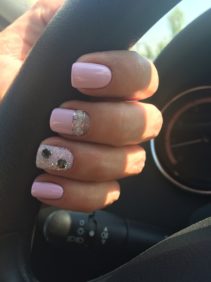
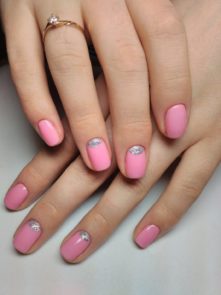
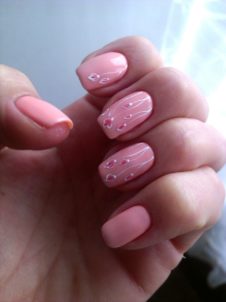
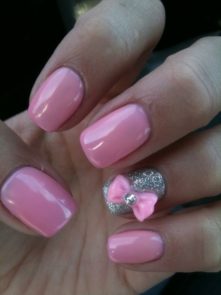
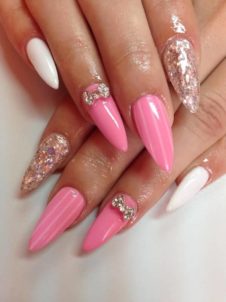
Using rhinestones
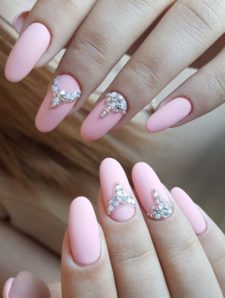

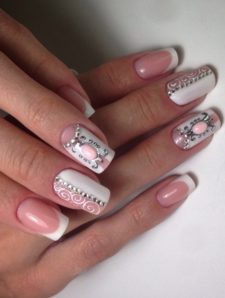
Rhinestones will help to add a twist and give brightness to an ordinary manicure. The pink design with rhinestones looks very gentle and feminine. They can be of different sizes, shapes and colors. The most popular type of rhinestone is a “droplet” of silver color.

To perform a manicure using rhinestones, you will need:
- soft buff;
- a degreaser or a conventional varnish remover;
- base coverage;
- pink varnish;
- rhinestones;
- topcoat;
- glue for nails (if it is not available, you can do without it).

Step-by-step instructions for creating a manicure with rhinestones:
- Perform a cropped or unedged manicure.
- Sand the nail plate with a buff.
- Apply a base coat and let it dry completely.
- Use pink polish.
- Then, if there is no glue for nails, put the rhinestones in the desired pattern on a slightly dried varnish. If there is glue, then wait for the varnish to completely dry and glue the rhinestones.
- Carefully, without touching the decoration, apply the topcoat.
Rhinestones can be used both on ordinary varnish and gel polish.
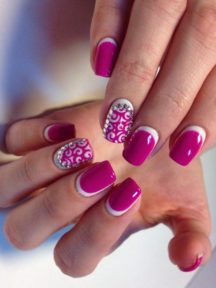
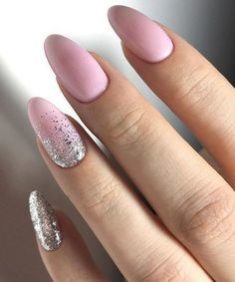
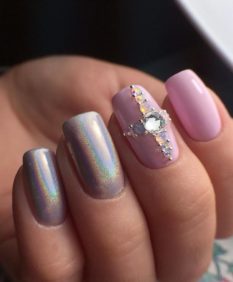
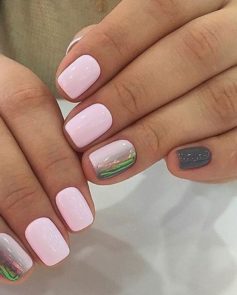
Delicate design with powder

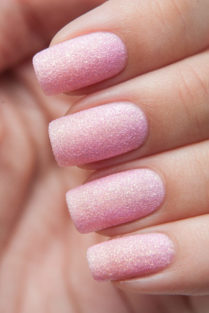
Pearl, pink, white, mirror, rainbow, holographic - all these are varieties of powders for nail design. Despite the complex names, not only the nail master, but also any beginner at home can use the powder for rubbing.
Application of powder (rubbing) is possible both on gel polish and on a regular coating that does not require drying in a special lamp. In both cases, an amazing effect is guaranteed.The only difference is that rubbing on gel polish lasts up to 3 weeks, and on simple varnish - about a week.
For powder manicure you will need:
- soft buff;
- a degreaser for nails or a means for removing ordinary varnish;
- base coverage;
- pink varnish;
- powder (rub);
- sponge or shadow applicator;
- topcoat.
Step-by-step instructions for rubbing on a regular varnish:
- Perform a cropped or unedged manicure.
- Sand the nail plate with a soft buff.
- Degrease with a special compound or detergent for removing ordinary nail polish.
- Apply a base coat that protects the nail plate from excessive staining and allow to dry.
- After complete drying, apply pink varnish in a dense layer. The shade can be absolutely anything, from delicate pastel to rich raspberry.
- The most difficult moment has come. After applying the main color, you need to wait until the varnish has already begun to dry, but it will still be somewhat plastic (uncured). Apply powder. This can be done with the help of a sponge, applicator for shadows or even with your fingers. You need to work very quickly so that the varnish does not have time to completely dry. For economical consumption of powder, it is recommended to apply it on the nail directly above the rubbed container.
- Use a cotton swab or a small brush to remove excess powder from the nail rollers.
- To cover nails with the finishing (fixing) varnish.
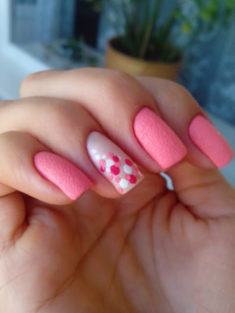
Ideas for short nails

Fashion for long nails is gradually losing ground, passing the baton to short ones. The trend is soft square and almond-shaped. Pink color looks very beautiful on short nails: pastel shades are ideal for brides, office employees, and brighter, saturated shades are suitable for a party.
Ideas for pink manicure:
- Feng Shui manicure using two colors. All nails, with the exception of plates on the ring fingers, are covered in one shade. And on the remaining is applied a varnish of a different color.
- Manicure "Negative space." On the nails covered with pink varnish, black straight stripes are drawn.
- Velvet manicure. Trimmed flock is applied to the newly applied varnish in a continuous layer or in the form of separate drawings.
- Stamping. From the stencil using a silicone pad on the nail bed, the pattern is transferred.
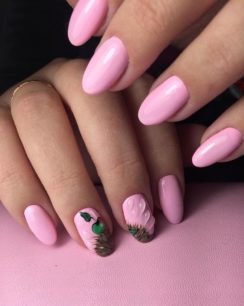
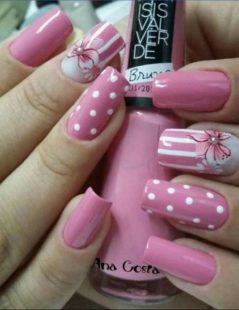
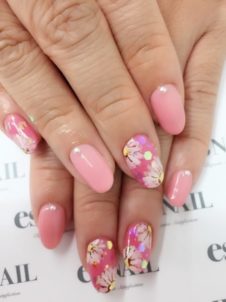
- Drawing patterns with a brush.

The design of pink manicure is limited only by the imagination and taste of its owner. You can use ready-made ideas by viewing photos of various options.
Pink manicure with gel polish
It is no longer a secret that a manicure made with gel polish is more durable in a sock than with a simple varnish. A manicure with pink gel polish can be called a winning option. This pastel color allows its owner to look well-groomed in any situation.

To perform a pink manicure you will need:
- ultra-violet (UV) or ice (LED) lamp;
- soft buff or file;
- a degreaser or a sticky product;
- a primer;
- base coverage;
- pink gel polish;
- topcoat;
- cotton pad or ball.
And you can also use several pink varnishes of various shades and different materials for design:
- broths;
- foil;
- feathers;
- stickers;
- stamping kit;
- 3D modeling tools.
Step-by-step instructions for performing pink manicure with gel polish:
- Perform a cropped or unedged manicure.
- Sand the nail surface with a buff or nail file. Properly performed grinding helps to increase the durability of manicure with gel polish! Nails are polished as follows: make one or two movements across and the same length. So, some unevenness is created on the nail surface, which allows the gel polish more tenaciously and firmly “grasp”.
- Degrease, then, after drying means, apply a primer. The task of the primer is to raise the scales of the nail so that the gel polish has an additional bond to the surface.
- Use a basic tool and dry in a lamp.
- Apply pink gel polish and dry the nails again using a lamp.
- After drying, a sticky layer has formed on which any decoration can be applied. If you plan to apply a picture or sticker, then it is better to remove it.
- Then apply the finish coat and dry in the lamp.
- Using a special tool, remove the sticky layer from the nails, at the same time removing excess powder from the nail rollers.
With all the apparent complexity, any salon manicure can be performed at home. The main thing is the presence of desire, and experience will come with time.


