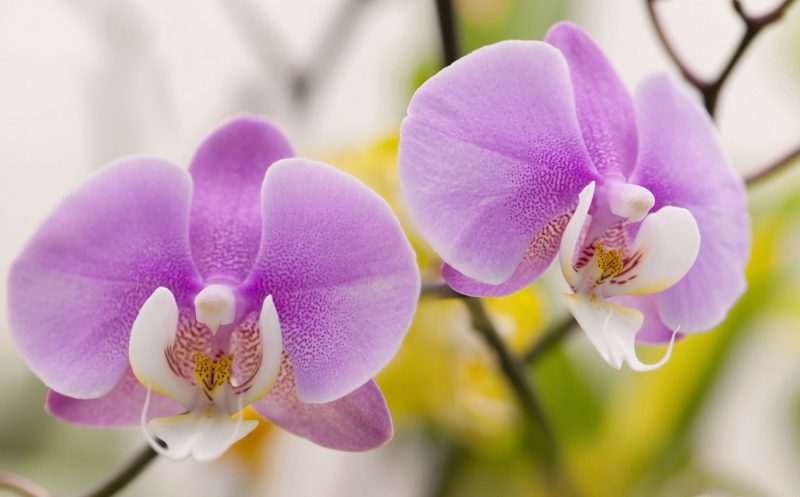
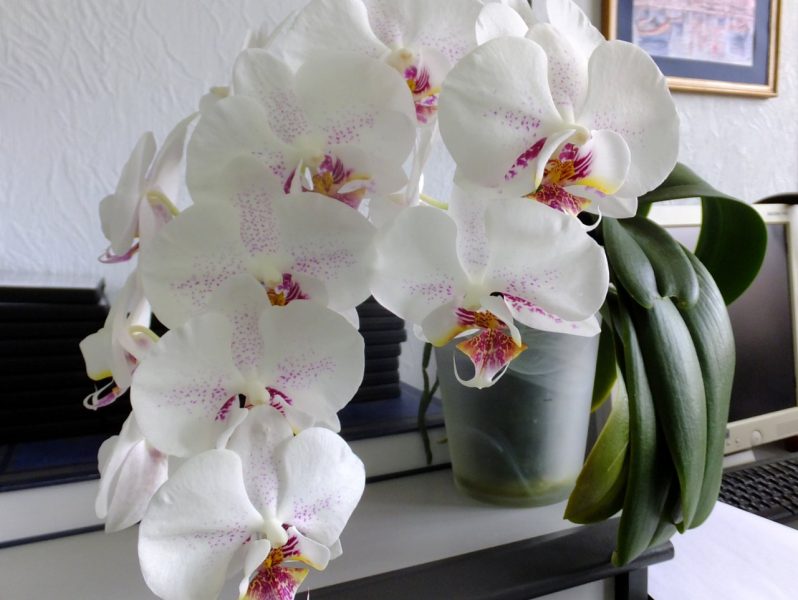
Phalaenopsis orchid, home care for which is not difficult even for beginner gardeners, is an epiphytic plant from the humid forests of Australia and Southeast Asia. The flower owes its name to its resemblance to a butterfly, which was noted by the head of the German botanical garden Karl Blum.
Material Content:
Orchid phalaenopsis: features of cultivation
Certain features of its growing at home are associated with the natural growth environment of butterfly orchids:
- Pot and soil for phalaenopsis orchids are required as a support.
- Finding roots in the air and in good lighting, which promotes photosynthesis, is ensured by selecting the correct location and light substrate;
- The presence of aerial roots requires the gardener to constantly monitor the plant in order to exclude the possibility of their nutrition from pots with other indoor crops.
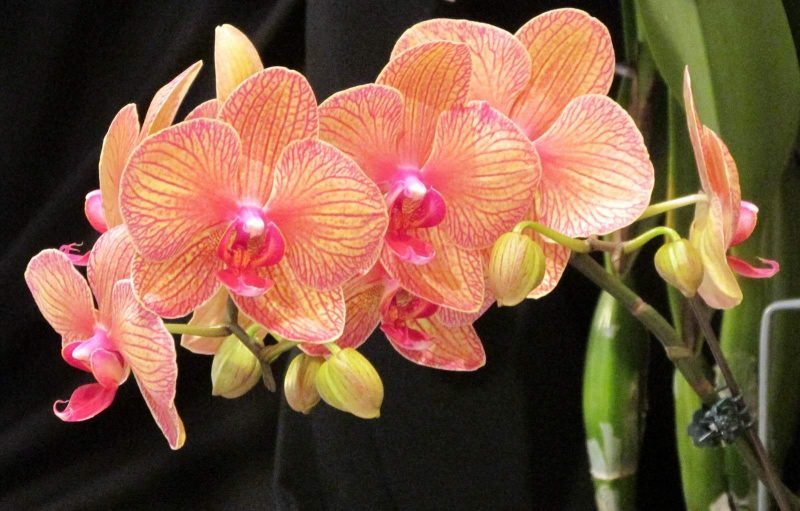
- The possibility of three-time flowering plants throughout the year due to the lack of a pronounced dormant phase.
Home Care
To be a happy owner of an often flowering and healthy plant, you must adhere to certain rules for caring for an orchid that resembles a moth.
Location and lighting
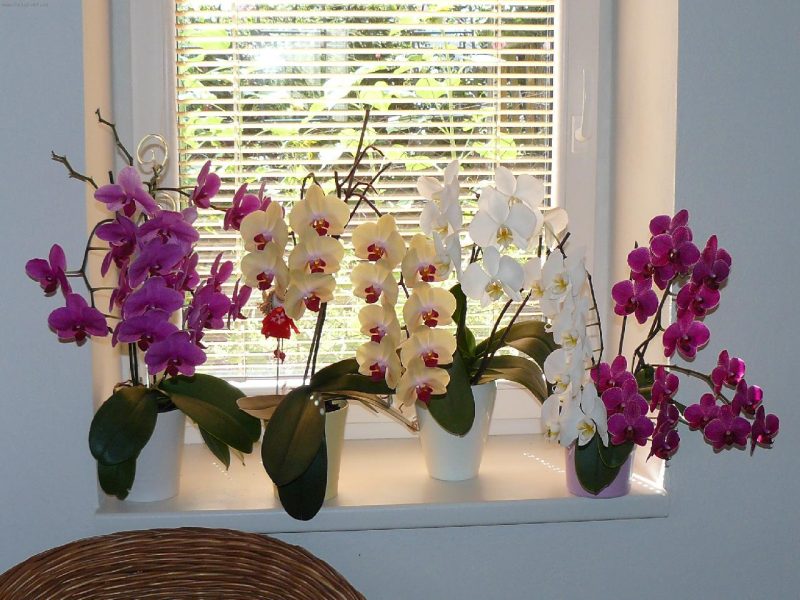
The flower needs a lot of soft light, which the plant can get from the windows of the western and eastern directions. If the window faces south, then during the peak of solar activity a slight shading is created using a loose curtain to prevent spots on the shoots indicating burns. To keep the plant symmetrical and not to roll in one direction, the pot with an orchid rotates around its axis twice a month.
Important! During budding, the flower should not be disturbed.
What soil is suitable for phalaenopsis orchids?
The substrate for cultivating the flower can be purchased at the flower shop, either in the finished form, or as individual components, the main of which is moss.
With self-preparation of the mixture:
- Two days before the orchid planting, the pine bark is soaked in clean water for swelling.
- A drainage layer of expanded clay or small pieces of polystyrene is placed in the pot.
- On top is the coarse fraction of the cortex.
- The last layer is prepared from the bark of a small fraction mixed with chopped moss.
Temperature
To ensure optimal conditions under which a beautiful flowering of the crop occurs, a temperature regime of 18-25 ° C is created.
Important! Over a short period, the orchid can tolerate high (up to 42 ° C) and low (up to 12 ° C) temperatures.
Watering a flower and humidity
A number of factors affect the frequency of humidification, between which the substrate must completely dry out:
- content temperature;
- composition of the substrate;
- cultural development phase and season.
When the pot becomes light and there is no condensation on its walls, the flowerpot is half placed in water to saturate the substrate with moisture through the drainage holes. Water for irrigation is used boiled. In hot weather, to ensure the required level of humidity, which should not be too high, the container with the flower is placed on wet pebbles. To prevent rotting associated with stagnation of water in the sinuses and burns due to evaporation of drops from the leaves, the orchid is not sprayed.
Important! Lower watering will avoid getting water on the shoots, which provokes the development of rot.
Fertilizer and fertilizer
Additional orchid nutrition with liquid mineral fertilizers is carried out simultaneously with watering and only during the period of active vegetation - building green mass, budding, flowering.
Rules for care after flowering
After the flowering of a beautiful flower is completed, the grower must carefully monitor the peduncle. When yellowing and wilting, the arrow is removed completely. If the flower stalk remains green, then after resting it will be the laying of new flower buds. Therefore, the arrow only shortens: the cut is made above the developed kidney by 1 cm.
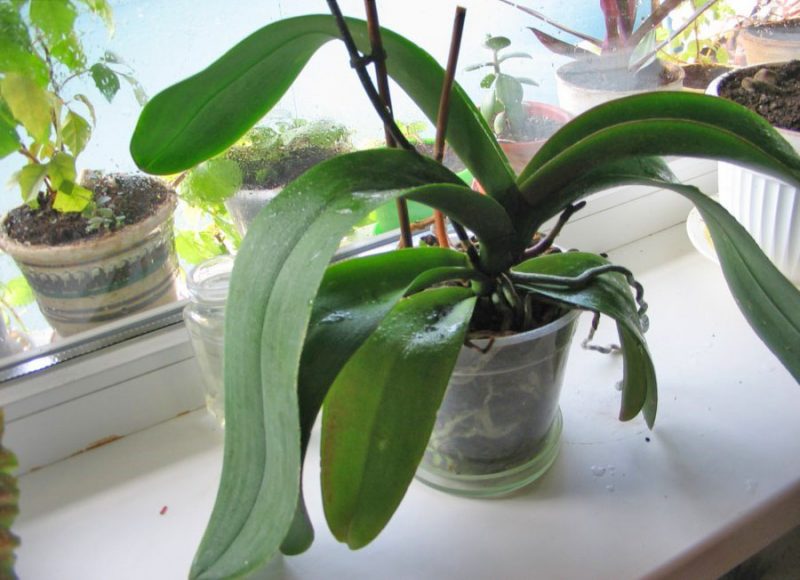
Transfer
Phalaenopsis orchid is transplanted once every 2-3 years, during which the substrate loses its necessary qualities, and the branched root system is shown from the drainage holes.
The transplant technology is as follows:
- After flowering, a new pot of larger diameter is prepared.
- A drainage layer is placed at the bottom of the tank.
- By transshipment, an orchid is planted in a pot.
- The remaining voids are filled with a new substrate.
How to care in autumn, winter?
With the arrival of the cool season, the development of the flower stops. During such periods, top dressing is excluded from the above plant care activities. But often it is at this time that phalaenopsis again throws a peduncle, it all depends on the species and variety.
Protecting orchids from diseases and pests
Orchid diseases are manifested in violation of agricultural technical requirements for care.
Among the most common are:
- Fusarium - A disease resulting from an excess of moisture is not treatable.The affected plant is destroyed to prevent spread.
- Rot - fungal diseases that are caused by overmoistening of the substrate are treated by spraying the culture with fungicide twice at an interval of 10 days.
- Hives - the disease, manifested in the form of large spots, is eliminated while ensuring the appropriate temperature and systematic ventilation.
- Botritis - A disease that affects orchid flowers stops developing when normalizing the level of humidity and ensuring free air circulation.
Along with diseases, the culture can be oppressed by harmful insects, among which there are a mealybug, thrips, scabies and spider mites. To control pests, it is better to resort to processing the flower with an insecticidal preparation.
Propagation of the Phalaenopsis orchid at home
At home, phalaenopsis propagates by a vegetative technique - the separation of lateral shoots.
In order for the children to form, you must do the following:
- At the base of a faded peduncle, a sleeping bud is determined.
- A semicircular incision is made at the edge of the scales covering the kidney with a sharp knife.
- The flake is removed using tweezers.
- A released kidney is treated with a growth regulator.
- A month later, sockets are formed, and after three months - aerial roots.
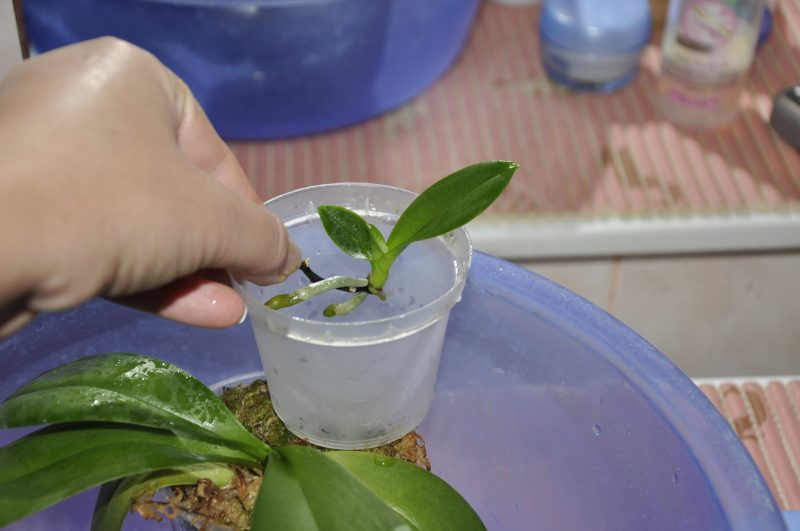
When the babies are already there, the breeding procedure is carried out 1-2 months after the flowering of the orchid as follows:
- The shoot, on which two leaves and aerial roots 5 cm long were formed, is separated at the peduncle or at the base of the rosette of leaves.
- The process is dried throughout the day and is planted in a fine-grained substrate.
- The container with a fit is covered with a glass cap to maintain the temperature within 22-25 ° C.
- After the rooting of the new plant, the glass is removed.
The main problems when growing plants
Cultivating a flower often causes a number of difficulties for beginning gardeners.
Phalaenopsis does not bloom
As a rule, the flowering of orchids occurs after a three-month break.
There are several reasons why this may not happen:
- light deficit;
- excess nitrogen in the substrate;
- not enough time for a full rest of the orchid.
Attention! Having determined the cause, the grower will be able to eliminate violations of the content and make the orchid bloom.
The reason for the yellowing of the leaves
Yellowing of the leaves is noted with:
- violation of the irrigation regime, which leads to the development of fungal diseases;
- populating the plant with a mealybug;
- hit on sheet plates in direct sunlight.
Do I need to transplant a flower after purchase?
The lack of aesthetic beauty of the pot in which the flower was purchased is not a reason for the transplant. Moreover, if the purchased orchid is in bloom, then the procedure should not be carried out. Such manipulations, carried out at the wrong time, can cause irreparable harm to the plant.
Thus, while observing the simple requirements for the content of phalaenopsis, the orchid will be a decoration of any interior, creating even greater comfort and harmony in the home atmosphere.


