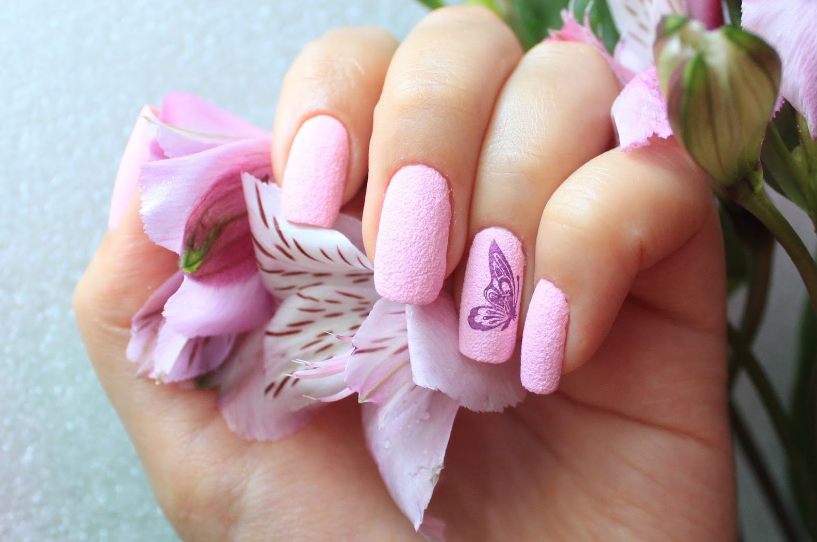
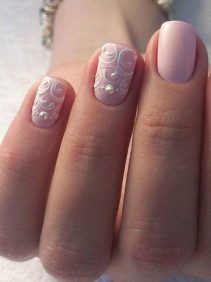
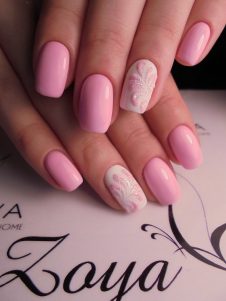
Lace, velvet, candy-colored ombre, metallic - all these are designs for amazing nail art. It takes a few minutes to complete such a manicure, and the effect is simply amazing. Delicate nail design will best represent the beauty of the hands of the bride, the girl, preparing for a date or a business meeting.
Material Content:
What form is suitable for such a manicure
A delicate design manicure is attractive not only for its elegance, but also for its versatility: it can be performed on both long and short nails.
For the second option, the oval shape and the “soft square” are relevant, which will look equally beautiful with monophonic coatings and with French manicure.

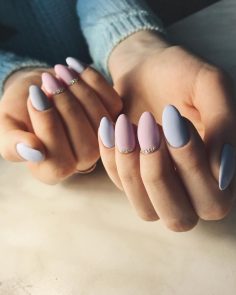
For long nails, the following designs are possible:
- Oval, almond-shaped, “ballerina” - all of them in combination with gentle nail art will receive additional sophistication.
- Square shape - nails, thanks to such a manicure, will not look so strict.
- Sharp “stylet” species will get “softened” and will appear less extravagant.
Shades, delicate design technique
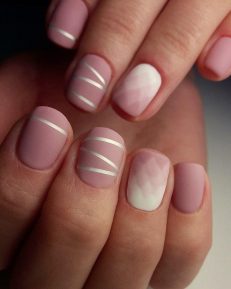
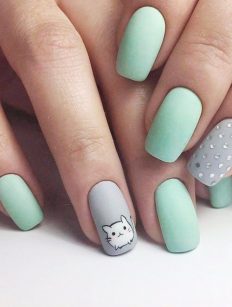
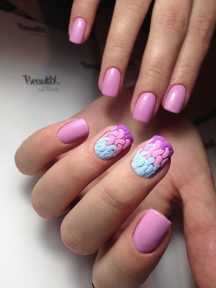
Even an inexperienced beginner can do manicure with a gentle design. It’s enough to choose any pastel shade varnish for the main background, and white for the pattern.
Colors for designing a nail design in delicate colors:
- mint, pistachio, lime color;
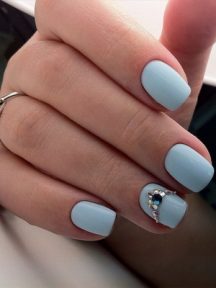
- sky blue;
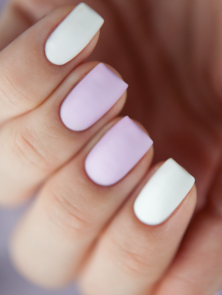
- pink, purple;
- lemon, mustard;
- violet, lilac;
- cream, a touch of condensed milk;
- “Coffee with milk” or light brown;
- ash gray color.

The main thing - when choosing a varnish to focus on your skin color.A harmonious tone will always look more stylish and “expensive” than a completely inappropriate tone. Deciding on the color is very simple - you just need to attach a tube of varnish to your fingers.
To create the simplest and most gentle nail design you will need:
- pastel shade varnish;
- white;
- composition for basic processing;
- varnish for topcoat;
- ordinary paint remover;
- sewing needle or toothpick.
Step-by-step instructions for performing gentle manicure:
- Degrease and disinfect the nail plate with nail polish remover.
- Cover the nails with the base composition and wait until it dries completely.
- Apply a pastel shade and leave the nails to dry. If necessary, make another layer.
- Then apply a drop of white paint in the center of the nail plate (if desired, this can be done anywhere else on the nail).
- Without waiting for the layer to dry, use a sewing needle to stretch a drop into the desired fantasy pattern.
- When the drawing dries, apply a finish varnish.
Fashion trends 2019

Fashionable innovations in the field of nail design in 2019 are the following:
- In the trend, short nails, as well as up to 7 mm long. The amygdala does not give up its positions.
- The color palette adheres to natural skin colors: beige, ivory.
- Pastel shades are in fashion: lemon; blue; peach; color of condensed milk; coffee; ashen; violet; pink.
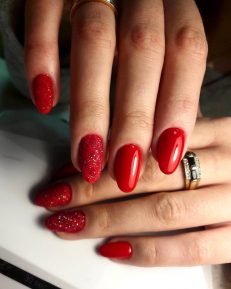
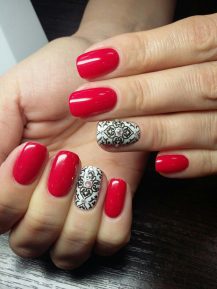
- For lovers of a more juicy manicure, deep blue shades, plum black, red are available.
- It is appropriate to use varnishes of the color of precious metals, rubbing with a mirror shine, foil, sequin. “Metallized” surfaces are again in trend.
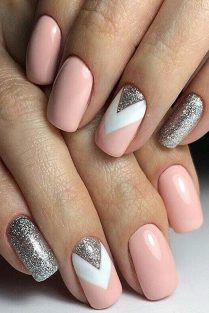
Fashionable designs:
- Plain coatings modestly decorated with rhinestones.
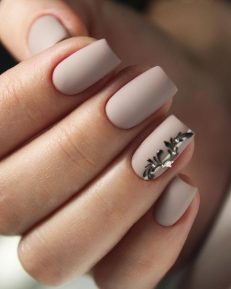
- Geometric patterns, plant abstractions on transparent varnish.
- The combination of rubbing, foil and matte manicure.
- Cartoon characters in the form of decals or stickers.
- Glossy and matte foil, “broken glass”, “yuki” flakes, kamifubuki.
- French manicure combined with "negative space".
Read also:french manicure gel polish at home
Ideas for short nails
About two years ago, long nails were replaced by short nails. And instead of a somewhat boring monophonic coating with red varnish, preference was given to delicate designs.
Manicure options for short nails:
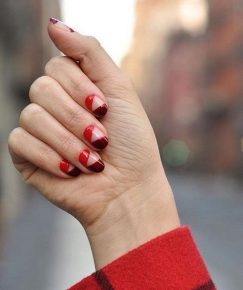
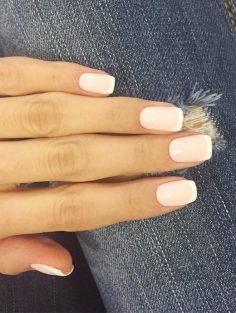
- “Naked” when the nails are simply covered with a discreet translucent or transparent varnish.
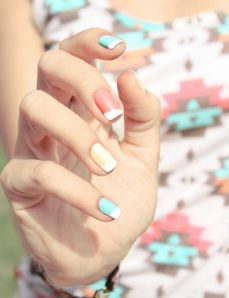
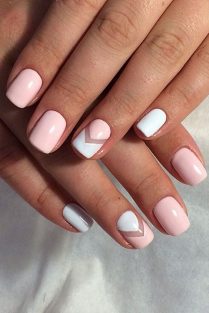
- "Negative space" in which the plates are painted with clear varnish. Then, using stencils or a thin brush, stripes are drawn to create geometric shapes. Color can be either blue or black. The pattern can be decorated with rhinestones.
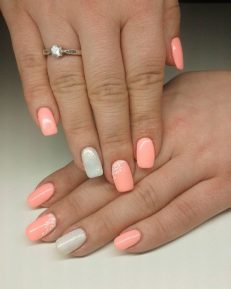
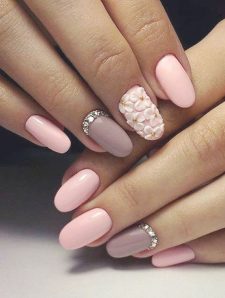
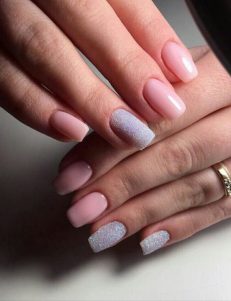
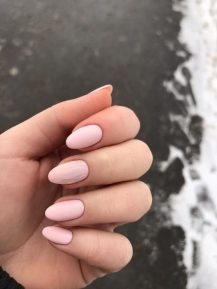
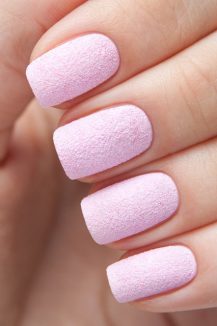
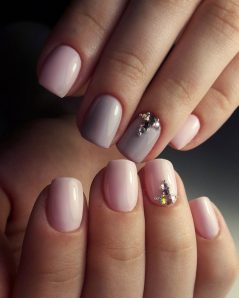
- Solid color with a pastel shade of varnish, for example, soft pink, as well as a combination of several colors.
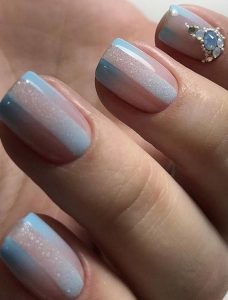
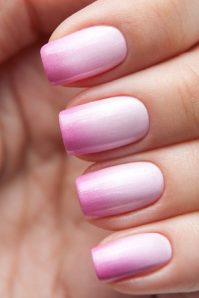
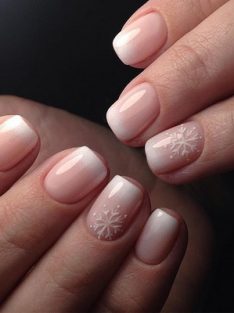
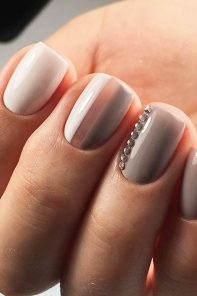
- Ombre. To create a gradient on the nails, at least two shades are used. A manicure in this style can be issued in several ways:
- Apply two varnishes simultaneously and blend the border with a special brush.
- Cover the nails with the main color. Then, after waiting for complete drying, drip with a different shade of varnish on a sponge for dishes (or any other available) and with patting movements apply on the tip of the nail, creating a smooth gradient.
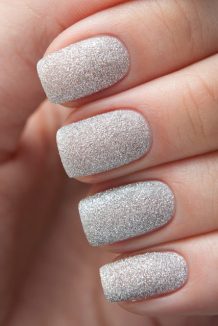
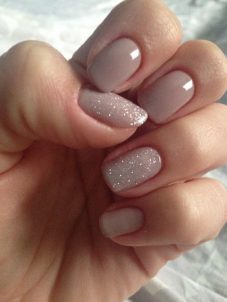
- This can be done with loose spangles. Nails are coated with plain varnish. Then, without waiting for drying, the sparkles are scattered, doing so in such a way that there are most of them on the tip of the nail, and less on the base of the nail bed.
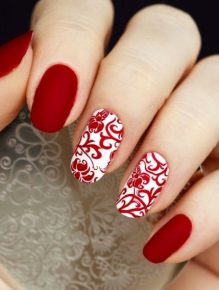
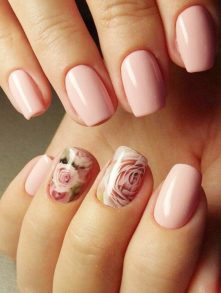
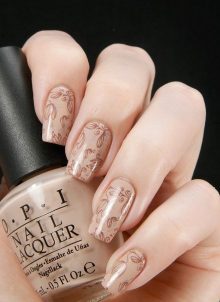
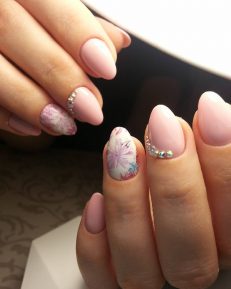
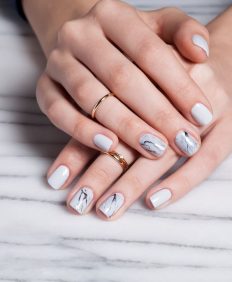
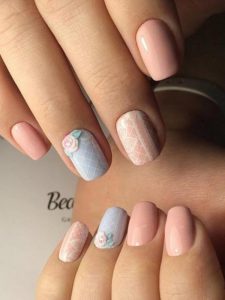
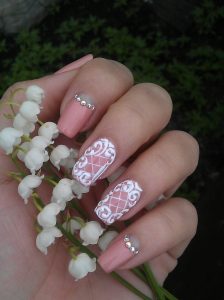
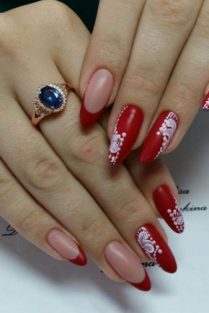
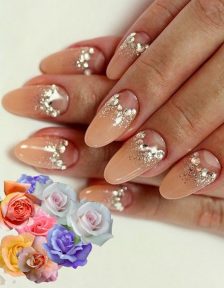
Recently, drawings in the form of lace, monograms and knitted patterns are very popular. The creation of a pearl coating with the help of rubbing is very in demand. French manicure and its variety - lunar - do not give up their positions. Natural, floral designs are always delightful.
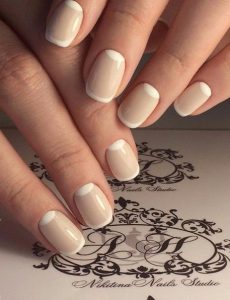
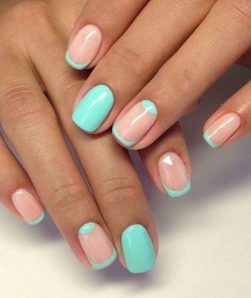
French in pastel colors
French manicure can be called classics in nail art.Its main advantage is relevance: it always adorns the hands of the hostess, emphasizing her good taste.
There are several varieties of jacket in pastel colors:
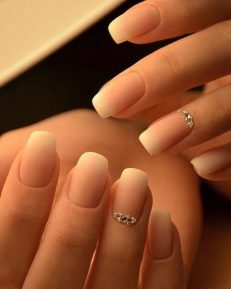
- Classical. The nail bed is covered with pink or peach pastel shade. After drying, using stencils or a thin brush, a “smile” is painted on the growing part of the nail with white varnish. Be sure to apply the finishing composition.
- French with a colorful smile. Nails are varnished with a gentle pastel shade, which is most suitable for skin tone. After drying, the tips of the plates are processed in bright saturated color (pink, red, green, blue or another).
- Lunar manicure. Any pastel shade is chosen to cover the nails. Then, after drying, the "smile" is drawn not at the tip of the nail, but at the base of the nail bed. The color of the picture should be different from the main varnish.
Important. Combinations of shades can be absolutely any. “Smiles” made by varnish with gold sparkles look very impressive both on the classic and on the lunar French jacket.
Any kind of French manicure can be made even more vivid:
- use rhinestones, sparkles, broths or polymer figures;
- apply decal stickers;
- apply stamping or make freehand drawings.
The choice of jewelry is unlimited.
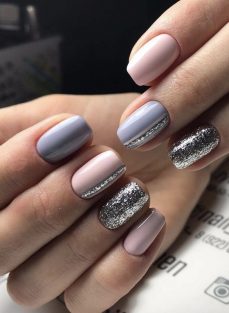
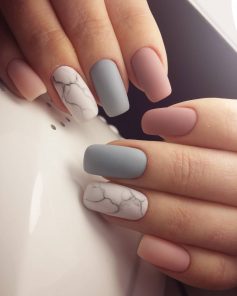
Popular options for matte manicure
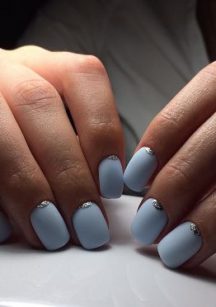
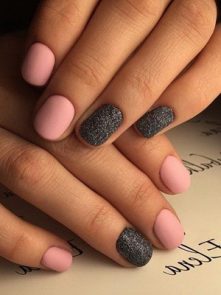
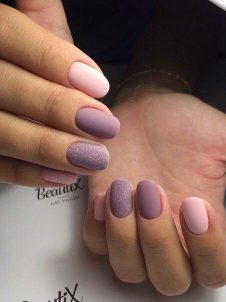
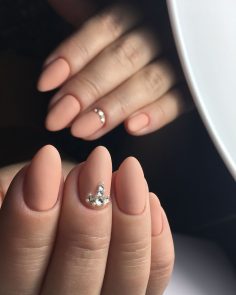
It is not the first year that matte nail polish has been in fashion. If at the dawn of its popularity, varnish in red and burgundy colors was considered especially in demand, then today pastel shades are in the trend.
Colors for a gentle matte manicure:
- pistachio;
- pink;
- white;
- blue;
- citric.
Matte manicure can be done in several ways:
- Cover your nails with colored varnish with a matte finish, with no additional coating required.
- Decorate the plates with regular glossy varnish, and after final drying cover with a matte finish with a transparent composition. Thus, it is possible to turn any glossy varnish already in the cosmetic bag into matte.
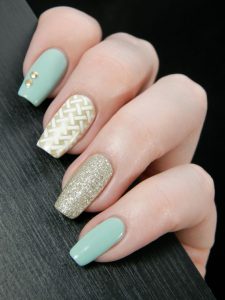
Popular options for such a manicure include:
- Plain coatings.
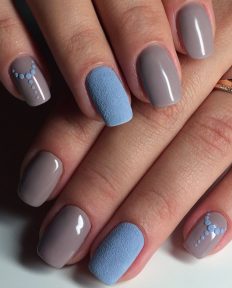
- The combination of two contrasting colors, including Feng Shui coating.
- French manicure with a matte finish.
- The use of rhinestones.
- Application of the pattern with glossy or pearlescent varnish on a matte surface. Drawings in the form of drops of water look attractive.
Relatives of matte nail art are sandy, cracking and velvet manicure. All of them do not have a glossy finish.
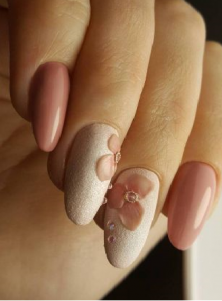
Sand coating is created using monophonic varnish. After drying, a rough surface is formed. And also a similar method is called sugar.
Cracking manicure is performed as follows:
- Apply regular varnish to the nails and wait until it dries completely.
- Then use nail polish for cracked manicure. When drying, the upper layer will begin to burst, from under it the lower layer will be visible. To create this effect, contrasting shades are used.
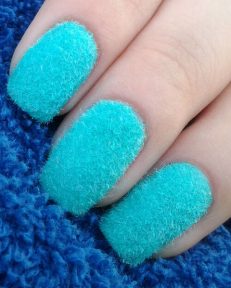
A delightful velvet manicure is easy to create in minutes:
- Coat nails with varnish.
- Then, without waiting for drying, strew the surface of the treated nail plates with a sheared flock. No additional layers of “fur” manicure are required.
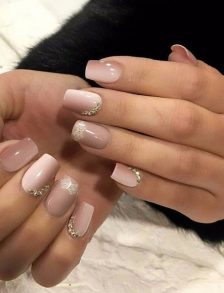
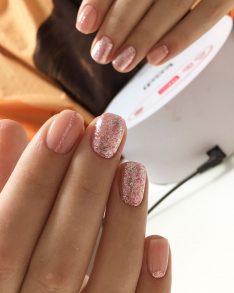
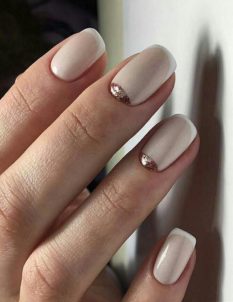
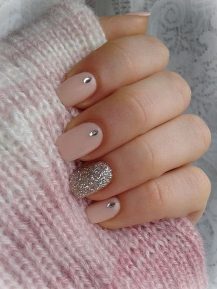
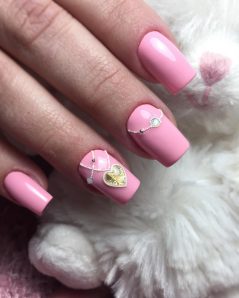
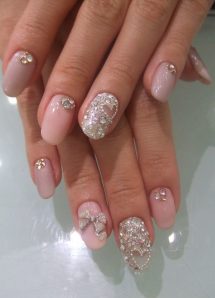
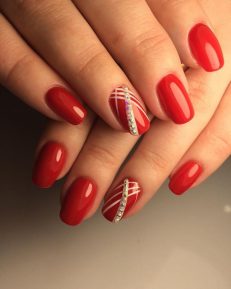
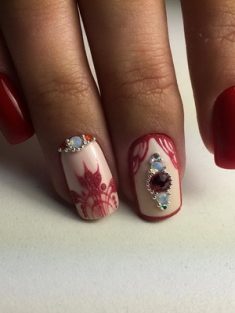
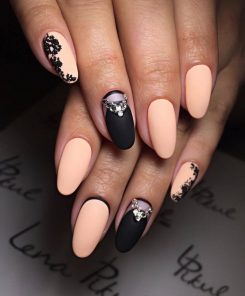
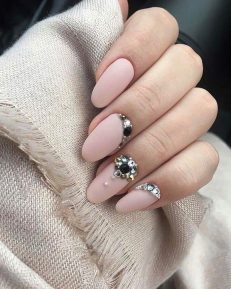
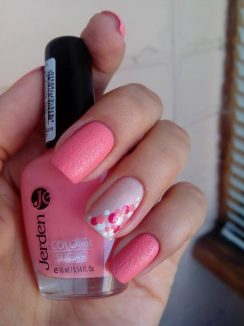
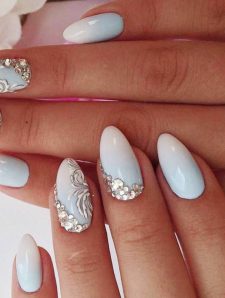
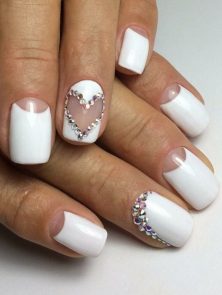
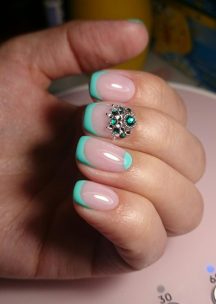
Delicate marigolds with rhinestones
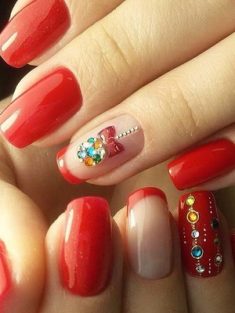
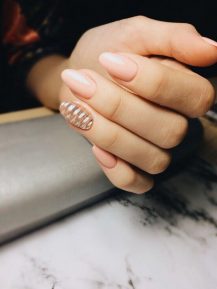
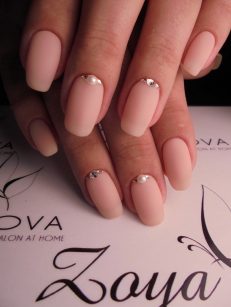
Using rhinestones in nail design is the best way to draw attention to your manicure. Miniature stones look equally advantageous in daylight and in artificial evening lighting. The variety of shapes and colors allows you to create a design for every taste. Artificial jewelry looks very cute and feminine against the background of exquisite nail polish.

To create the lightest, but from this no less elegant gentle manicure with rhinestones, you will need the following materials and tools:
- varnish for base coat;
- varnish for the top coat;
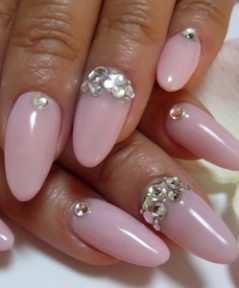
- pastel pink shade;
- rhinestones;
- dots or stick made of lemon tree;
- file for polishing;
- means for removing ordinary nail polish.
Step-by-step instruction:
- If there is a knobby surface, polish the nails.It must be remembered that polishing should not be abused, as this can lead to thinning of the nail plate. It is recommended to perform it no more than twice a week.
- Degrease with a nail polish remover.
- Apply basecoat and wait for it to dry completely.
- Coat with colored varnish. Then wait until the varnish dries slightly, and place the rhinestones in the most beloved way.
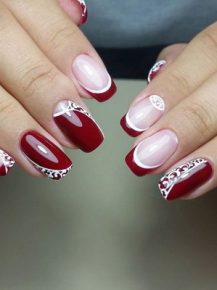
Popular ways to place rhinestones:
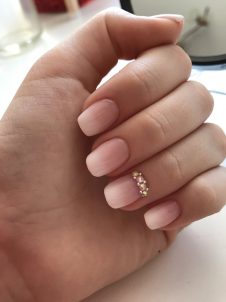
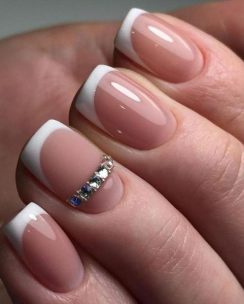
On each nail at its base is placed one artificial stone.
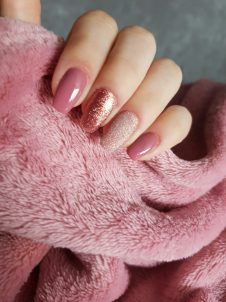
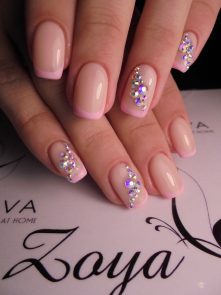
- A few fingers are selected, on which there will be an emphasis. As a rule, these are nameless. And rhinestones are laid on them with a vertical line, the beginning of which will be the base of the nail, and the end - at the end of the growing part.
- Rhinestones are placed in a semicircle on the basis of a plate that lengthens during the growth process, as if emphasizing a "smile".
- Nails on the ring fingers are completely covered with rhinestones.
- It is most convenient to stack stones using a dots or the sharp tip of a lemon stick. The ball on it is simply brought to the selected rhinestones, and the instrument, using static electricity, captures the jewelry. If desired, you can use tweezers instead of a thin wooden stick.
- After complete drying, it is necessary to apply varnish for the finish coating, avoiding contact with rhinestones.

Any of the above methods of decorating fingers is easy and simple to repeat at home. With a little experience and the availability of the necessary materials, you can quickly get a gentle nail design using gel polish.


