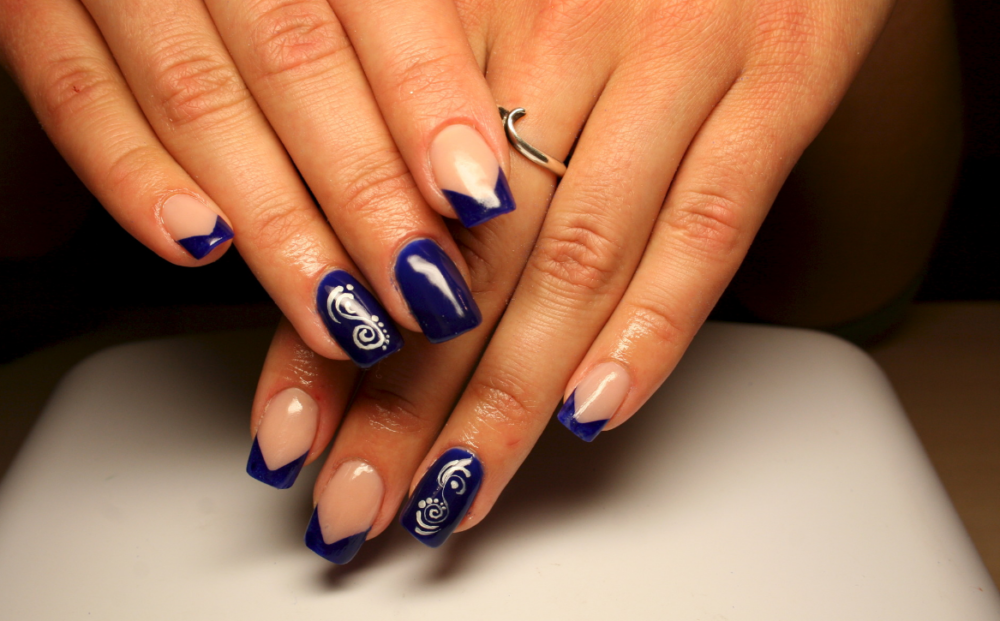
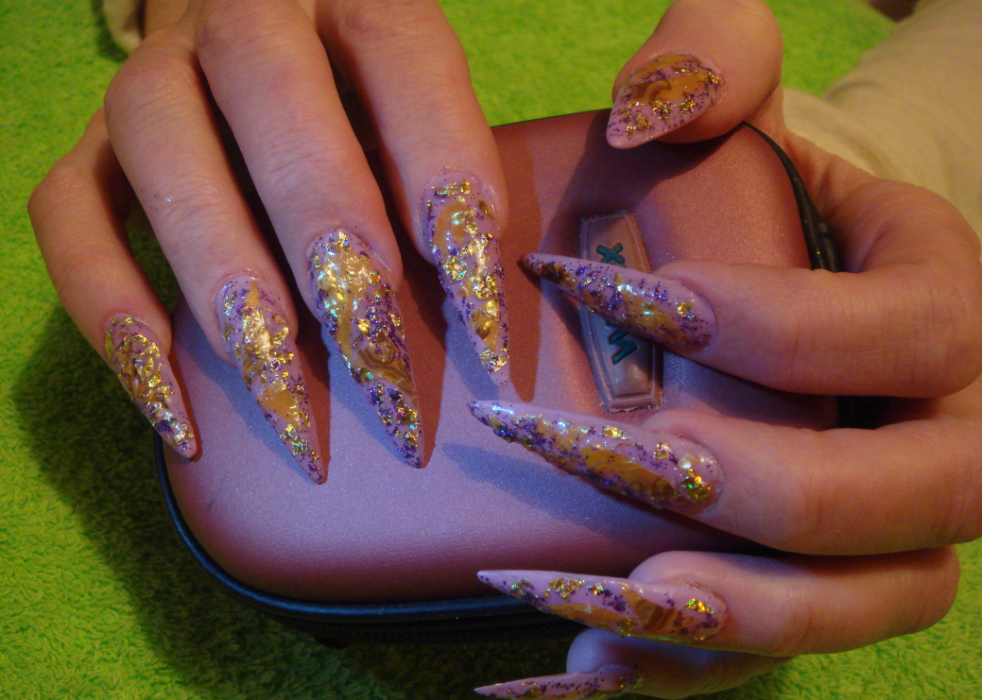
Despite the fact that in recent years, short nails have been trending, the extension procedure is still popular. Square jacket or almond claws to taste not only the female half of humanity. And the acrylic nail extension process no longer seems so complicated: each of us is able to make such a manicure at home in just a couple of hours.
Material Content:
Description of acrylic nail extension procedure
The main advantage of acrylic building is that in just a couple of hours we can become owners of long strong nails.
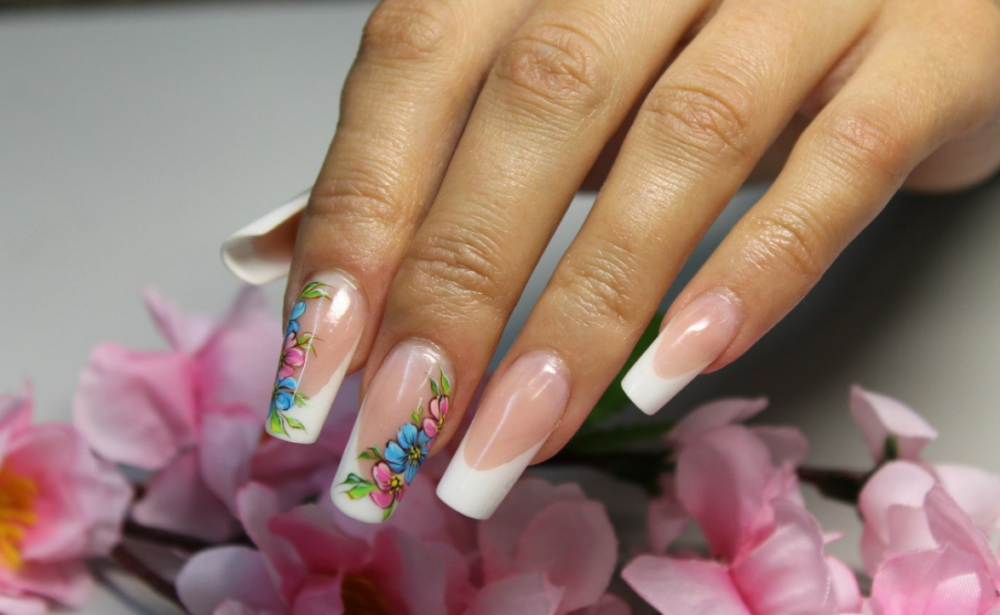
This manicure is universal - it fits any shape of the fingers. Acrylic extensions are able to hide defects and irregularities in the nail plate. You can perform the procedure using stencils or tips. Beginners often choose the second method.
Acrylic manicure has a long service life - about a month. If desired, you can simply apply the composition to the entire length of your nail and add more material as needed. Acrylic will give hardness to manicure and help to grow long healthy nails.
Necessary materials and tools for manicure
To perform nail extension at home, you need to purchase special tools and materials.
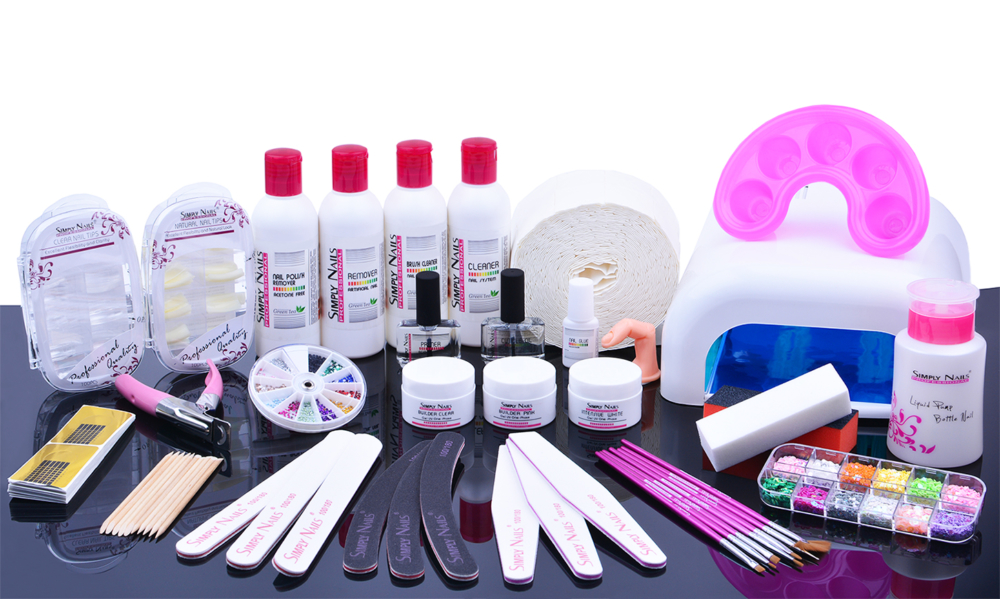
List of necessary purchases:
- Lamp for gel polymerization, if it is planned to topcoat gel nails.
- Acrylic liquid.
- Special powder in several shades (colorless, white and (or) pink).
- Gel.
- Means for degreasing the nail plate.
- Disinfection Spray.
- Chlorhexidine or another disinfectant (in case of cuts).
- Primer.
- Means for removing the sticky layer.
- Acrylic Remover
- File, buff.
- Lint-free napkins.
- Brush.
- Shapes, tips and (or) clamps (for arched building).
- Moisturizing oil or cream.
In order to avoid allergic reactions and for the persistence of manicure, it is recommended to choose nail cosmetics from one manufacturer.
Step-by-step instructions for beginners at home
It has long been no news that doing nail extensions at home is much cheaper than the services of a master. Undoubtedly, the initial expenditure on materials is not too small, but it is equal to the cost of 2-3 extensions in the cabin. In the future, you just need to bribe your favorite colors or decorative ornaments.
There are several ways to grow nails with acrylic - on the form or tips. It cannot be said that one of them is better and the other worse; each of us selects a method that is more convenient for us.
General recommendations for preparing for the nail extension procedure:
- the day before the manicure should refrain from taking hot baths and swimming in the pool;
- Before applying acrylic, you need to do a hygienic manicure;
- the growing part of the nail should be at least 1-2 mm.
Rules to be observed after building up:
- for several days, nourish the nail rollers with oils and creams;
- chores are best done with gloves;
- use sharp and sharp objects, including a kitchen grater, with care;
- Keep your nails away from fire to prevent ignition.
On forms
For this method of extension, it is necessary to slightly grow the nails, so that it is convenient to lay the form under the growing part.
Step-by-step instructions for nail extension with acrylic using the forms:
- Wash hands with antiseptic soap and disinfect with a special spray.
- Remove cuticle and burrs.
- Sand with a file. The procedure is carried out until the gloss on the nails disappears. Important! It is necessary to file nails with extreme care so as not to remove the excess layer and not to injure the plate.
- Stick forms under the growing edge. Substrates can be made from various materials - paper, plastic and even metal.
- Apply a degreasing agent and wait for drying.
- Coat nails with primer.
- Then apply an acrylic composition. In the area of a natural nail, the layer should be thicker, and on the plate itself (the growing edge) - thinner. As a rule, about 4 layers are applied, each of which dries in 5 minutes.
- Take off forms.
- Next, file off and polish the nails. If you want to create a French manicure, cover your nails with colored powder (white, beige, pink).
- Apply a clear gel or gel polish and dry in a lamp.
- Remove the sticky layer with a lint-free cloth and a special tool.
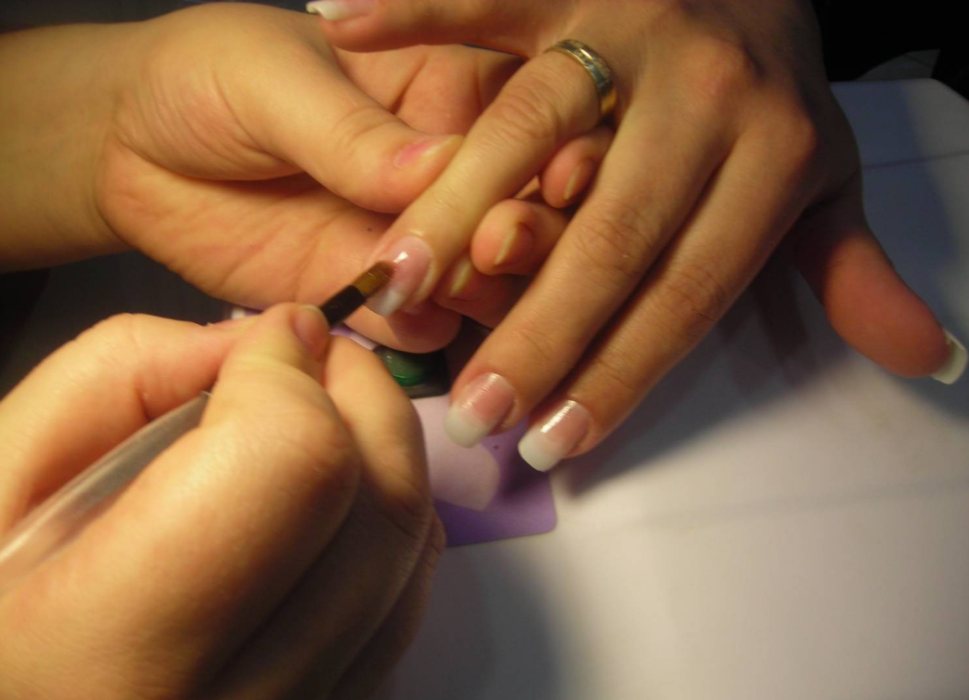
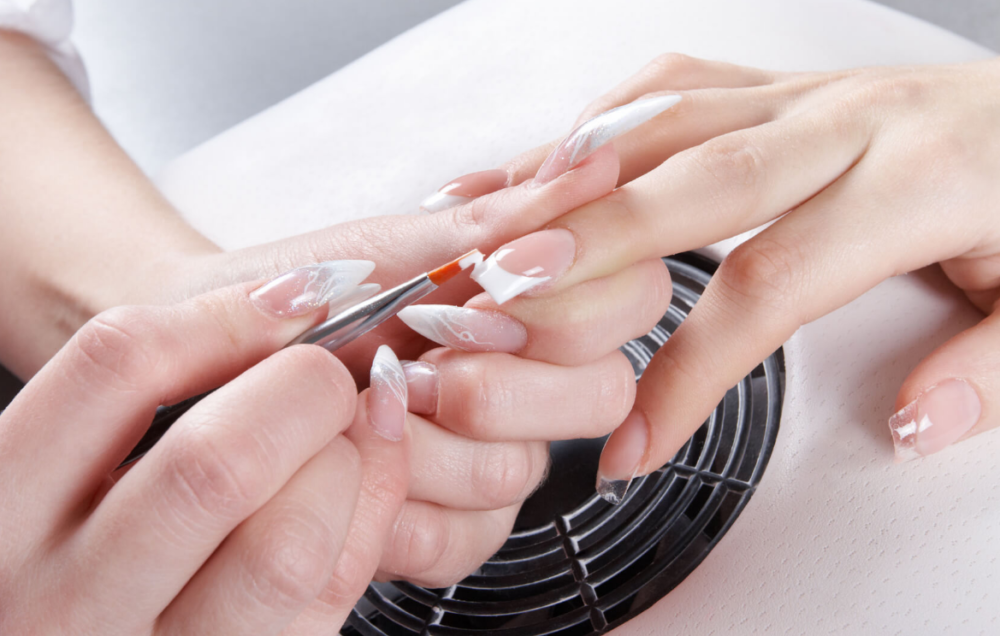
On tips
Tips - plastic nails (templates), which come in different sizes and shapes. One of their ends, thinner, serves to simulate the growing part of the nails, and the other, dense, semicircular in shape, is superimposed on a natural plate.
Step-by-step instructions for nail extension with acrylic using tips:
- Wash hands with antiseptic soap and disinfect with a special spray.
- Remove cuticle and burrs.
- Sand with a file. The procedure is carried out until the gloss on the nails disappears.
- Choose tips. The shape of the free edge of a natural nail should match the size of the arc of the plastic template. The width of the growing part of the tips should be equal to the length of the horizontal line in the center of the natural plate.
- Apply glue (fixative) to the back of the template. Place the plate on the nail and press firmly. The glue should set within 20 seconds. If necessary, excess glue can be removed with a lint-free cloth.
- Using the forceps to cut the tips, form the desired length, given that some part will be cut later.
- Using a file, grind the template mounting line. Then form the desired shape of the nails. After filing, no gaps should be felt on the plate.
- Apply primer.
- Next, as with the substrate forms, apply an acrylic compound. In the area of a natural nail, the layer should be thicker, and on the plate itself (the growing edge) - thinner. Apply about 4 layers, each of which dries in 5 minutes.
- Next, file off and polish the nails. If you want to create a jacket, cover your nails with colored powder (white, beige, pink).
- Apply clear gel polish and dry in a lamp.
- Remove the sticky layer with a lint-free cloth and a special tool.
Important! For beginners, it is better for the first time to stop at an average length so that it is easier to get used to the extended nails.
Arched building
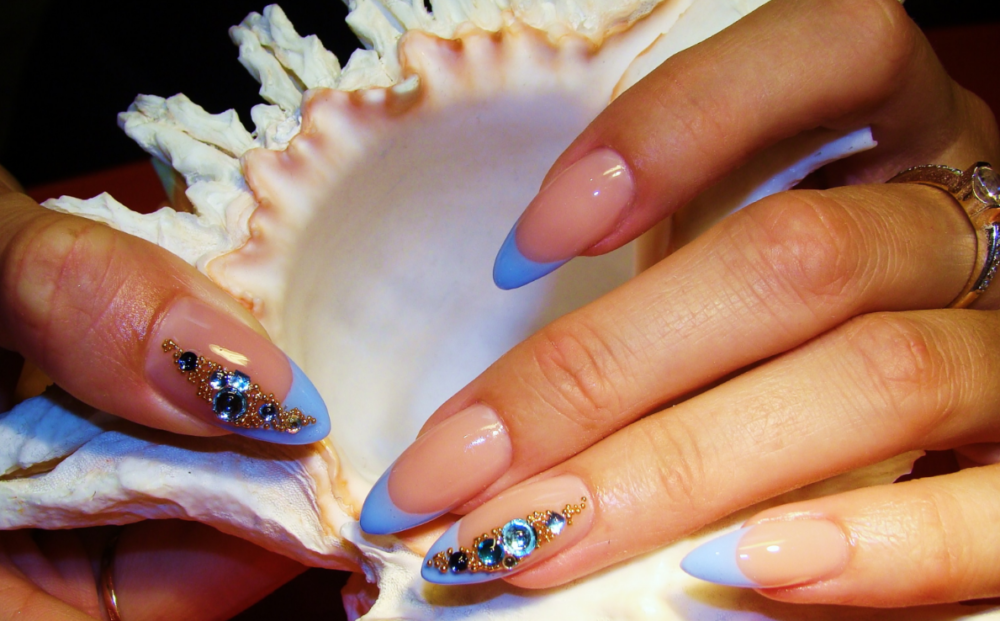
Recently, an unprecedented popularity has gained arched acrylic nail extensions. Making it is not as difficult as it might seem at first glance, but not all salon masters offer such a service. The manicure, made in an arch way, looks especially beautiful and elegant, is durable along the entire length and suits everyone.
The procedure for lengthening the nails is not very different from the methods described previously, except that the free edge is formed using embedded tubes creating a uniform curvature, or special clamps are used, laying them on the outer surface.
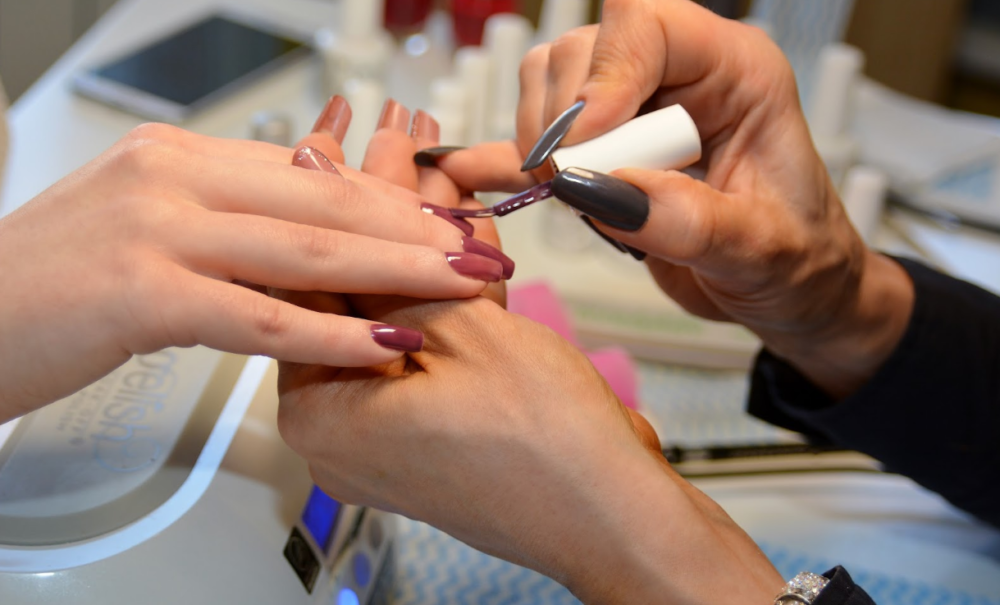
Carrying out the procedure in the salon
At first, the quality of the extension procedure in the cabin will significantly exceed the result obtained at home. But over time, any beginner will gain experience and will be able to make any nail design for himself no worse than a master of nail art.
List of the benefits of manicure performed in the salon:
- Speed. Despite the fact that 2 hours spent in the salon seem endless, at home, the same manicure may need twice as much time.
- The master has all the necessary tools and special tools.
- Performing the procedure of building and removing nails with minimal damage.
- Salon manicure can last longer than home. The reason for this may be our ignorance of all the subtleties of the procedure: it is possible to remove a too large layer of a natural nail with a file, not completely remove the cuticle adjacent to the bed, or incorrectly perform the correction.
Which is better: gel or acrylic
Each cosmetic procedure has its own advantages and disadvantages, this also applies to nail extensions. Depending on the priorities and desires, each girl, woman selects for herself her own type of manicure.
Pros and cons of nail extension using gel:
- look more natural (more natural), have some flexibility;
- when adjusting, the entire gel is removed, the cost of such a procedure is equal to the price of the initial build-up;
- if the material is removed incorrectly, nails can be severely damaged;
- the term “socks” before the correction is up to 2 weeks, in some cases - up to a month;
- during the build-up procedure there are practically no unpleasant odors;
- a broken gel nail cannot be repaired independently;
- depending on the type of lamp used for polymerization, it takes from half a minute to two to three to dry one layer of gel.
Pros and cons of nail extension with acrylic:
- strong, but not at all flexible;
- a high probability of getting a curvature of the nail bed;
- the cost of building and correction is lower than when working with gel;
- if the acrylic layer is removed incorrectly, nails can be severely damaged;
- the term of “socks” is large, the adjustment needs to be done only once a month;
- due to chemical odors during building, the procedure is not recommended for pregnant women;
- broken acrylic nails can be easily repaired at home using special glue;
- complete drying of the extended nails occurs during the day, the material dries from contact with air.
Important! It is possible to apply varnish only after the manicure is completely dry, that is, in a day.
The technologies for removing acrylic and gel nails are similar, they can both be cut off and softened using a special liquid, and then removed with a pusher.
In conclusion, I want to say that any girl, woman, in the presence of desire and special materials, can do a manicure, as in a beauty salon.


