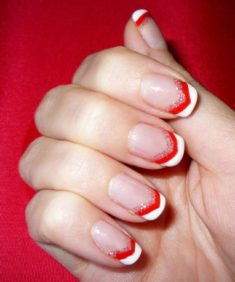
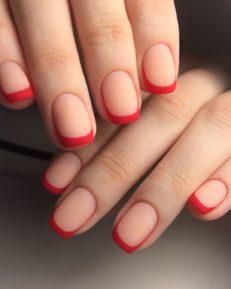
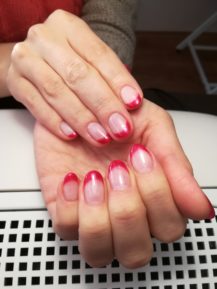
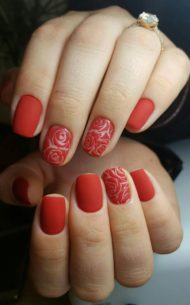
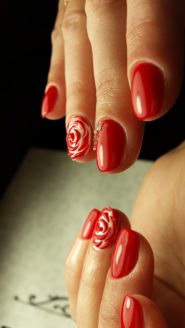
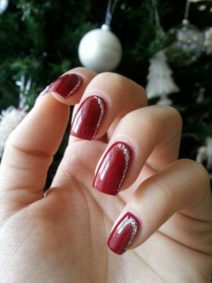
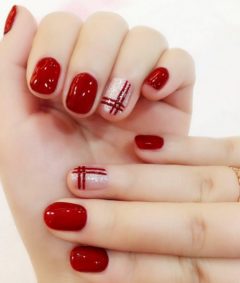
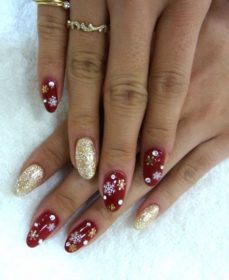
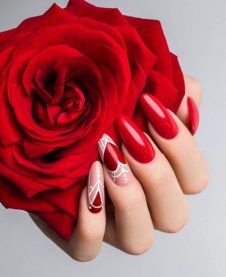
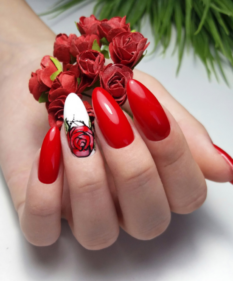
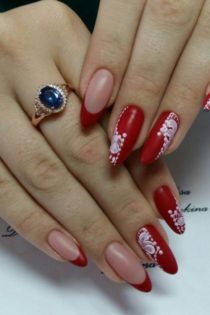
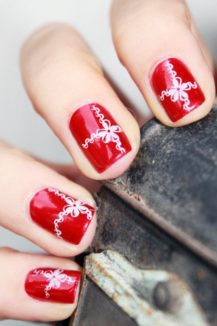
Fashion is capricious and changeable, but there are things that are not subject to it. The red color has long gone beyond fashionable boundaries, has become a classic everywhere, without missing a manicure from the sphere of influence. The red nail design is chosen by bold and confident women and girls, adding a special twist to the chosen image.
Material Content:
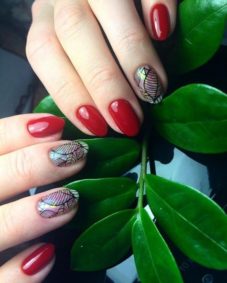
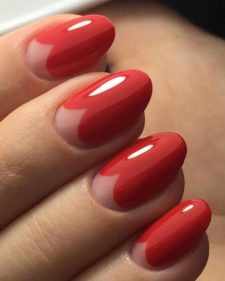
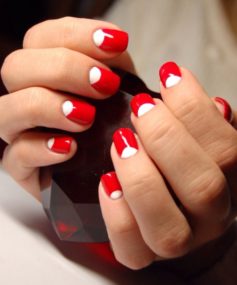
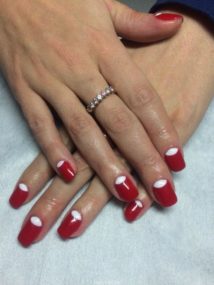
Beautiful jacket for short nails
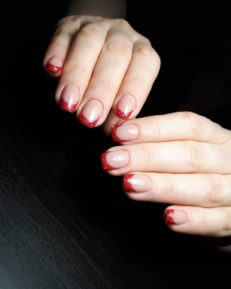
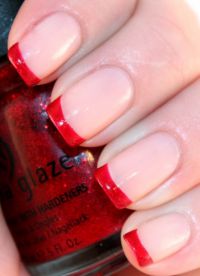
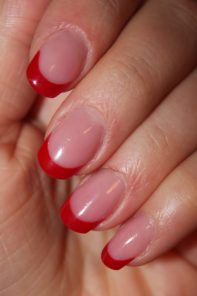
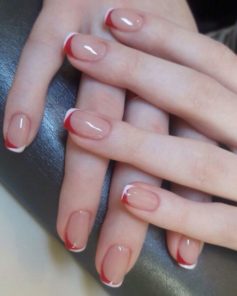
Short nails are not a reason to deny yourself a bright beautiful manicure. The classic jacket will look original and unusual if you make it in red colors. The only condition for him is a short smile around the edge, since a wide one conceals the length, visually shortens the nail plate.
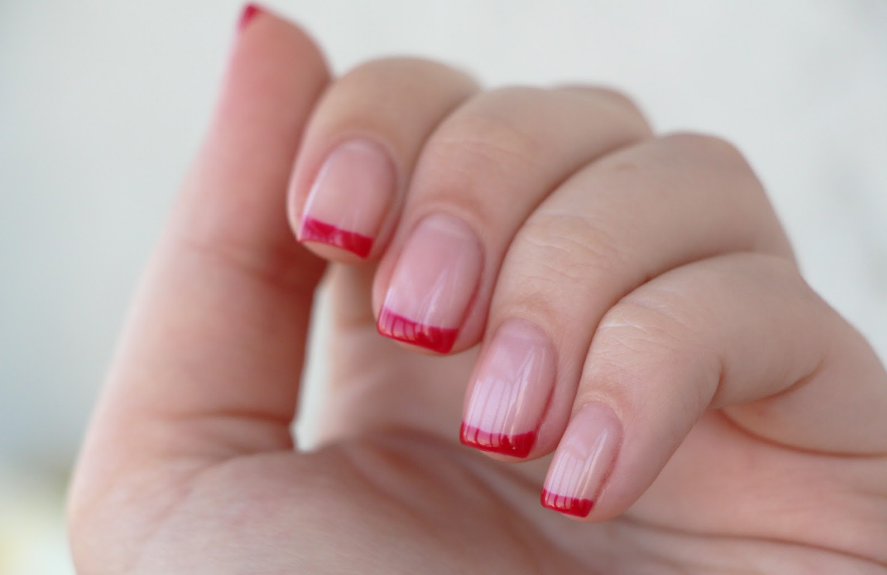
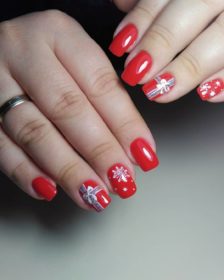
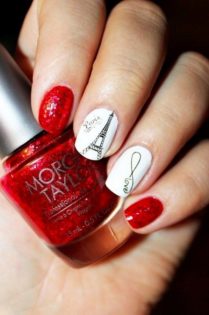
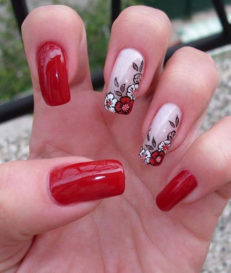
You can complement the design with a simple drawing in the style of minimalism on 1-2 nails or highlight them completely covered with varnish, decorated with stickers, stamps, kamifubuki.
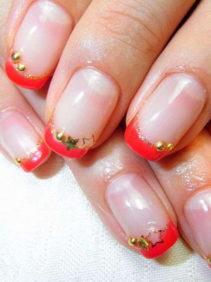

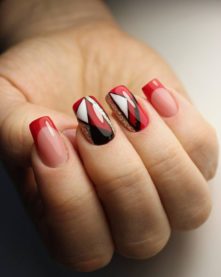
Spectacular nail art - red with gold French
For work you will need:
- gel polish - translucent beige base, red and gold;
- thin brush for painting;
- a stencil to limit the smile;
- base and top;
- lamp for drying.
Step-by-step instruction:
After application, each coat must be dried in a lamp.
If a top with a sticky layer is used, it should be removed after the completion of the manicure.
- Prepare nails for manicure.
- Apply base.
- Cover the nails with a gel base in 2 layers, completely make the nail on the ring finger red.
- Stick stencils, draw a smile.
- Then, on a red varnish with a thin brush, make a schematic drawing in gold, for example, in the form of a flower with petals or butterflies. Butterfly wings or the petals of a large flower can be drawn on two adjacent fingers so that when they come together they form an entire element.
- Fix the result with the top.

For simple drawings, you can use the dots - stick with a round tip.They can make drawings in the form of randomly arranged dots or flowers. Armed with a thin brush and dots, the points can be quickly turned into patterns or monograms with one simple movement of the hand.
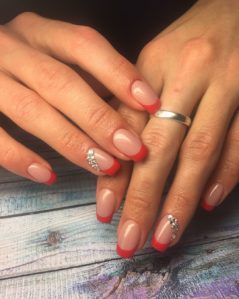
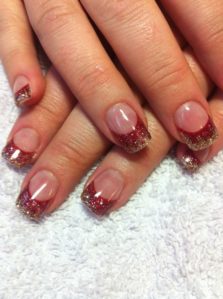
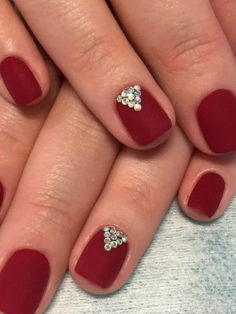
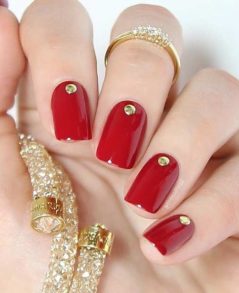
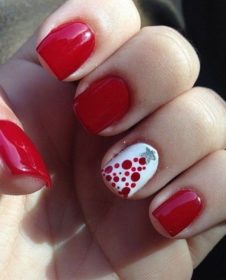
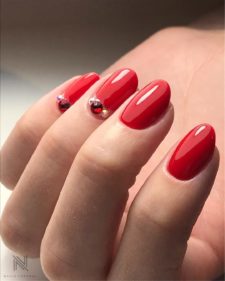
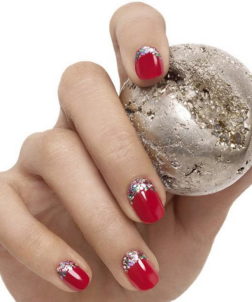
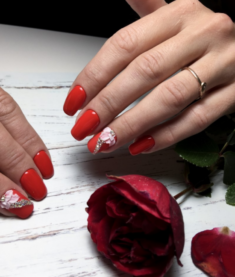
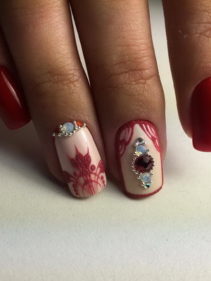
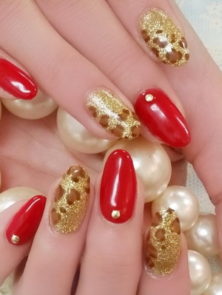
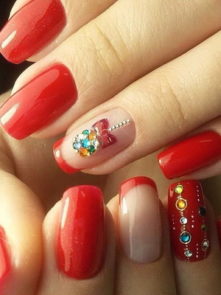
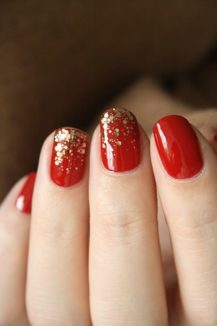
Design using rhinestones, powder
Acrylic powder in nail art makes it possible to create incredible beauty designs on the nails. It can be just a velvet surface or fancy patterns with a combination of different shades, techniques and decor.

What are the types of powder:
- transparent
- matte;
- with sparkles;
- color;
- camouflage (to correct irregularities on the nail plate).
Masters call the material for design sugar or velvet sand.


In order to make a design at home, you can purchase a universal transparent powder with shine. Transparent sand will be the color on which it is applied.
Tip nail artist: for design with powder it is better to choose a top without an adhesive layer. After drying, the powdery pattern is not covered with any fixing agents and it will be rather problematic to remove the sticky layer from fragments of the main coating.
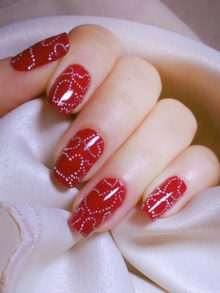
Nail design red with powdery pattern and rhinestones
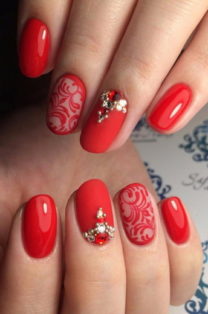
You will need such materials and tools:
- transparent powder with shine;
- shellac of red and white;
- base, top;
- thin brush;
- scapula or fan brush;
- rhinestones;
- tweezers;
- lamp.
How to do:
- Apply top to prepared nails.
- Cover with primary color.
- After drying, cover the top with the DLS, dry again.
- On those areas where rhinestones will be located, apply a ball of top with a thin brush. Set the stones with tweezers, crush them slightly. After laying decorations to dry.
- Make the picture white. In order for the powder to “strengthen” well, it is not necessary to spare the varnish for the drawing, it must be voluminous. Do not dry the drawing.
- With a fan brush, sprinkle abundantly with the finished drawing with powder.
- Dry the design with powder in the lamp, remove excess powder with a brush.
In order for such a manicure to be durable in the sock, it is necessary to dry the drawing with powder very carefully - 2 or 3 times.
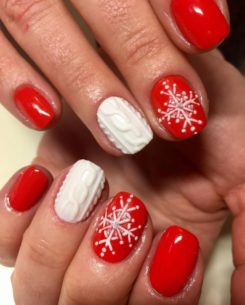
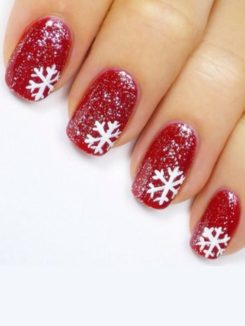
On the eve of the New Year, nail art with powder is especially popular.
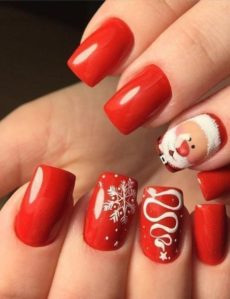
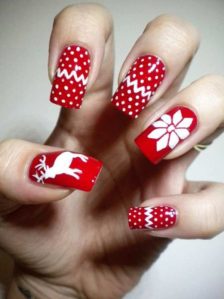
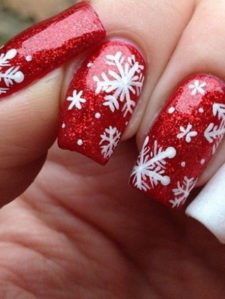
With it, just create interesting winter patterns on your nails:
- snowflakes;
- Scandinavian motives;
- knitted patterns;
- Christmas trees
- fairy lights;
- snowmen.
Those who have the makings of an artist can draw Santa or a deer, it all depends on their abilities and imagination. Even the combination with black will look elegant if you add white powdery snow.
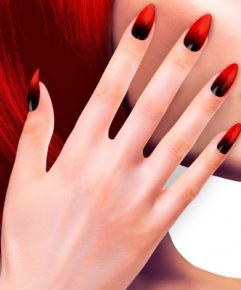
Moon manicure with gel polish
A bright manicure in red tones always looks very stylish, regardless of what image it complements - a strict office or holiday outfit. Neat well-groomed nails with red varnish always attract the views of others to both the design and its owner.
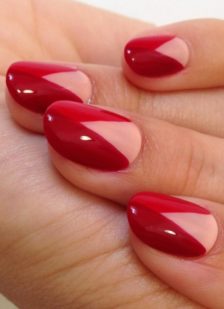
Mirrored twin brother of French manicure - moon design. A smile or hole stands out at the bottom of the nail plate. This color goes well with gold and silver. To decorate the hole, you can use rhinestones, black or white. Lunar manicure is combined with geometric patterns. And if you want strict classics, then you should choose a design with a transparent hole.
With silver
Materials and tools for work:
- gel polish red and silver;
- stencil for the hole;
- top and finish;
- thin brush;
- lamp.

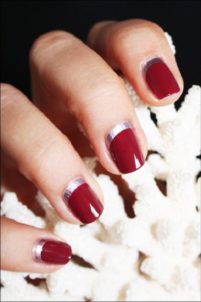
Step-by-step execution:
- Prepare nails for work and degrease the surface.
- Cover with a top.
- Stick the stencil, first paint the upper part of the nail with red varnish.
- Cover the hole with silver varnish.
- Apply topcoat.

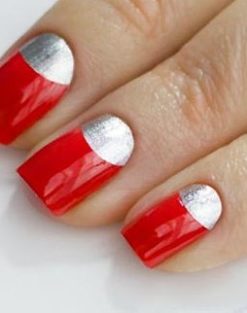
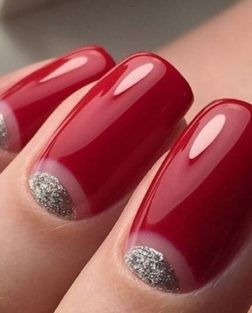
Such a manicure can be performed in other variations:
- make a concave smile along the edge of the cuticle;
- modify the shape of a smile.
- 1-2 nails highlight with silver or any contrasting varnish;
- add a rim of rhinestones along the edge of the smile / hole.
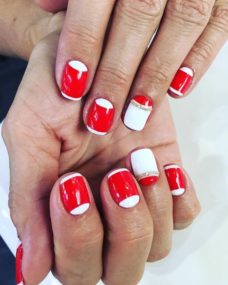
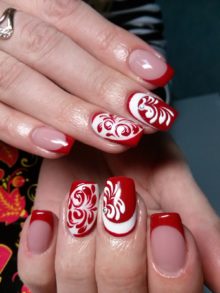
Another fashion trend is a combination of French and moon manicure in one. For this design, you can use a combination with gold or white varnish.
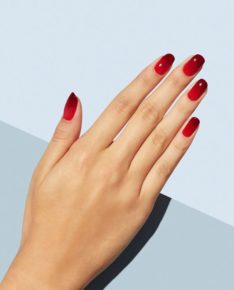
Gradient for long nails.
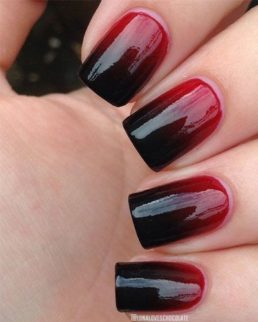
Fashionable technology pleases lovers of unusual manicure for more than one year.Grad is a popular trend this season. Design is done horizontally or vertically, it happens monochrome - smooth transitions from light to dark, or a combination of complementary colors - a combination of shades that are opposite to each other. Coverage in this style can be done on all fingers, but only a few can be highlighted. The most popular are combinations of three colors: red, black, white.
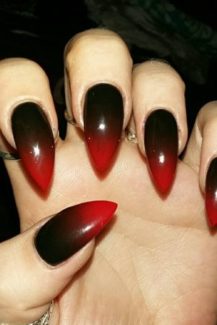
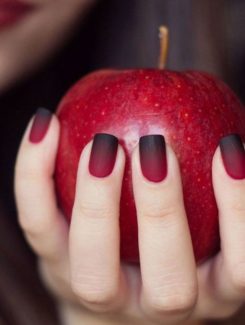
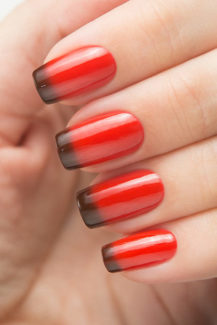
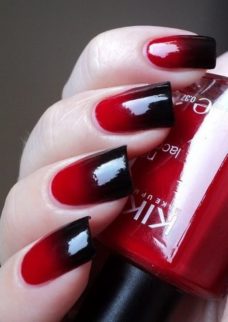
With black
What is needed for work:
- black and red varnish;
- basecoat - can be transparent;
- sponge;
- brush;
- fat cream or petroleum jelly;
- fixers - base and top coat;
- foil as a palette;
- lamp.
Step-by-step process:
- First coat the prepared nails with a base, then with a base varnish.
- Pour two wide strips of varnish onto the foil, mix them on the border.
- Lubricate the skin around the nails with cream.
- Dip a sponge in mixed varnishes and apply color on the nails. Press the sponge thoroughly so that the coating is even, you can pat the varnish on the nail with patting movements.
- Secure with topcoat.
Design can be diversified by drawings, stickers. Select two adjacent fingers with a gradient, and on the others make a monophonic coating.
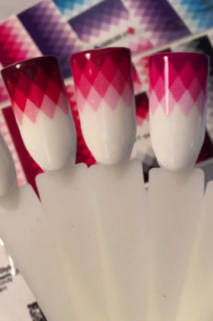
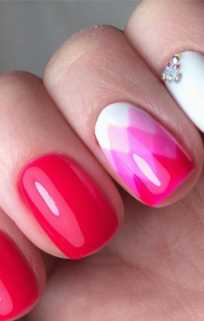
Geometric gradient rhombuses - with white
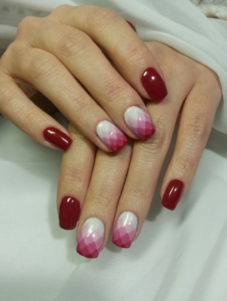
For this design, varnishes of two colors will be needed - red and white.
Besides:
- palette for mixing varnishes;
- thin brush;
- top and base;
- lamp.

Step-by-step process:
Performing the gradient in this technique, each layer must be dried as it is applied.
- Cover the nails with top, dry and apply a white base.
- Pour red and white varnish onto the palette. Mix a couple of drops of red with white to make pink. Step back a little from the hole, leaving a strip of white and paint with a brush the contours of rhombuses, fill the space above the contour.
- Again, add red polish already to pink, to get a slightly more saturated tone. Draw the rhombs again in a checkerboard pattern.
- Make 3-4 lines of rhombuses, cover the edge of the nail with clean red varnish.
- Secure with topcoat.
The lines of the picture should be smooth and neat, otherwise the design will look untidy.
Note! All examples are given using acrylic coatings, which require drying in the lamp of each layer.
New Design 2018
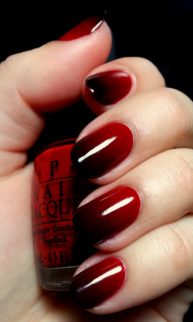
Red, then beautiful, is true. This color has a rich palette of shades, ranging from delicate coral to rich ruby color. Every year, nail masters offer something new and unusual.
This year, red matte manicure became popular. It looks especially interesting in combination with a glossy finish.
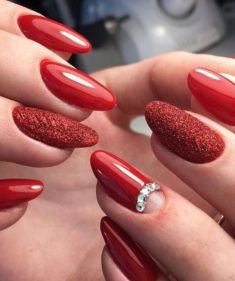
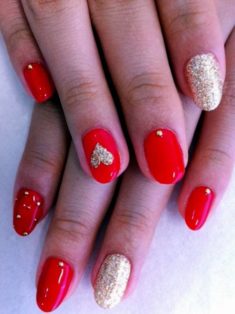
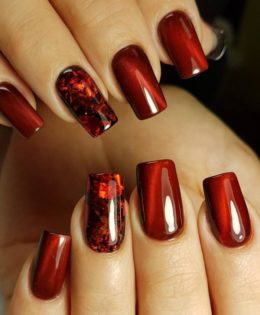
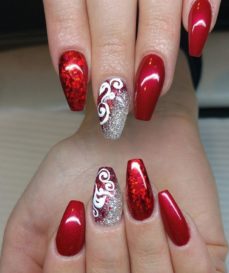
The trend is various rubbing, glossy manicure with foil, glitter.
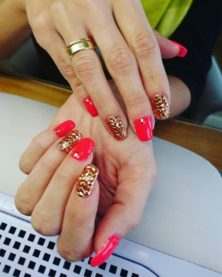
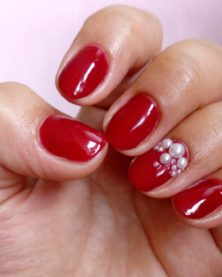
For holiday manicure, rhinestones, large curly stones are used. Super fashionable novelty - the “caviar” powder is used for 3D design, allowing you to create an incredibly beautiful and fantasy manicure.
Drawings and decorations are now not only on the nails, they continue on the fingers. Flash tattoo appeared at the end of last year and quickly took root among fans of extraordinary nail design.

The negativ space technique is the latest trend in this area. Negative space refers to “free space,” that is, a nail that is not covered in color. Airy and lightweight design combined with red geometric shapes will add creativity to any look.
The combination of simple nail art techniques will create a bright and stylish red nail design.


