For those who first wondered how to assemble a Rubik's 3x3 cube, proven schemes will help to gain a positive experience. Training will bring logical understanding, ease and the ability to experiment with more complex models.
Material Content:
- 1 Secrets of building a Rubik's Cube: elements, parts, key concepts
- 2 The structure of the Rubik's Cube and the names of the rotations
- 3 Step-by-step instruction for assembling a 3x3 puzzle for beginners
- 4 The fastest way. Jessica Friedrich Method
- 5 How to collect a Rubik's Cube 3x3 with your eyes closed
- 6 Who owns the record for the fastest cube assembly
Secrets of building a Rubik's Cube: elements, parts, key concepts
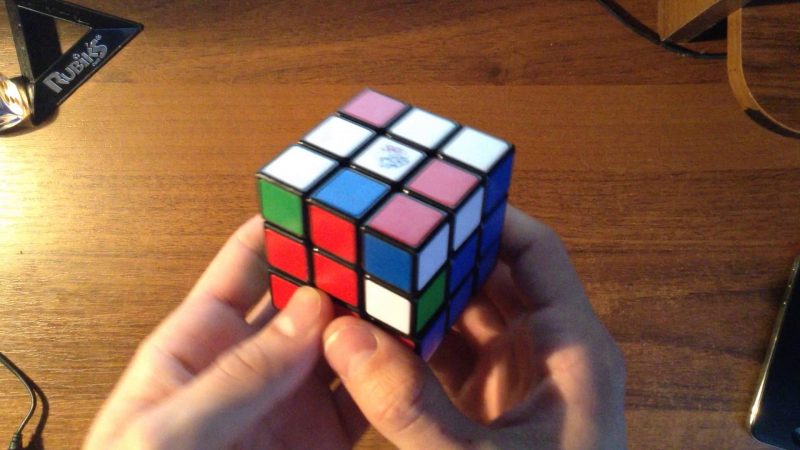
On the faces of the cube are fifty-four fragments, 9 pieces of different colors. They move along three axes relative to the center. The player's task is to collect the same elements on the sides of the cube.
The patented version of the puzzle involves a clear juxtaposition of colored faces: white - yellow, green - blue, red - orange.
Schemes for beginners take this nuance into account, for simplicity, designating the sides by the color of the central element. Therefore, do not skimp on a quality toy. In addition, the original will please with the easy move and reliability of the mechanism.
The puzzle consists of the following elements:
- Cross - fixed axes on which the central elements of each face are located.
- Centers are colored elements that are motionlessly located on six sides of the cube and create opposed color pairs.
- Moving elements: corners - 8 extreme elements, characterized by a combination of three colored sides, and edges - 12 elements located between the corners, the color combination is unique for each element.
A completely different design has a mirror Rubik's Cube 3x3. Its elements are painted in the same color, usually metallic, and differ only in shape. Moving fragments destroys the cube, turning it into a fantastic design.The solution to the puzzle is complicated at times, but experience with the classic version is sure to come in handy.
The structure of the Rubik's Cube and the names of the rotations
To designate individual elements, record actions with them, and puzzle solving algorithms, notation systems have been developed.
In Russian-language materials there are notation with the letters of the Russian alphabet. The symbols adopted by the World Cubic Association (WCA) are more popular.
Face Names:
- R-ight
- L-eft;
- U-p;
- D-own
- F-ront;
- B-ack.
The name of the edge is formed from the two faces that it connects (RF, LU).
The name of the corner according to the same principle is made up of three letters (FRU).
Inner layers:
- M-iddle - between R and L;
- S-tanding - between F and B;
- E-quatorial - between U and D.
The movement of the faces is the rotation of a group of elements around a center fixed on a cross.
It is denoted by the same capital letter as the face.
Movement is possible:
- in the course of hours - is denoted by the same letter as the face;
- against the clock - the direction indicates the sign "‘ ";
- double rotation is indicated by the number 2;
- joint rotation of two layers with the letter w, for example, Rw for layers R and M.
In order not to get confused with the direction of rotation, the dial is mentally applied to the surface of the face. The imaginary arrow will not make a mistake.
The middle layers move according to the faces:
M is like L;
S is like F;
E is like D.
Cube manipulations - interceptions. There are possible turns to yourself - from yourself, to the right - to the left, in the course of hours and against.
The names correspond to the coordinate axes:
- x - repeats the movements of R;
- y - repeats the movements of U;
- z - repeats the movements of F;
- 2 - repeat interception.
Step-by-step instruction for assembling a 3x3 puzzle for beginners
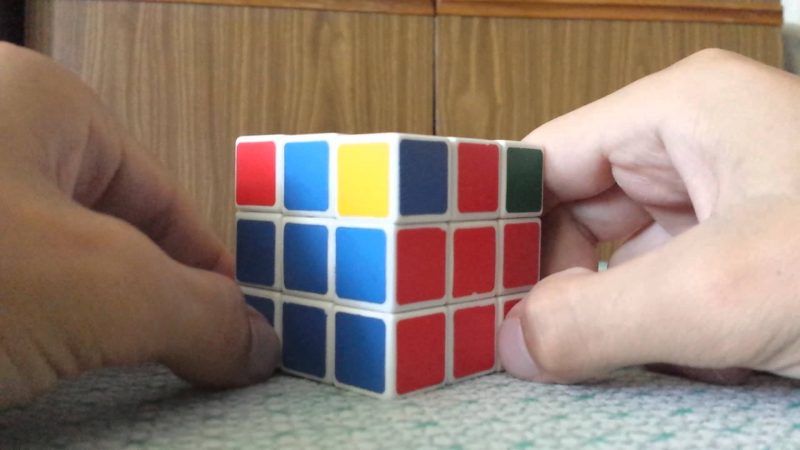
Instructions for assembling a Rubik's Cube 3x3 for a beginner in any manual begins with a white cap.
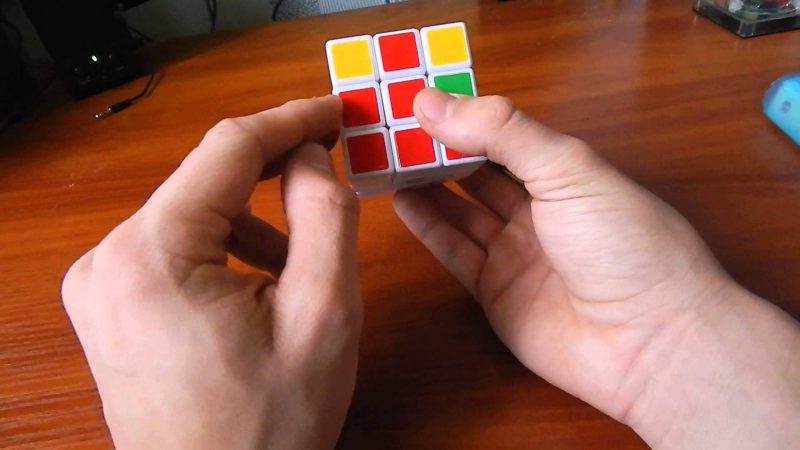
- The first step, the “white cross,” is the ribs with white elements gathered around the white center.
- The next step is the “right cross”, in which the ribs of the first layer with a white cap are adjacent to the central elements of the same color.
- Corner details with white elements quickly fall into place. Most often they are deployed in an arbitrary direction, the white element will not be on the white side, but on the adjacent one. For subsequent action, the masters of high-speed assembly have a well-aimed word - the element must be “flipped”, that is, deployed in place. For this, the R’D’RD algorithm is used. This sequence of actions in six moves returns any element to its place, expanding and moving it in all possible ways. This means that in one of the moves the element will take its original correct position.
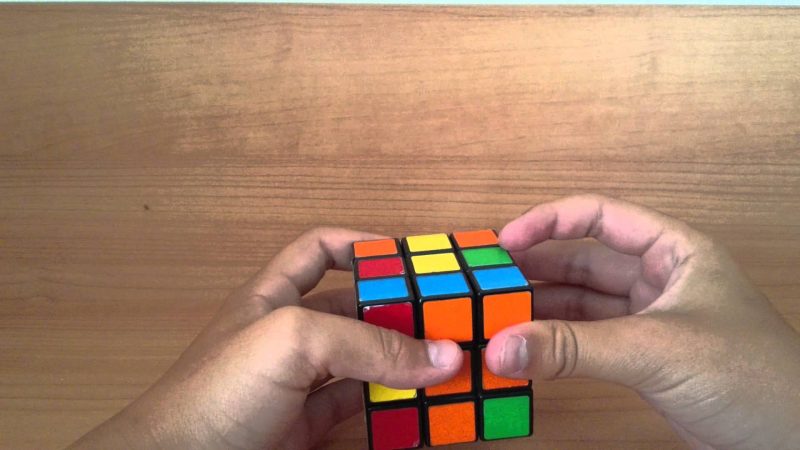
The first layer is assembled: a white hat and a colored belt with the correct alternation of colors.
The next task is to collect the middle layer, the remaining four edges.
- The white side moves down, this is interception y2.
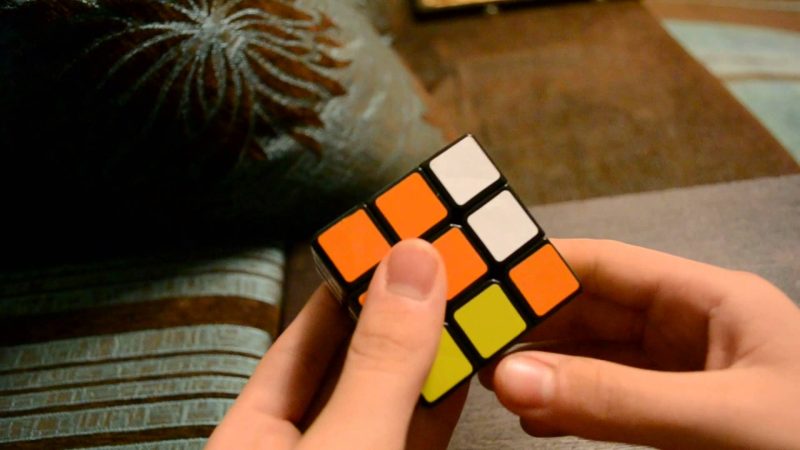
- The ribs of the middle layer are easy to identify, there are no yellow elements on them. The edge is placed above the corresponding center and, using algorithms, is shifted from the upper layer to the middle. Left shift: U'L'ULUFU'F'. Right shift: URU'R'U'F 'UF.
If the edge is not set as it should, you will have to repeat the entire algorithm to knock it back to the top layer. Attempts to continue until the result.
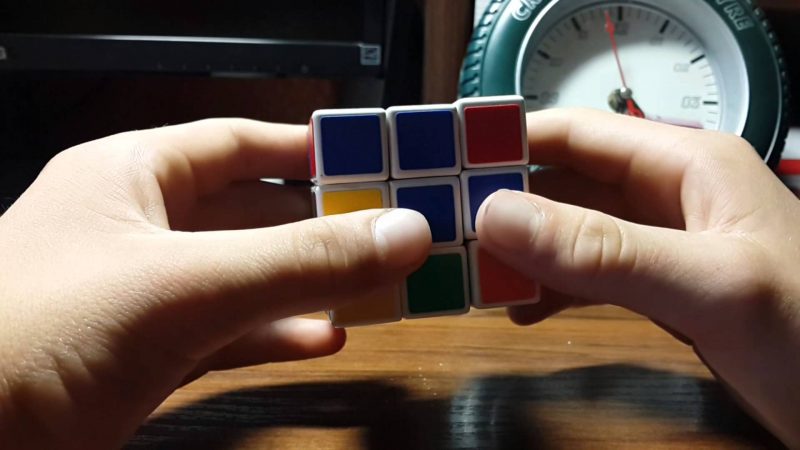
The assembly of the yellow cap and the entire top layer also begins with the cross.
- For the edges of the yellow cross there is an algorithm: FRUR’U’F ’. Carrying out the rotation, you cannot lose the original frontal face, that is, the cube is not intercepted.
- Now the ribs should be rebuilt into the “right cross”. Two of them will surely be in their places.
There are options for the remaining ribs:
- on opposite ribs: RUR’URU2R ’.
- on adjacent ribs: RUR’URU2R’U.
Corner elements of the upper face are set last.
- The URU’L’UR’U’L formula allows you to set at least one item correctly.
- This angle is placed at the RUF position by rotating the cube. Already installed elements move with each rotation of the faces. Repeating algorithms returns everything to its place.It is very important to keep the center F stationary when working with the third layer and not intercept the cube.
- The remaining corners can be moved relative to the first using the formulas U’L’URU’LUR ’(clockwise movement), and URU’L’UR’U’L (reverse movement).
- Most likely, the corners will need to be “flipped” so that the color elements move to the appropriate sides. You’ll have to turn to the R’D’RD formula again.
In 2010, the capabilities of computer technology made it possible to calculate all the options for assembling the cube and determine the minimum number of moves needed to solve the cube.
Tom Rokiki and his team of enthusiastic mathematicians argue that this can be done in 17 to 20 moves.
The easiest way is the “God’s algorithm”: B2 D2 F ’R2 F U2 R2 F’ R2 U2 F R U L B D R’D L2 U ’- you can collect a cube from any position.
However, such a clear mathematical thinking is available only to the computer processor. The human brain is still able to think out a solution in 30 - 40 moves.
The fastest way. Jessica Friedrich Method
Assembling a Rubik's Cube 3x3 for beginners is carried out in five stages, described above. To solve each stage, mechanical enumeration of options and repeated repetition of formulas are used.
In order to assemble the Rubik's Cube quickly, the first three steps are combined into one. It is for this that Jessica Friedrich developed her algorithms. Elements are moved in pairs. The first corner and the edge of the middle layer adjacent to it are driven into its slot simultaneously with the assembly of the cross. There are three more pairs left. If you save time on mechanical enumeration of possible options, the assembly time is drastically reduced to 20 seconds. The groups of formulas for the key steps describe the possible positions of the angle-edge pairs (F2L) and the permutations needed to assemble the top layer (OLL, PLL). With high-speed assembly, all the algorithms need to know how to multiply the table, and use them quickly, and this is more than a hundred options. Working with a cheat sheet is not possible here.
How to collect a Rubik's Cube 3x3 with your eyes closed
Assembling a blind cube is a sophisticated exercise for training your memory.
The player carefully examines the proposed scramble and immediately thinks through combinations with which it is possible to move the elements to their rightful places.
Instead of 54 colored elements, you need to remember the location of the edges and angles, and this is only 20 units. Each color sticker on them is mentally assigned an alphanumeric designation. These correspondences were invented in advance and memorized by heart.
A reference point is selected, for example, the edge RU. This is a buffer zone. The element in it is the first to move into place. Special algorithms move two or three elements at once, if one is in the right position, the other takes the vacant place. The player, not seeing the cube, knows which element has occupied the buffer zone, and again can confidently move it. Chains of movements are mentally arranged in a sequence of letters or numbers. A preliminary inspection reduces to constructing displacement codes for edges and for angles.
It uses all kinds of storage techniques for short-term and long-term memory. All have their own receptions. For example, a sequence of letters can be turned into a sequence of words by mentally connecting disparate images into a logical chain.
The most important rule is not to flip the cube so as not to change the orientation of the faces, and not to confuse the buffer element.
Who owns the record for the fastest cube assembly
The reigning champion for half a year twice updated the record. Felix Zemdegs, a cuber from Australia, showed a record time of 4.59 seconds at the beginning of 2018, and at the competition in May, he met in just 4.22 seconds. Zemdegs used Jessica Friedrich's fail-safe system. According to numerous reconstructions, he made up to 10 moves per second, mentally counting many times more options.
In addition to assembling the classic cube, he owns the championship in assembling with one hand and assembling large cubes - 4 * 4, 5 * 5, 6 * 6.7 * 7.


