The formation of perseverance, the development of imagination and fine motor skills are inalienable skills in raising children. In this, joint crafts help parents. Designing boats can be attributed to the most popular activities. How to make a boat out of paper in different ways, this article will tell.
Material Content:
Step-by-step instructions on how to make a boat out of paper
Well-known sources offer numerous schemes for creating boats from both plain paper and cardboard, matchboxes or other materials, as well as for different age groups. It can be an ordinary, long familiar to everyone, classic boat or boat, sailboats for small and older, complex steamboats with "real" pipes and many, many other crafts.

A self-made boat can serve the baby as a funny toy that he can independently launch through the water.
Coming up with different subjects, using additional objects, a paper boat is also used in a collective game. And it will become a pleasant gift for friends and relatives.
Scheme for beginners
The first children's model can be a sailboat. This option for making a boat is suitable for very young children from 3 to 4 years. Crafts made of paper with their own hands at this age are a delight.
You will need a square piece of any paper, if it is colored, the craft will become more colorful. It is better to choose a lower paper weight, for example, 80 g / m2 - it is softer and easier to work with.
It is important to carefully iron the bends and more accurately combine the details, then everything will turn out and the final result will please the baby.
- Fold the square diagonally.
- On the one hand, let’s say on the right, bend a small strip of 3-4 cm (depending on the size of the square) onto yourself, carefully stroke your fingers along the fold line.
- Turn the part over and unscrew the same folded part, iron it again.
- Expand the leaflet. On the inner side, the lines along which it is necessary to bend the part are clearly traced, a large rectangle is obtained - the sail framed on both sides by stripes is the sides of the sailboat.
If the fold lines are well ironed, then there will be no great difficulty in shaping the figure. Let the child color the resulting model on his own.
In origami technique
Origami is not a simple creation. It also offers sophisticated design schemes to perfect craftsmanship. You may need to spoil a few sheets of paper before you can achieve the result. But it's worth it.
During the creative process, the child develops patience and accuracy.
The next craft can be a boat. This will require a square sheet of paper. Step-by-step instructions will help you understand the process in detail.
- Fold the sheet in half.
- Each side is again turned inward to the fold line.
- Bend the corners on both sides to the center in the center line.
- Repeat the same action again - you get sharp tight corners on both sides.
- At the formed rhombus we wrap obtuse angles to the center line.
- Grabbing with your fingers in the center of the workpiece on the center line all the details, together with the inner edges of the sheet, we unfold the product outward - a boat is already looming.
- There remains the last, most difficult action - to turn the boat on the back side. Slowly, carefully, we push inward the bottom of the boat along the fold line. First we turn out one side, starting from the right bow of the boat we move to the left, gradually turning away the edge.
- We carry out the same actions with the other side.
It turned out another swimming vessel.
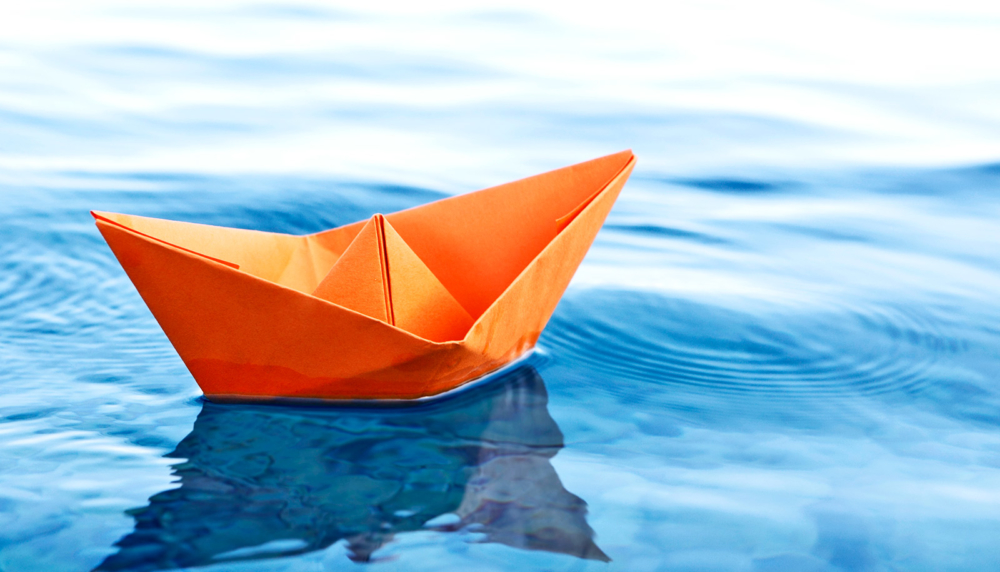
From A4 paper
Such an office format sheet is usually used for the classic design of an origami boat.
- Fold the leaf in half along the long side.
- Lay it out on the surface of the table, with the long side facing you, and outline the middle (you can fold the rectangle again).
- Bend the upper ends of the paper inward so that they connect in the middle - you get two triangles on top and free strips below.
- We bend the first strip up to the triangles, turn the workpiece over, wrap the second strip up as well.
- Formed a flat triangular part with free corners. The latter must be tucked into a triangle - first, on the one hand, then from the opposite.
- The result is a hat-hat. It needs to be folded so that a square is formed, for this we straighten the part and connect the edges of the cocked hat.
- We wrap the lower free angle up to the top, turn the part over and repeat the same action with a different angle. It turns out a “mini” triangle.
- Again, straighten the "hat" in a square.
- With the fingers of both hands, we take up the free corners on the top of the square and carefully stretch to the sides.
We straighten the workpiece and get a real paper boat
A paper ship that does not sink in water
Any paper boat will sooner or later get wet in the water and drown, though with the help of simple means you can keep its buoyancy longer:
- process the bottom of the boat with molten wax;
- soak in petroleum jelly or oil.
Baking paper or other water-repellent paper can be used. Such a toy will float longer and bring more joy to the child.
With two pipes
A two-pipe boat is already a complicated version of the boat, the process of creating which develops attention and patience.
- Fold a square sheet along two diagonals.
- We bend all the corners to the point of intersection of the fold lines.
- Turn the part over to the back side.
- Again we bend the corners to the center of the model.
- Once again, flip the box and do the same. We try to clearly connect the edges and smooth them tightly. The result was a detail with "wings" on both sides.
- We draw attention to the side where the improvised pockets formed. We open two opposite ones - these will be the steamboat pipes.
- Lift and straighten the remaining two pockets.
So we got a voluminous two-pipe ship-ship. It can also be painted and treated with Vaseline, and then allowed to float on the surface of the water.
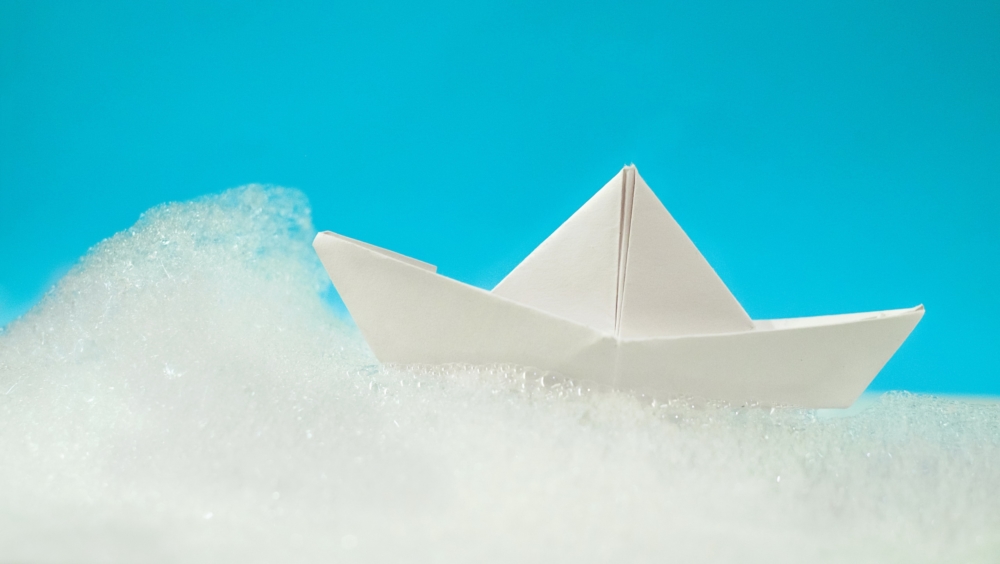
Paper boat with sail
This model will not float on the water and will not stand without support on the table, but it will be able to occupy a central place in the volumetric composition for the wall panel (a great gift for relatives and friends) or in other applications.
Step-by-step instruction:
- Fold a square piece of paper inward along the diagonals.
- Having expanded the sheet, we turn three corners to the intersection point of the diagonals, carefully ironing the bent edge, precisely connect the corners. The upper corner remains unbent - this is the future big sail.
- We turn the bottom of the "envelope" onto ourselves, leaving 1 cm from the edge - this is the second, small sail.
- We break the workpiece along the fold lines at a central point inwards so that there is a small sail in the left hand and a large sail in the right hand.
- Press the left side, smoothing the edge.
- We pass to the right side and also fold the right side.
Already got a sailboat. We bend an acute angle at the bottom of the boat, and the model is ready for decoration.
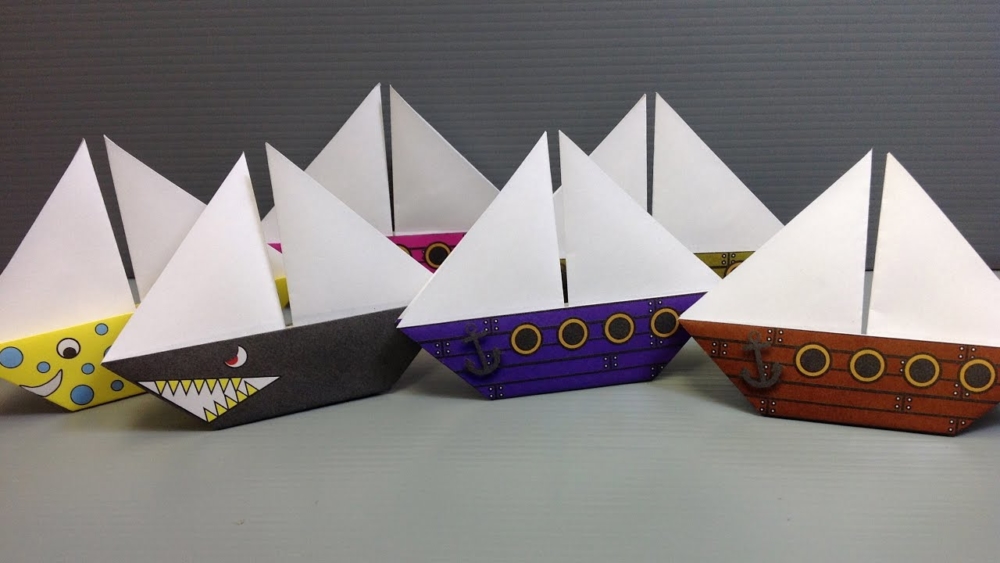
Tips for decorating finished crafts
Origami boats are very popular with children of any age. After all, they can also be decorated in various ways, thereby developing a creative imagination.
- Paint with different colors, draw or glue various decorative parts from light materials, use multi-colored paper.
- Make sails from toothpicks and pieces of paper, foil or shreds of fabric, stick on portholes.
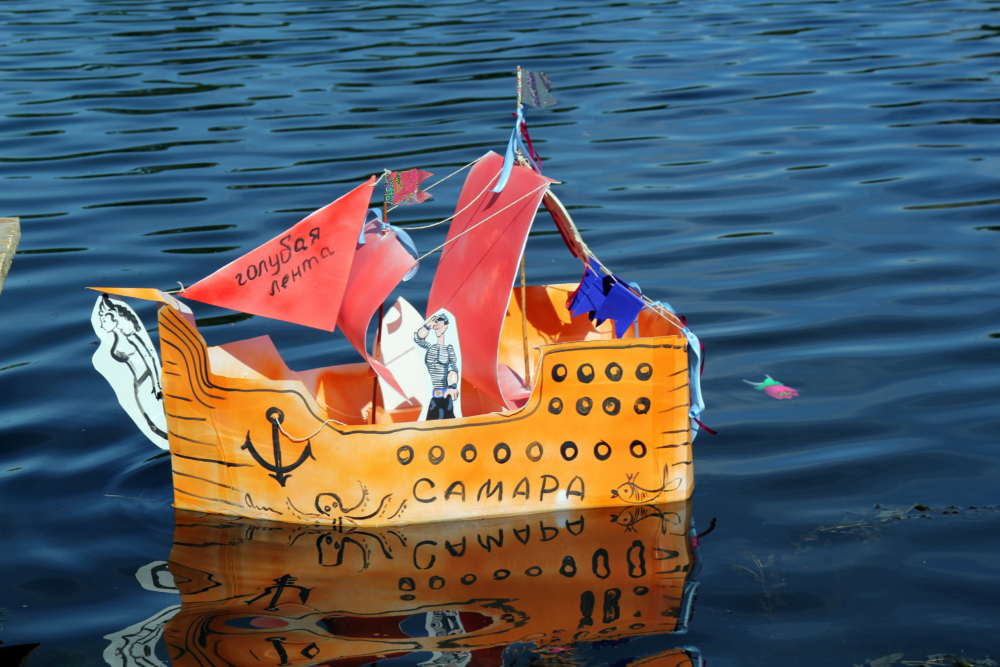
- Put a toothpick in the center, put a loop of thread and stretch it to the ends of the boat, and attach an impromptu flag at the top - as an option for a “racing vessel”.
In general, fantasize with your children, build boats, decorate, and have a nice trip!


