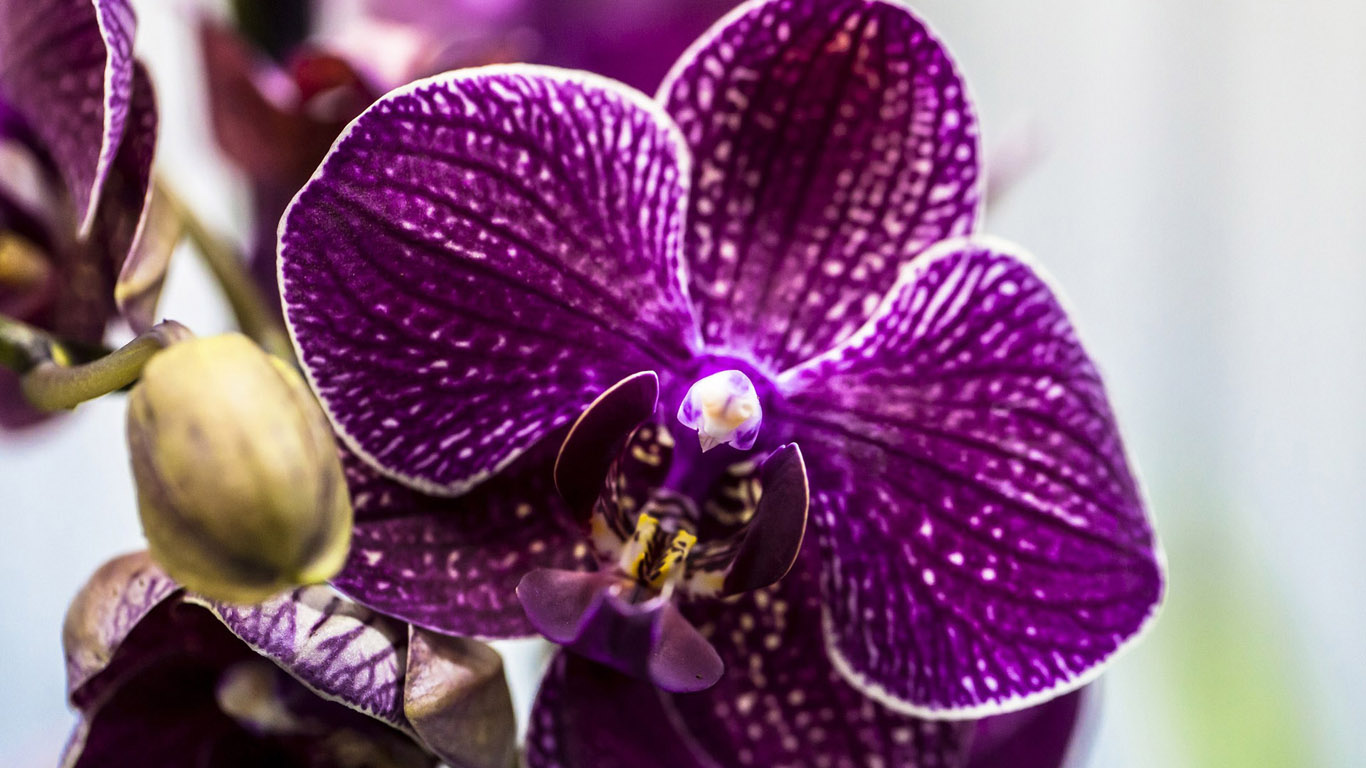
Orchid attracts many gardeners with the beauty of the petals and the duration of flowering. The fastest way to grow is propagation by shoots. Often, from the first time, beginning flower growers fail to breed culture. This article describes in detail how to propagate an orchid at home.
Material Content:
The nuances of orchid propagation at home
In order for the reproduction of orchids to succeed, it is necessary to take into account some subtleties.
- To cut the cuttings, you need to use an extremely sharp tool that should be sterilized.
- Cut points should be treated with wood ash or activated carbon.
- It is important to carefully handle the root system, as inept handling causes damage to the root.
- The soil used must be suitable for the crop.
- In the room where the orchid root formation will take place, there must be a temperature of at least plus 25 degrees and high humidity. It is important to ensure that diffused light falls on the flower.
Tip: experienced flower growers are advised to keep a diary on the propagation of orchids. This will allow you to review the experience of breeding a flower and subsequently avoid mistakes.
Propagate an orchid only with a healthy, strong maternal bush. The best result on the root formation of the culture can be achieved on the southeast window.
Experienced Florist Methods
Experienced gardeners are advised to plant an orchid in the spring months. It is not recommended to carry out this procedure with a flowering specimen.It is necessary to reproduce only a mature flower. Only in this case will it be possible to preserve the culture by cutting off the top of the mother bush.
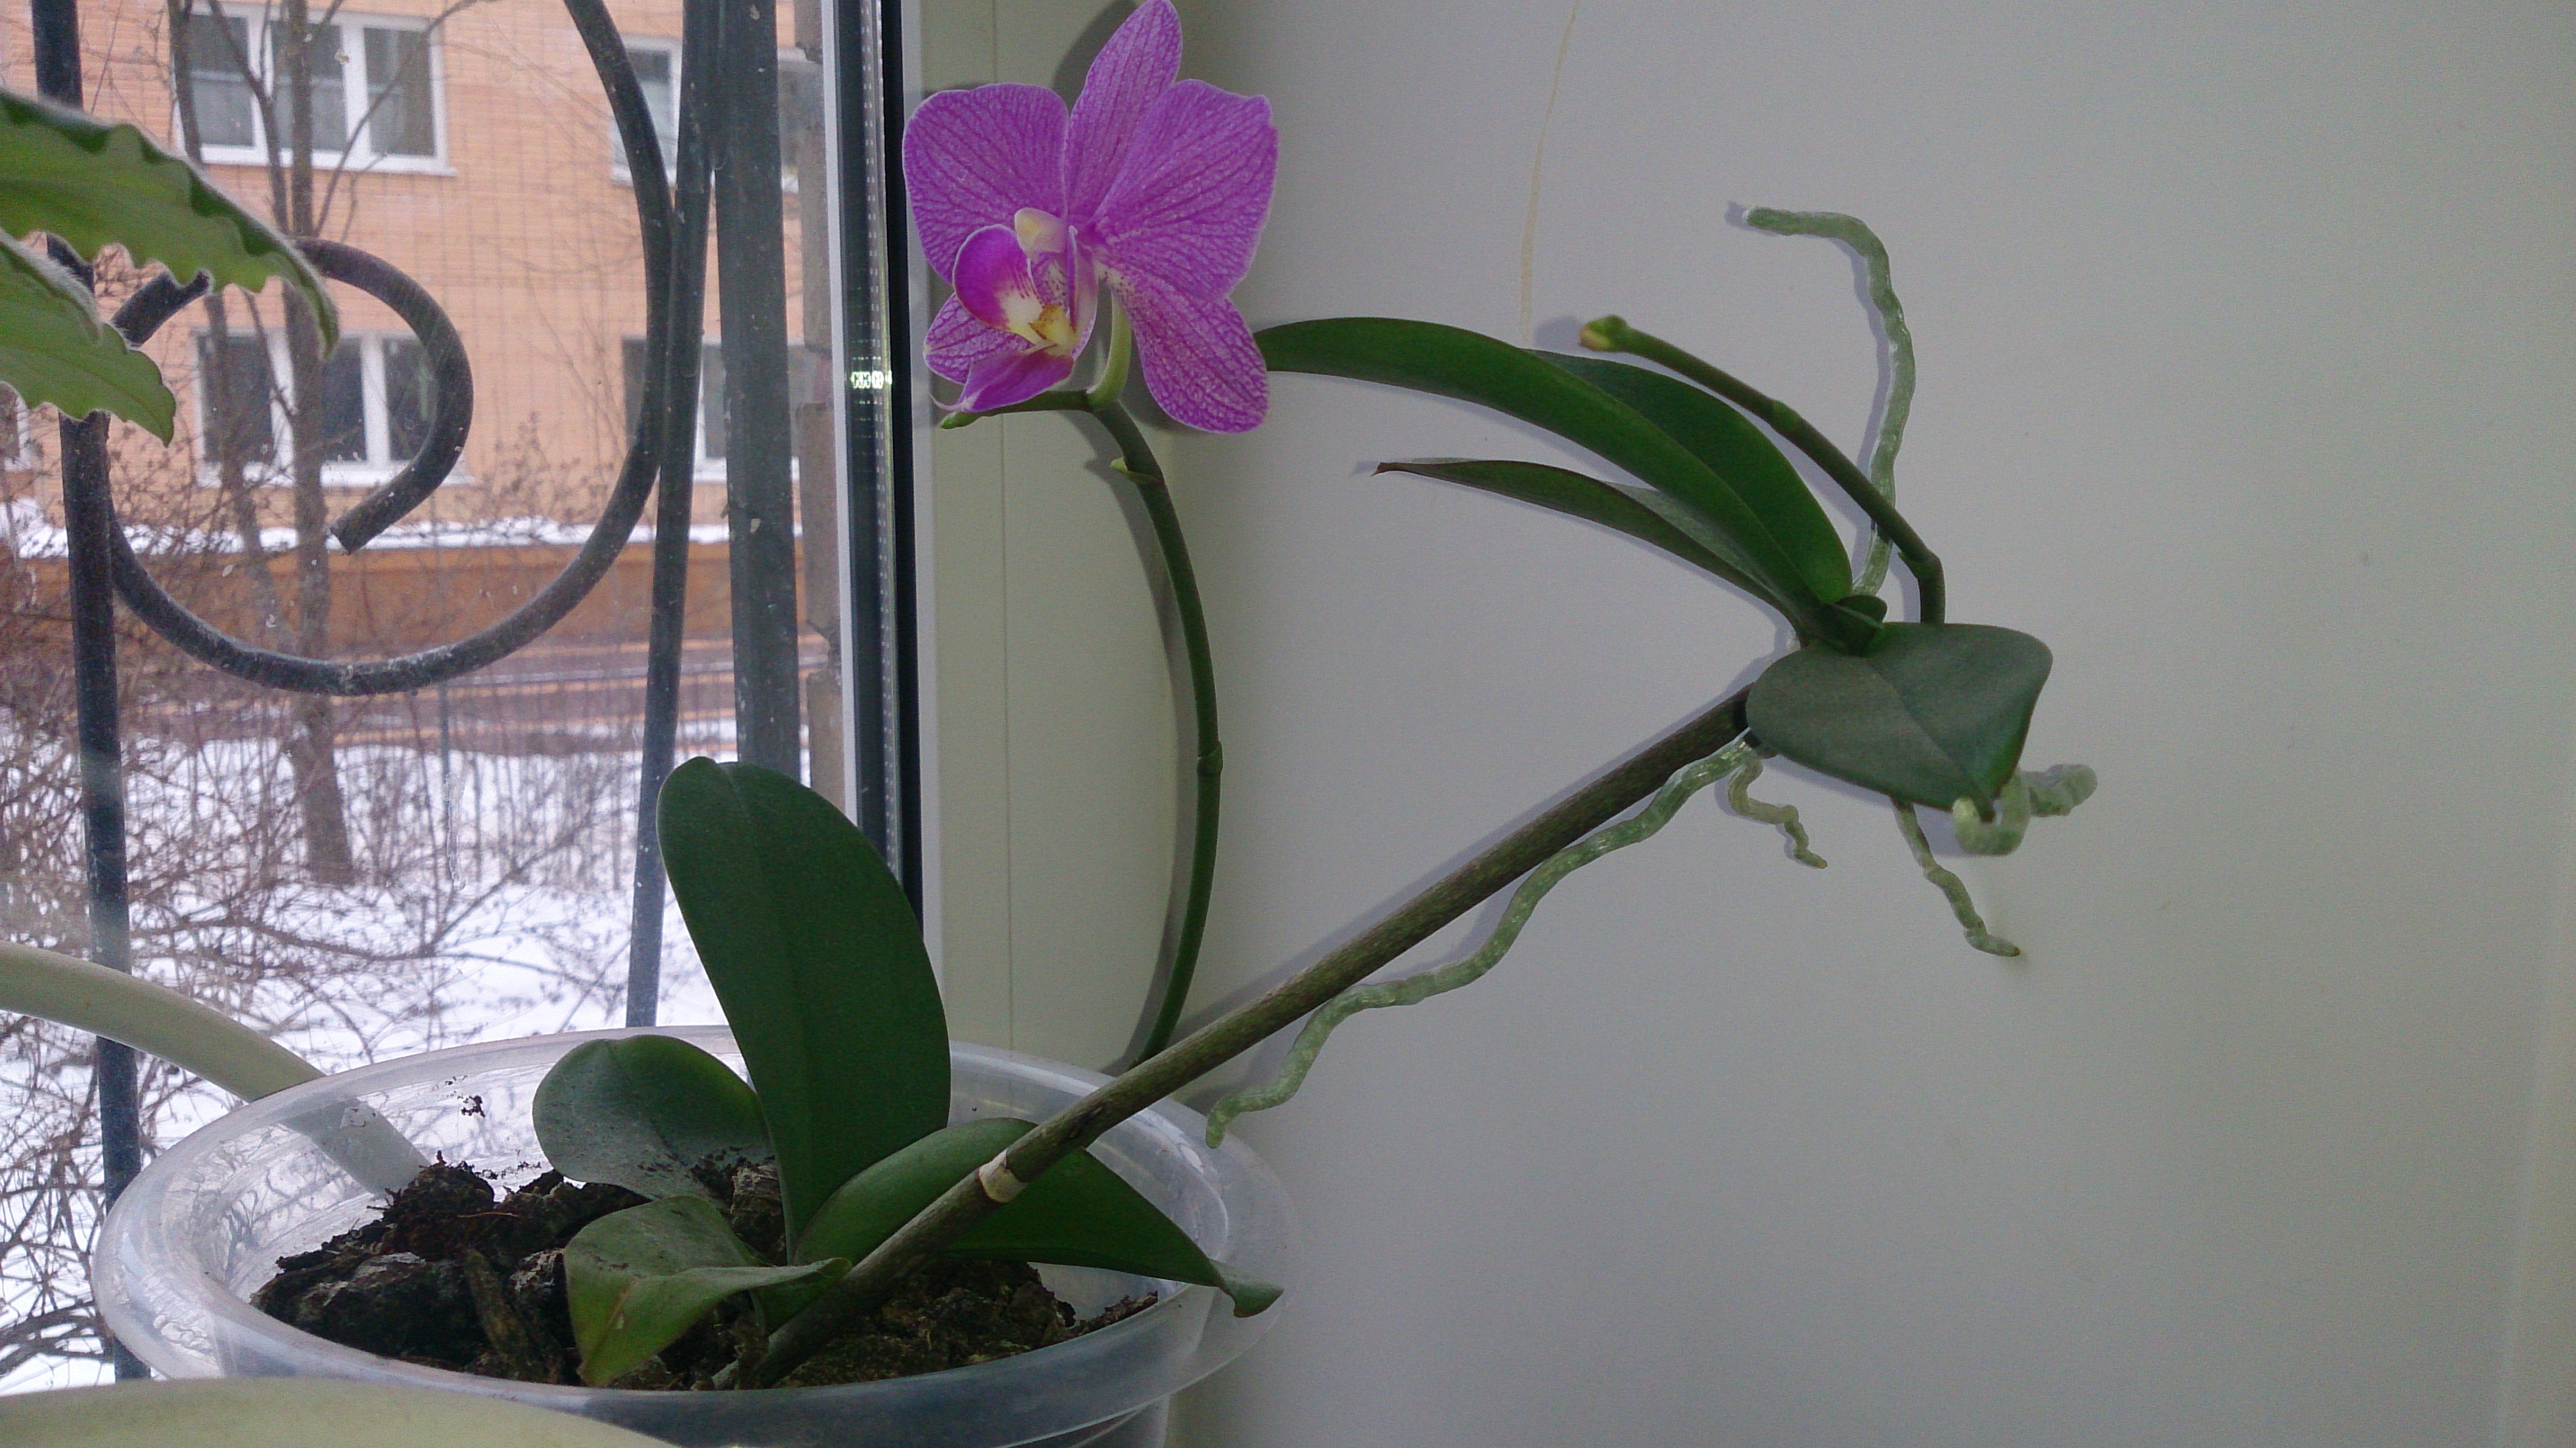
Reproduction by children
Children are called sprouts that appear from a "sleeping" bud located on the stem, root, peduncle. Such buds during germination form their own root system. It is not necessary to immediately cut off the detected children, they need to be given time to grow the roots. Often this process takes up to six months. Sometimes it can last up to 8 months.
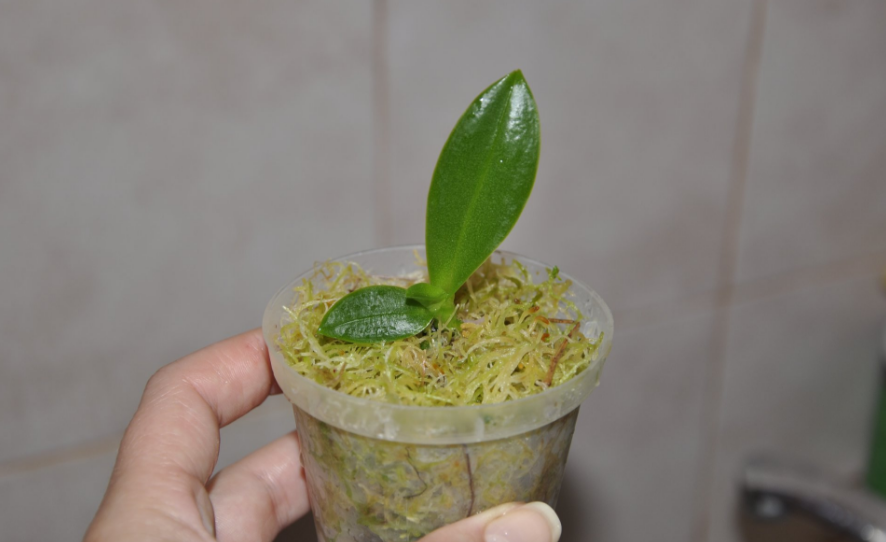
On a note. To get a guaranteed result, you need to choose a baby with 4 leaves and its own root system with a size of at least 5 cm.
- After the formation of their own roots of the required size, the baby is cut.
- On the mother bush, the cut should be treated with charcoal, activated carbon.
- After a couple of hours, the sprout is planted in moist soil (special, for orchids).
- To create a greenhouse effect, which contributes to a better survival of the plant, it is recommended to cover the shoot with a plastic glass.
- Every 2 days should be made moistening the earth, its ventilation. If the culture does not dry and remains green, then the greenhouse can be removed.
Tip: to stimulate the formation of children, you can use drugs based on cytokinin.
Cuttings
Propagation of orchids by cuttings is a long and laborious process. Cuttings are subject to a peduncle, tops of a lateral shoot, which should have 2 internodes.
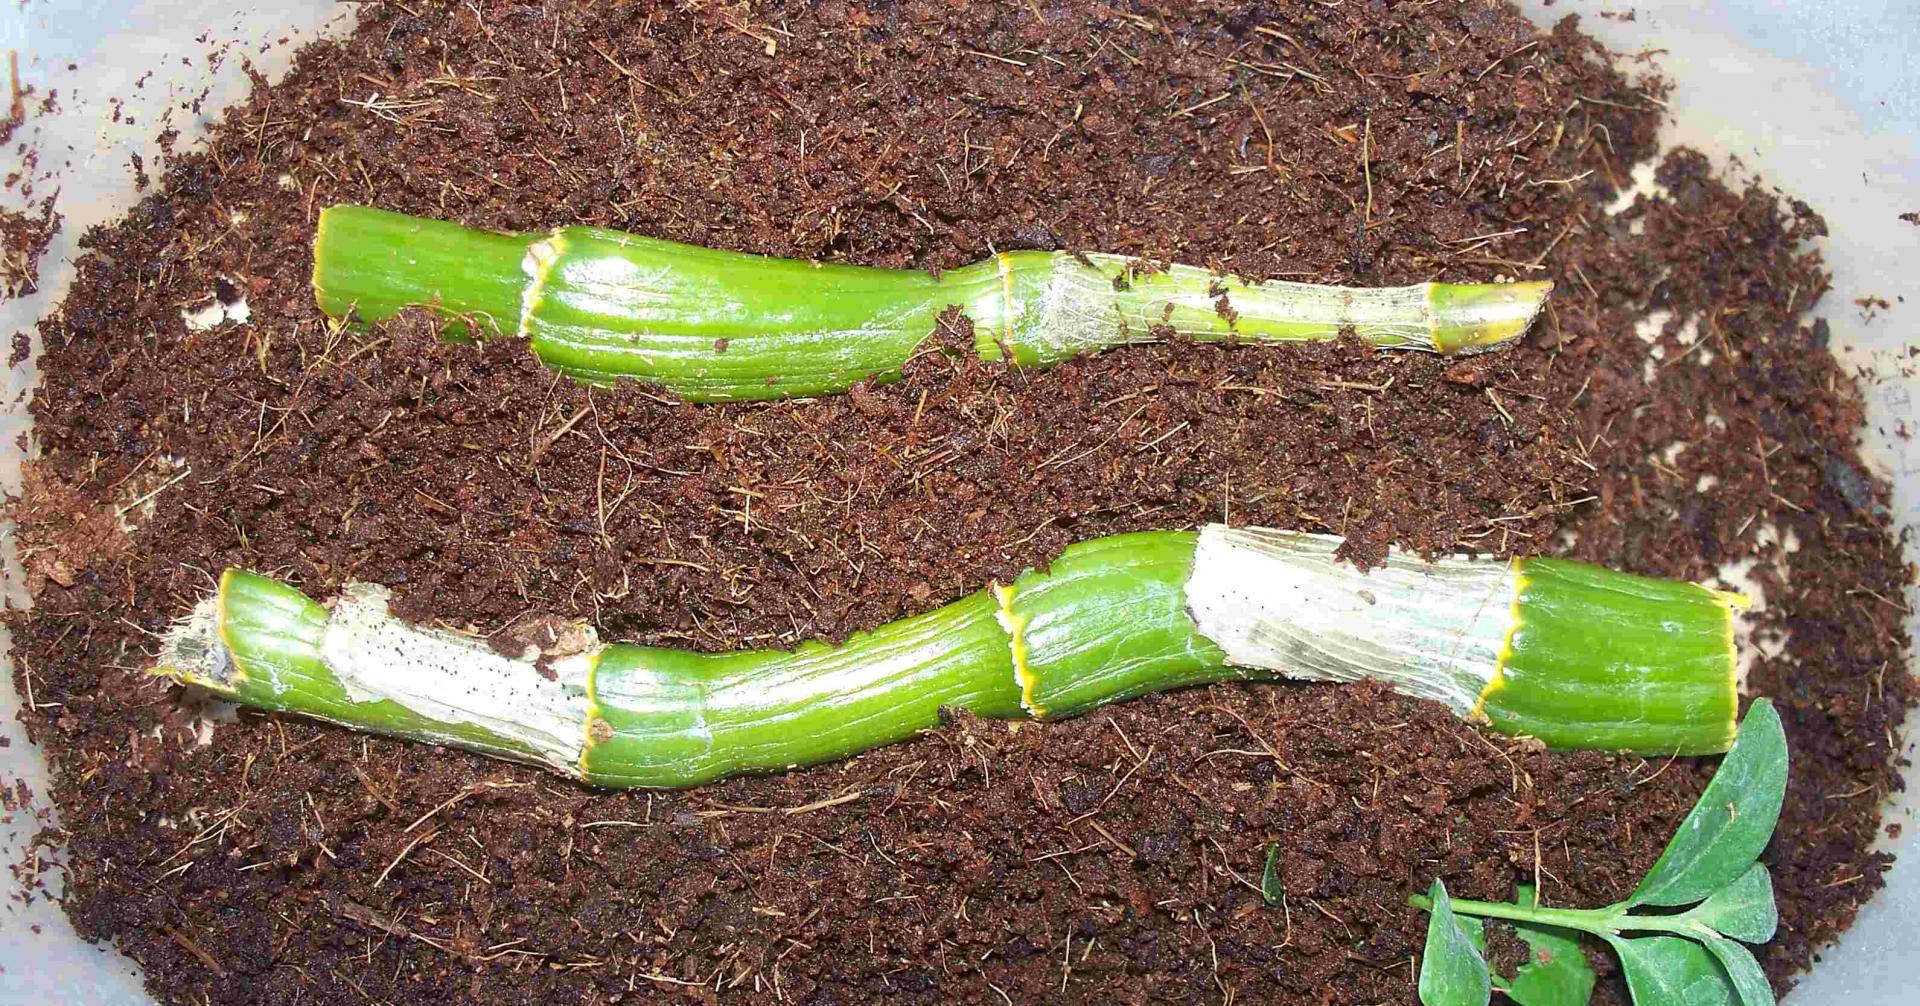
- The cut should be treated with activated carbon.
- The process is maintained in a horizontal position in moistened soil for 2 hours.
When the stalk is cut, the orchid should completely bloom. Next, the cuttings are cut with a length of approximately 10 cm. It is important that the stalk contains at least 2 kidneys.
- Slices are treated with charcoal, the cuttings must dry.
- Then they are laid horizontally.
- For better survival, they need to create a greenhouse effect by covering with a film.
- It is important to ensure that the temperature in the greenhouse is kept within plus 28 degrees, and maintain high humidity.
- After 2 days, the greenhouse should be ventilated and condensation not allowed.
- You can feed the cuttings with organic fertilizer 2 times a month.
After roots up to 3 cm long are formed, it is possible to plant a sprout in the soil.
Dividing the bush
An adult plant is subject to division.
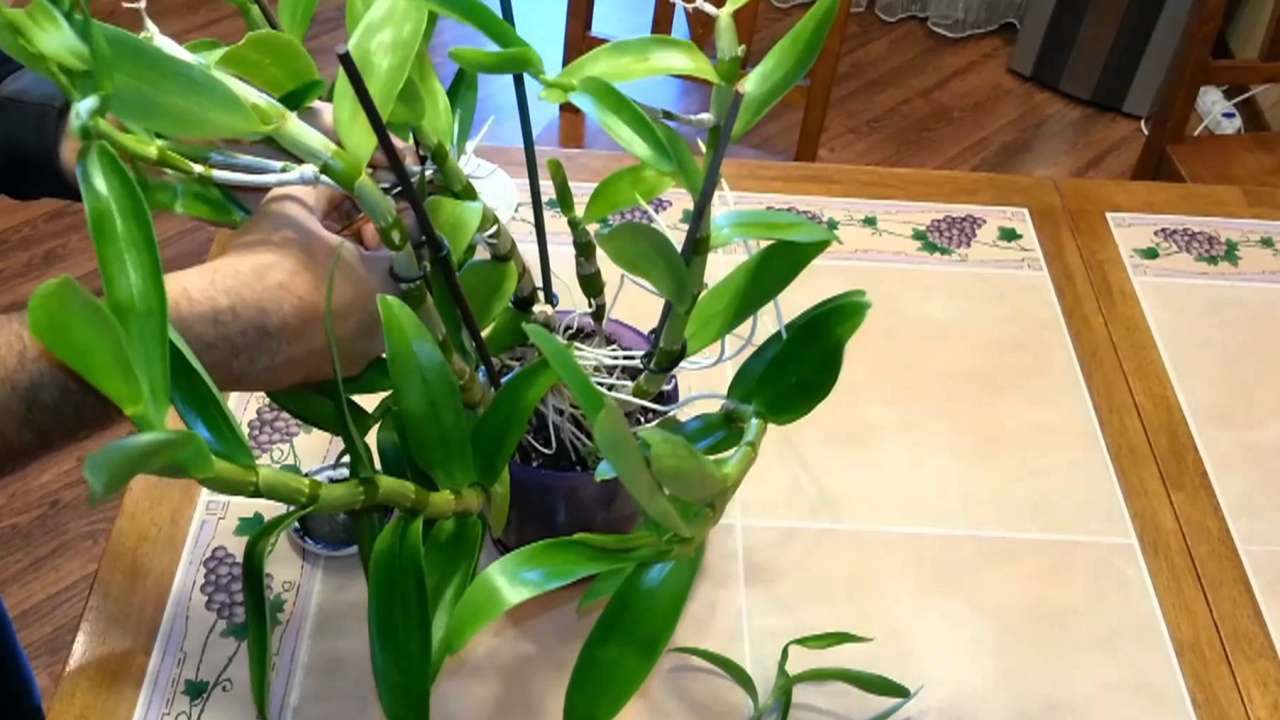
- The selected instance is carefully removed from the cache-pot.
- Then from its root system you need to shake the ground.
- Before proceeding with the separation of the orchid, it is necessary to soak its root system in water.
- Next, you should separate the roots with stems from each other so that each bush has about 3 pseudobulbs.
Important! For root transplantation, you can use only an orchid, which is at least 2 years old.
A slice on the root system is processed using charcoal, activated carbon. After which it must be allowed to dry. Planting is carried out in a specialized soil for orchids. In the first two days, the flower is not watered. Further watering is carried out in the usual way. When propagated by the root system, a viable bush is obtained that retains the characteristic features of the mother plant.
How to propagate flowers with seeds
Not every experienced florist will decide to propagate an orchid with seeds. Since this is a rather troublesome task, coupled with some difficulties. Externally, the seeds of this plant are similar to dust. They completely lack nutrients. Therefore, germination can occur exclusively under sterile conditions and with sufficient supply of nutrition. Orchid seed nutritional formula is sold in a flower shop. It is based on agar agar.
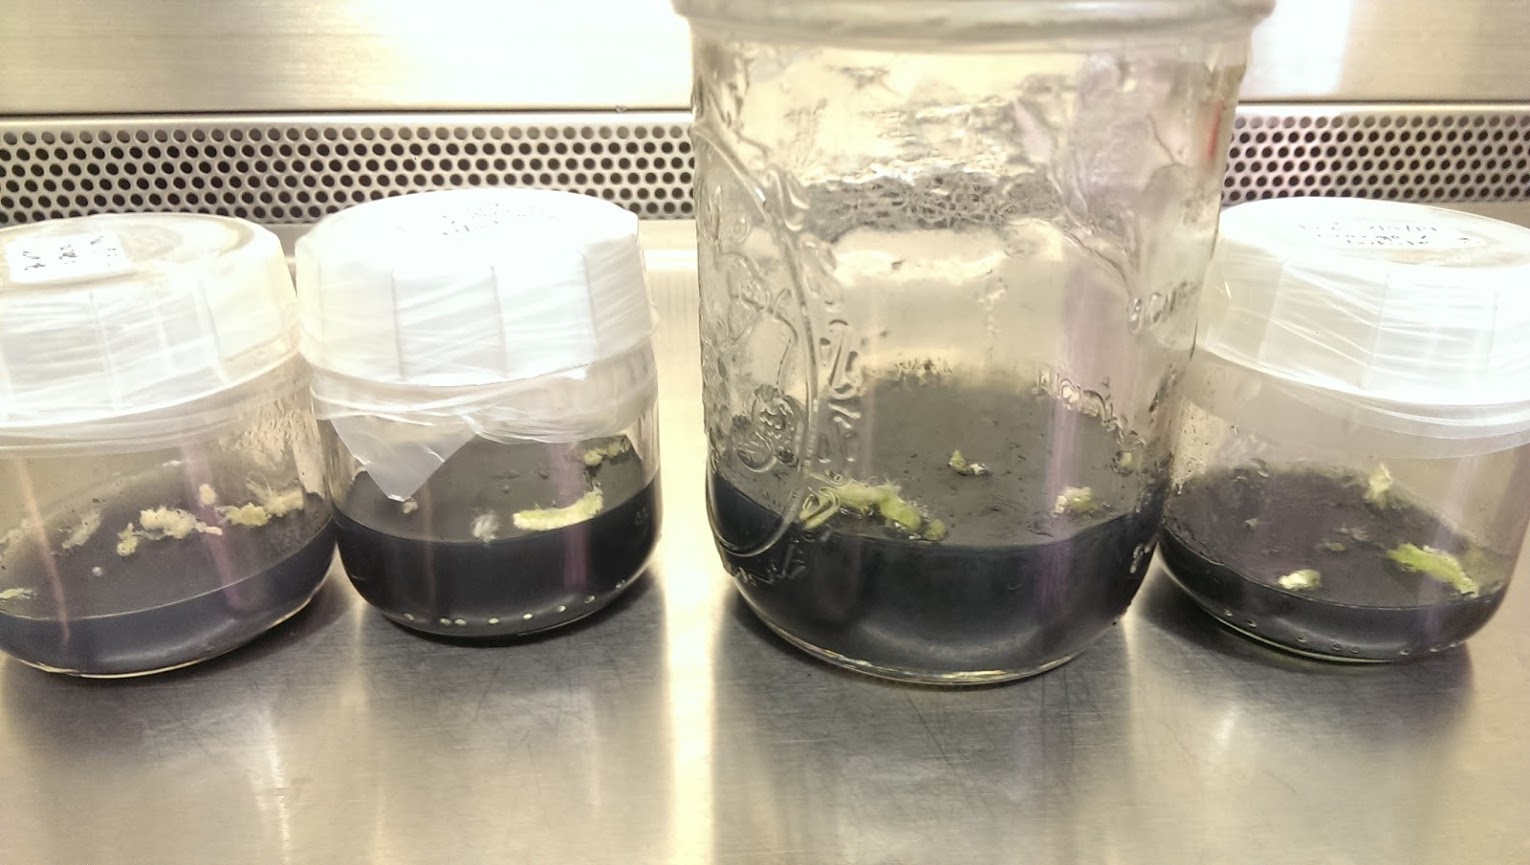
It takes at least a year to germinate an orchid sprout.
Sterilized seeds must be placed in a test tube with food. After 7 days, the formation of green balls. Next, they form hairs, then leaflets. Planting is carried out in a year.
Using flower stalk
The most common way of propagating orchids is the propagation of cuttings of a peduncle. The optimal period for this process is late spring - early summer. Before propagating the flower, it must be prepared.
To do this:
- Remove the lower leaves.
- Cut flower stalk without flowers with a sharp knife, divide it into sticks.
- Sprinkle slices with activated carbon.
- Remove the upper scales from the kidney.
- The capacity, adapted for the germination of the culture, fill moistened with peat.
- Lay the cuttings horizontally, cover with a film to create a greenhouse effect.
- Put a "greenhouse" on the illuminated windowsill, and maintain the temperature at least plus 25 degrees.
- Every day, air for 10 minutes. It is important to spray peat if necessary.
After a few months, the plant will be ready for transplantation.
Common mistakes when reproducing flowers
If everything is done correctly, given the advice of experienced gardeners and the nuances of growing orchids, then after a few months you can get a young copy of the culture. The lack of the expected result can occur due to typical mistakes made by most beginner amateur gardeners.

- Use of non-sterile instruments. As a result, the plant becomes infected with bacteria.
- Excessive watering of the shoot, a young plant, which leads to decay of the root system.
- Use as a planting material of weak children.
- Dividing the mother plant into too small parts. Such a young plant lacks the strength to grow.
- Wrong breeding method.
A rooted plant needs the same care as an adult culture.
If you responsibly approach the propagation of orchids and follow all the recommendations, the process of reproduction will be crowned with success. After a while, the flower will grow stronger and will delight the hosts with its beauty.


