Hands is a woman’s calling card, according to Coco Chanel. It is difficult to disagree with this, since everything from age to social status is reflected on the hands, so it is so important to pay attention to hand skin care and manicure. But worse than the complete lack of nail coverage can only be untidy manicure. This will never happen to those women who know how to properly varnish their nails.
Material Content:
How to paint nails with gel polish?
The appearance of gel polishes made a real revolution in manicure, making it possible to obtain a stable coating for two to three weeks with minimal time, which will be almost completely unaffected by external factors.
The advantages of such a nail coating inspired many women to already adopt a new technology at home, and for those who are still thinking, it will be useful to find out what tools and materials will be needed for gel polish manicure, what are the stages of coating.
Necessary tools
The new technology of nail coloring stipulates the use of not only new materials, but also new tools.
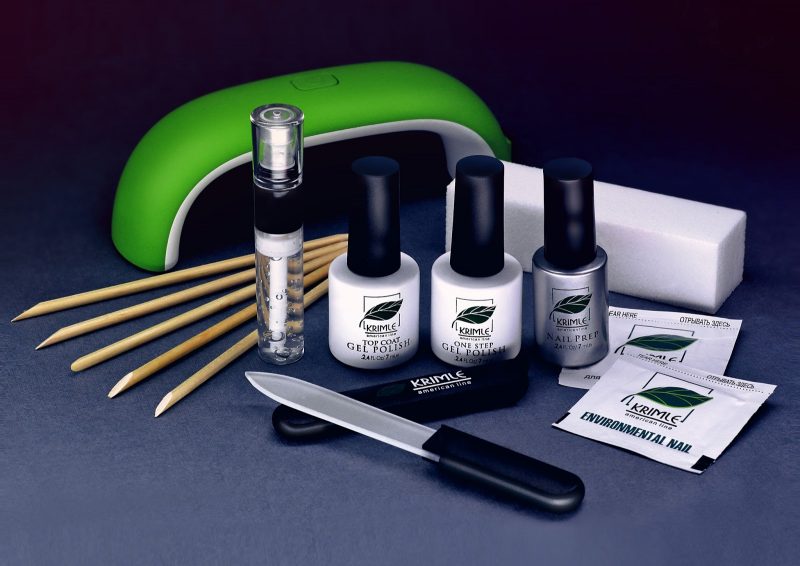
The basic set for nail gel polish includes:
- lamp for coating polymerization;
- buff, he's a polishing file;
- degreaser;
- base coverage;
- gel polish, selected shade;
- topcoat;
- adhesive remover.
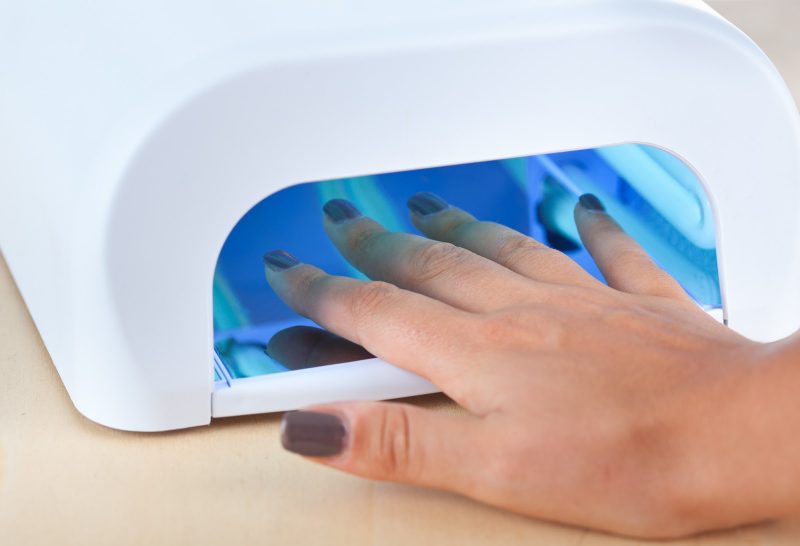
Let us dwell in a nutshell on each of the points in order to understand their purpose. Gel polish will not dry out in the usual way, for this you need a special lamp.Such lamps come in three types: ultraviolet (UF), light-emitting diode (LED) and combined (CCFL).
For beginners, a 36 Watt UV lamp will suffice for home use. Radiation from an LED lamp is absolutely harmless to the human body, and a device that has used its life does not need special disposal. In addition, these lamps even shine more dimly and look compact, but they dry the varnish four times faster. A 9 Watt LED lamp equates to 36 Watt UV. Combination lamps are intended for professional use.
Before applying the varnish, the nail needs to be prepared: lightly grind and remove dust and natural deposits of fat from it. For this, a grinding file with an abrasiveness of 900 grit and a degreaser-disinfector are used. Sometimes it is replaced with a 70% alcohol solution.
Transparent base varnish (coating) makes the surface of the nail as even and smooth as possible, and also prevents the pigment from getting into the keratin layer of the nail plate. The purpose of the color gel polish is the same as that of the usual one - to paint the nail in the chosen color.
The topcoat not only protects the manicure from external negative factors, but also gives the varnish either a glossy shine or a matte roughness. Not all particles of the gel coating polymerize in the lamp; they make the surface of the nail sticky. To remove it, sticky layer removers are used. Recently, they began to produce finishing varnishes without a sticky layer.
Additionally, for manicure with gel polish, you can use:
- a primer that enhances the adhesion of the varnish layers to the nail;
- lint-free wipes, which, unlike regular cotton pads, do not leave small fibers on the nail during degreasing or removing the sticky layer;
- cuticle oil, you can purchase special mixtures or buy apricot, grape or almond in the pharmacy.
Gel Polish Manicure: Steps
Having given the nail file the desired shape and putting in order the cuticle, you can proceed to the manicure with gel polish.
Technology and application steps:
- Preparation of the nail plate. At this stage, you should lightly walk the buff on the nails, but without strong pressure, without cutting it off. After wetting a cotton pad or lint-free cloth in a degreaser, wipe the nail, do not forget to pay attention to the side rollers and the end of the tip of the nail. At the same stage, a primer can be applied to the nails.
- Gel coating. Manicure gel varnish involves applying 3-4 layers of coating, each of which should be polymerized for 2 minutes in a UV lamp and 30 seconds - 1 minute in an LED lamp, depending on the power. The layers are applied in the following sequence: base, color gel polish in 1-2 layers, topcoat.
- Removing the dispersion layer and caring for the cuticle. Using a cotton pad or special napkin, remove the sticky layer from the nail plates using an appropriate tool. This will not only extend the life of manicure, but also protect the body from allergenic particles that may be present in the varnish. Applying oil to the cuticle is not only a pleasant caring procedure, but also providing additional nutrition to the nail plate.
How to remove gel polish from overgrown nails
Due to the stability of the gel, it can not be easily removed from the nails as a regular varnish.
In order not to damage the nail, all actions should be performed in accordance with the following technology:
- First, the surface of the coating on the overgrown nail should be lightly buffed. This will help to remove the varnish faster.
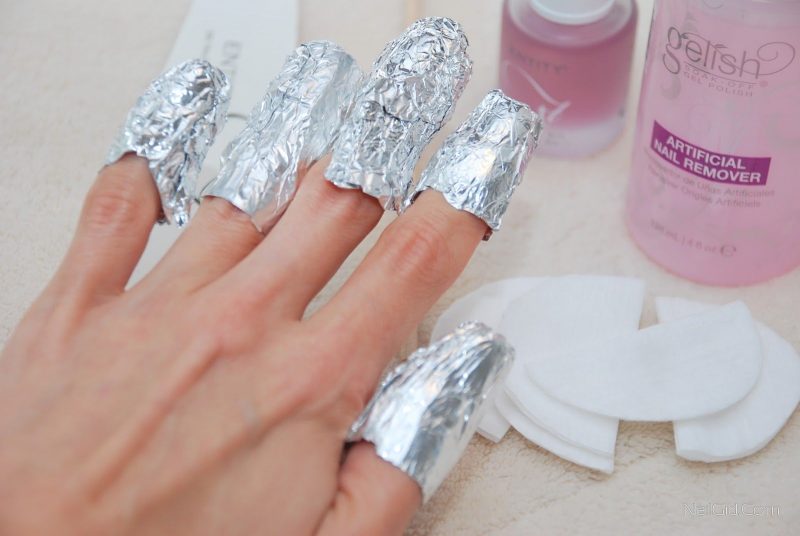
- Moisten a cotton pad abundantly in gel polish remover. Then attach it to the nail and wrap it tightly with a small piece of foil. Leave the nails in this position for 10-15 minutes.
- Next, remove the foil and cotton pad, and remove the coating with an orange stick or plastic pusher. Do not try to remove the varnish with a metal tool so as not to damage the nail plate.If necessary, lightly polish the nail with a polishing file, removing small particles of the coating.
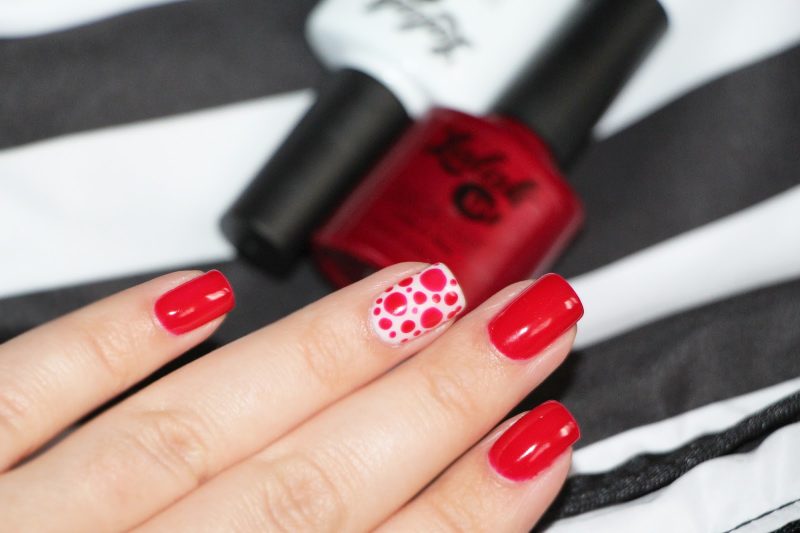
How to make drawings?
To make a monophonic coating more interesting and to give a manicure individuality, you can use the drawings. Now there are a sufficient number of techniques that allow you to apply unique patterns on the nail at home, without even having artistic talent.
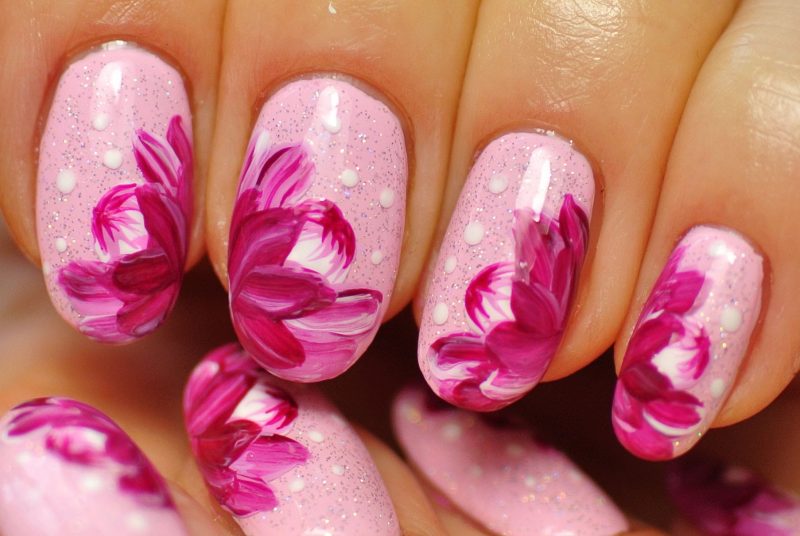
Let's consider some of them:
- Stamping. To perform drawings in this technique, you will need a stamp, a scraper, patterned stencils and a high pigment content stamping paint. A small amount of paint is applied with a brush to the stencil with the drawing you like, the excess is removed with a scraper, then the drawing is applied to the stamp with a rolling motion, and from the same movement to the nail.
- Stickers for nails. There are ready-made drawings for sale - decals for every taste. To apply such a pattern to the nail, you need to cut off the pattern or a fragment you like, hold it for some time in water, separate it from the paper backing and transfer to the varnished nail, dry and finish with a finish.
Interesting nail designs can be created using special foils, rhinestones and mirror rubs.
How to paint nails with regular varnish?
Despite all the advantages of a gel coating, ordinary varnish, maybe a little less than before, is also in demand, because it is easier and cheaper to make it in comparison with gel polish, and existing persistent varnishes allow you to keep the coating in its original form for up to seven days.
Training
Before coating the nails with ordinary varnish, they also need to be prepared. To do this, first they give them a neat shape with a nail file.
Then the cuticle is softened by holding it in a warm soapy bath or by applying special oil to it. The softened cuticle is pushed back with an orange stick, or carefully cut with scissors (with a trimmed manicure).
Completes the preparation of nails, their degreasing. Washed nails with soap should be dried, wiped with an alcohol solution and dried again. On such nails, ordinary varnish will last longer.
Basic coating
Primer, base, substrate, base - this is another name for the base coat for varnish. There are various types of bases, among which there are healing, restoring thin and fragile nails, with a whitening effect and smoothing. Due to the microparticles of talc and silk, the latter make the nail surface smoother, after which the usual varnish lays in a more even layer.
The main function of the base coat is to provide a more tight grip between the nail and the varnish, as well as to protect the pigment from penetrating deeper into the nail plate and subsequently yellow. Typically, the basecoat is transparent or white. It must be applied in one thin layer. For the base to dry well, at least 10 minutes should pass.
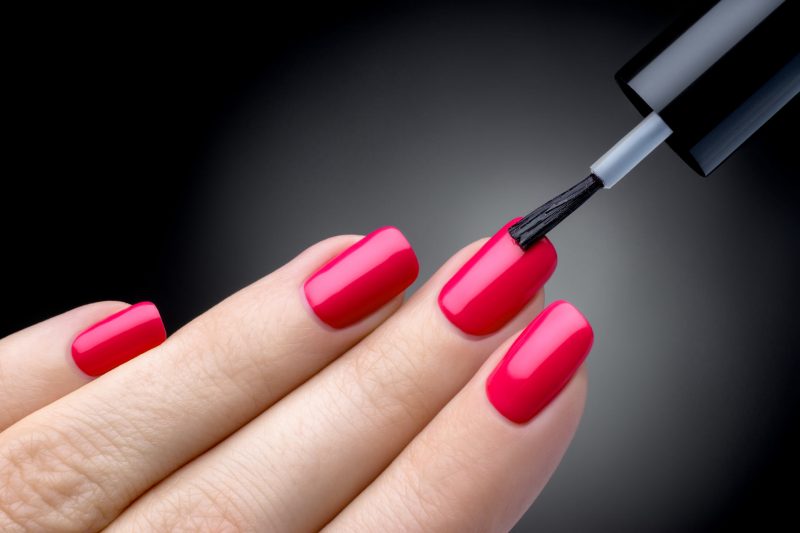
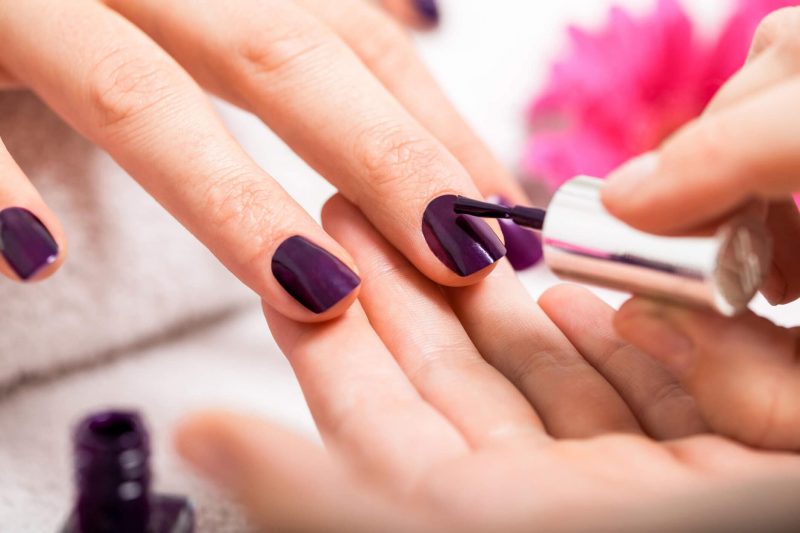
Proper staining
After the base coat has completely dried on fat-free nails, you can begin to apply varnish. Right-handed nails should be started with the little finger on the right hand, and left-handed - vice versa. Before applying the usual varnish, the bottle with it should be thoroughly shaken in your hands to achieve a more uniform consistency and uniform layers.
Having dipped the brush in the varnish, wipe it on the neck on one side, and with the varnish remaining on the outer edge, cover the nail, progressively moving from the tip of the nail to the cuticle. This will prevent the flow of varnish. Thus cover all nails and allow them to dry well. Then coat with a second coat of varnish.
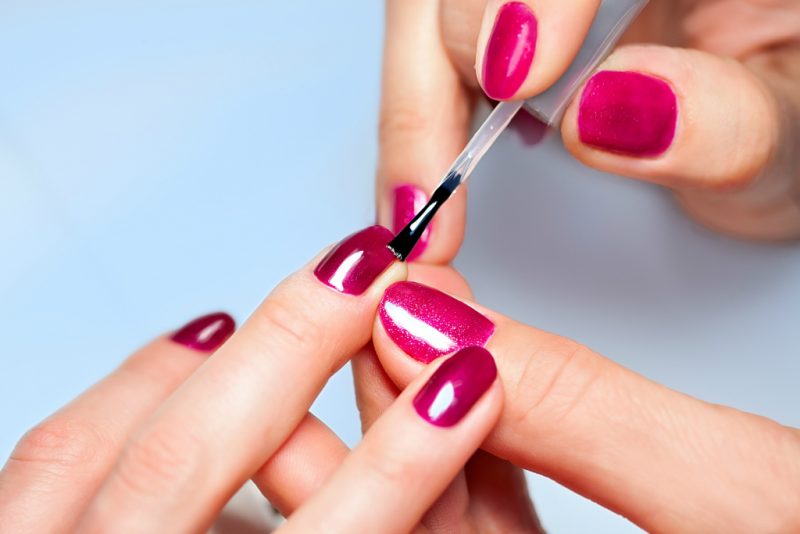
Using fixative
To keep the manicure for five to seven days, you need to firmly glue all the layers on the nail plate. For this, special fasteners are used - “smart enamels”. Such tools will not only extend the life of manicure, but also can make the coating more even and give a beautiful glossy shine without changing color.
Fixer is applied in the same way as regular varnish, but it can be coated every day.Drying remains an important condition; each coating layer should dry thoroughly with any manicure.
How to speed up drying?
Normal varnish dries for a very long time.
It takes 10 to 20 minutes to dry one layer well, but there are several ways to speed up this process:
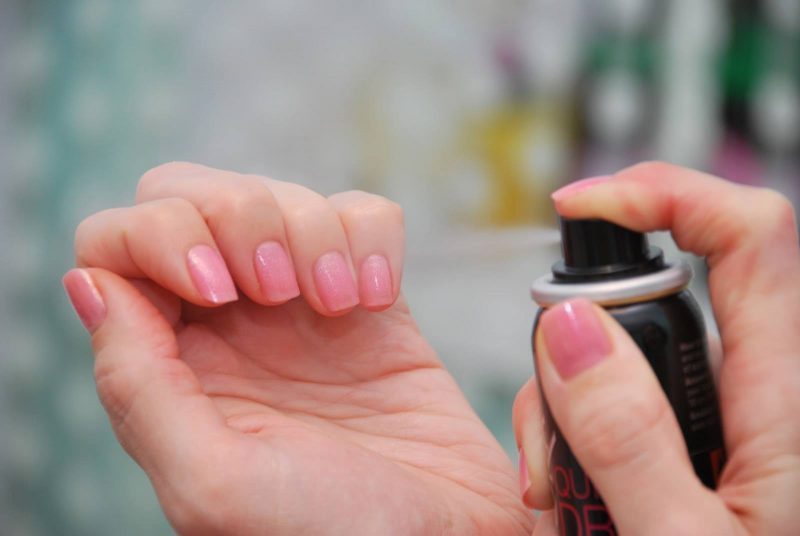
- Special drying products. They come in the form of a spray or liquid in a bottle that is applied with a brush. The effect after using such a product is a completely dry coating in a minute.
- A bath of cold water. If you dip the nails covered with ordinary varnish in a container with cold water and ice cubes, then the solvent will quickly wash out, which will dry the varnish and make the manicure more resistant.
- Vegetable oil. One drop of olive or other vegetable oil applied to the nail two minutes after staining will make it dry much faster (after 5-7 minutes).
- The use of special devices for drying or a hairdryer in cold air mode. In the latter case, it is important not to bring the hair dryer too close to the nails at first so that the coating does not spoil the “ripples”.
Useful Lifehacks
In order not to drive a cotton pad over the nail, removing ordinary varnish, you can twist and put a foam sponge in a small glass jar with a spiral and fill it with nail polish remover. Now you need to briefly dip your finger in the foam "bowels", and then wipe the varnish in one motion.

When applying drawings to nails using stamps and stencils, the skin around the nail is often dirty. To protect it, use latex varnish, which creates a film on the skin, which is then easy to remove. In the absence of such a tool, it can be replaced with ordinary PVA glue.
An ideal white strip in French manicure without stencils can be drawn using clerical gum fixed in the desired position. And if you still have irregularities, they can be masked by sweeping the joint with a brush dipped in a colorless varnish with sparkles.
To protect the delicate skin of the hands from the aggressive effects of gel polish remover, it should be greased with a greasy cream or petroleum jelly.


