Orchids have long conquered people's hearts with their graceful beauty. Many are eager to get this plant, and when buying, they are interested in the question of when and how to transplant an orchid into another pot. This question is more than pertinent - orchid transplantation, being a fairly simple procedure for technology, has certain specifics.
Material Content:
When an orchid transplant is needed
According to floriculture standards, orchids are transplanted once every 2 to 3 years.
However, this is a theory, in practice this procedure is more often carried out according to indications, which are:
- strongly grown intertwined roots that completely fill the tank and displace the soil;
- decay, drying out or root damage of pests;
- the appearance on the walls of the pot of accumulations of green algae and moss, indicating poor soil permeability;
- large leaves that do not match the size of the pot and reduce its stability;
- loss of turgor leaves, the formation of spots or yellowness on their surface;
- prolonged (more than 3 months) lack of flowering.
An orchid transplant is carried out in early spring or late autumn, after flowering.
Is it possible to transplant a blooming orchid
Sometimes the need for an orchid transplant occurs during its flowering.
In emergency cases, when it is necessary to preserve the plant, this is possible. In all the rest - it’s better not to risk it.
Transplanting a flowering orchid is carried out according to the same rules as the planned one.
How to choose the right pot for the plant
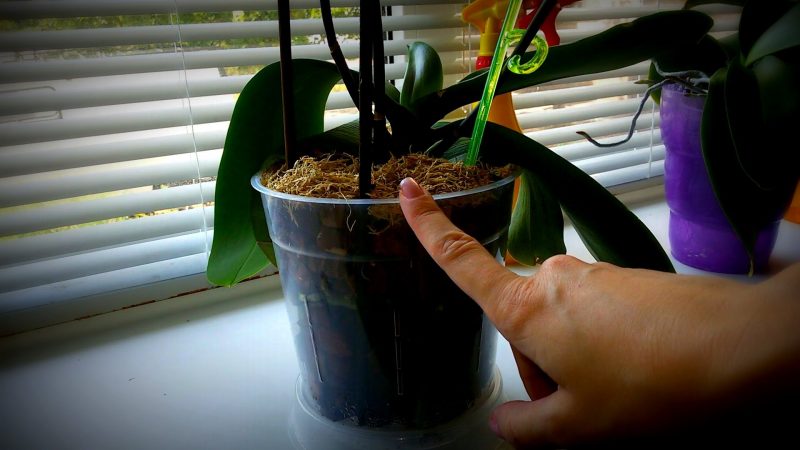
An ideal container for growing orchids is considered to be a transparent plastic flowerpot having holes at the bottom for water drainage.
The light penetrating through the transparent walls will allow the roots, along with the leaves, to participate in the process of photosynthesis, and the owner of the plant to see and evaluate their condition.
The volume of the pot is determined by the size of the root system of the orchid and should be slightly cramped. In a large pot, the substrate dries longer and therefore thickens over time, preventing air from reaching the roots. In addition, it is noted that in the presence of space for the roots, orchids intensely grow leaves at the expense of flowering.
Transplant substrate
The substrate for the orchid should be distinguished by high air and water permeability, to ensure the development of a special microflora, which reduces the risk of putrefactive processes. This is achieved by including in its composition 2 main components: pine bark and sphagnum moss. Charcoal or activated carbon is used as an additive.
Soil of this or a similar composition can be purchased in the store, but its choice should be taken critically:
- Many mixtures are based on peat, which absorbs water easily and for a long time, which is fraught with overmoistening and weak root aeration. Therefore, from the proposed wide assortment of soil for orchid cultivation, it is worth giving preference to mixtures containing a minimum amount of peat or, even better, without it.
- An equally important condition indicating the quality of the soil is the ratio of the volume of the pine bark and sphagnum. Ideally, it should be 1: 3 in favor of the bark.
Do not despair if you could not find a quality soil. To remove peat, the purchased substrate can be sieved through a large sieve or made at home independently. This will take time and basic components.
The collected pine bark is subjected to processing:
- sorting out, sorting all dark (sunburned) and tarry areas;
- selected fragments are crushed by hand or secateurs into fractions of about 1.5 cm in size;
- disinfect for 15 minutes by boiling;
- dried in the fresh air.
The treated bark is mixed with pre-dried and cut into small pieces moss. Shredded charcoal or activated carbon (maximum 50 tablets per 1 pot with a diameter of 12 cm) is added to the resulting mixture and mixed thoroughly.
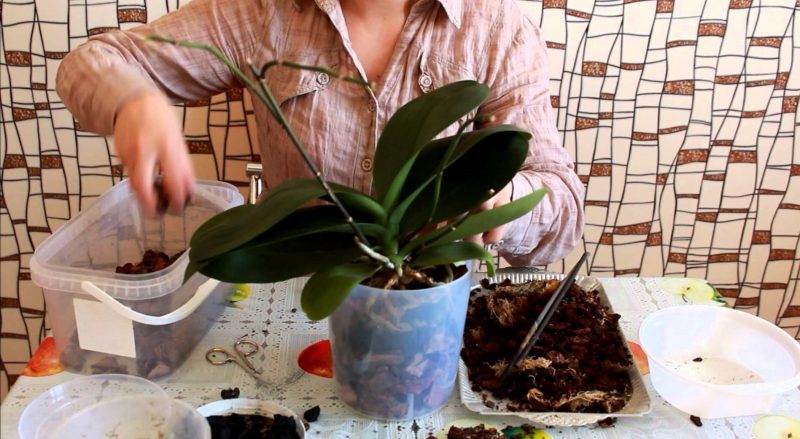
Step-by-step instructions on how to transplant an orchid
In order to properly transplant an orchid, you need to perform a series of sequential actions:
- Before the procedure, the plant is abundantly watered, preferably from below, installing the pot in a container of water for at least 30 minutes.
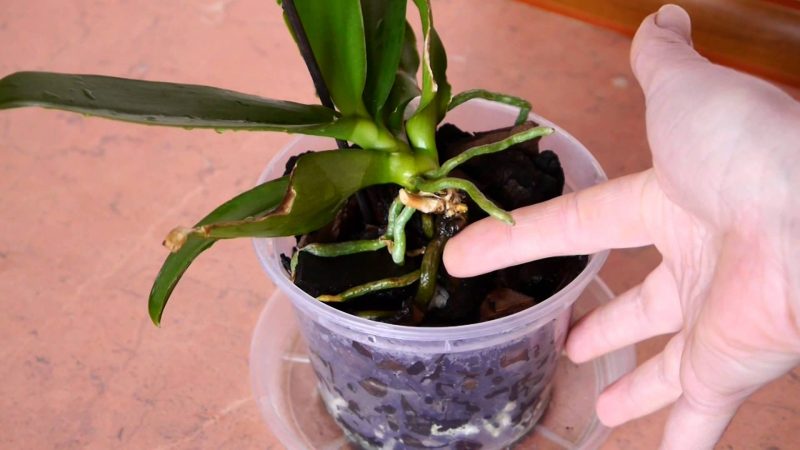
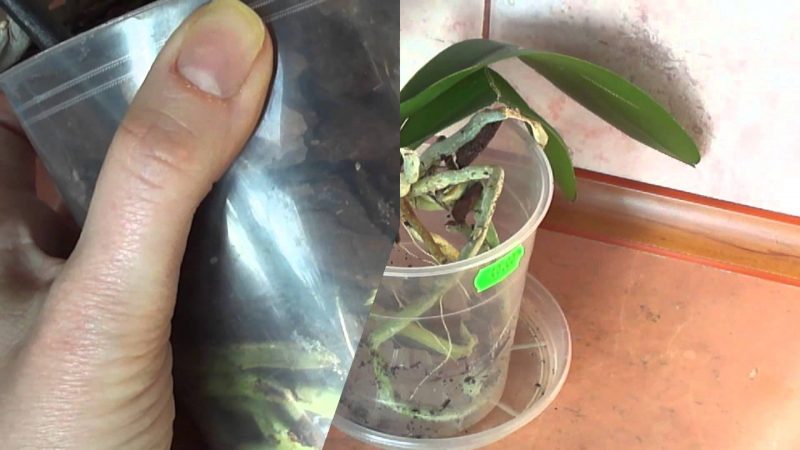
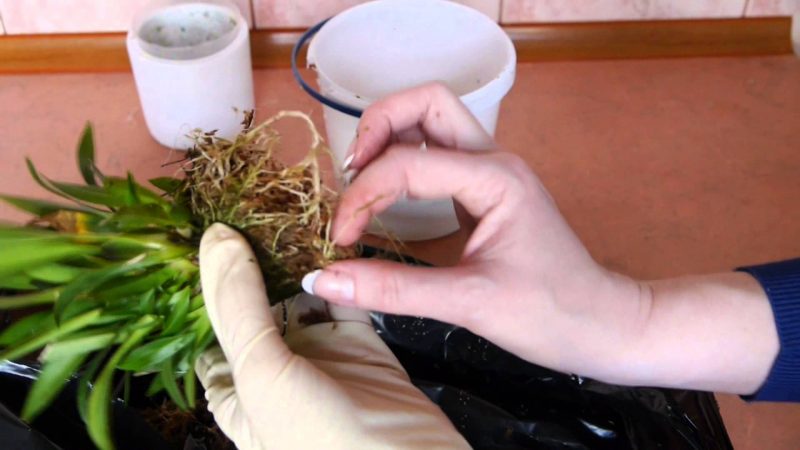
- The flower is removed from the pot, the roots are carefully cleaned of the substrate and examined. The healthy roots of orchids are dense, juicy, gray-green in color. Sick, rotten and withered are always dark, dry or soft. They are removed by treating the slices with crushed activated carbon.
- After inspection and treatment, the roots of the plant are placed in a new or well-washed old container, filling the voids with soil and compacting it with a light tapping on the walls of the pot. Roots that were before transplantation on the soil surface are best left open.
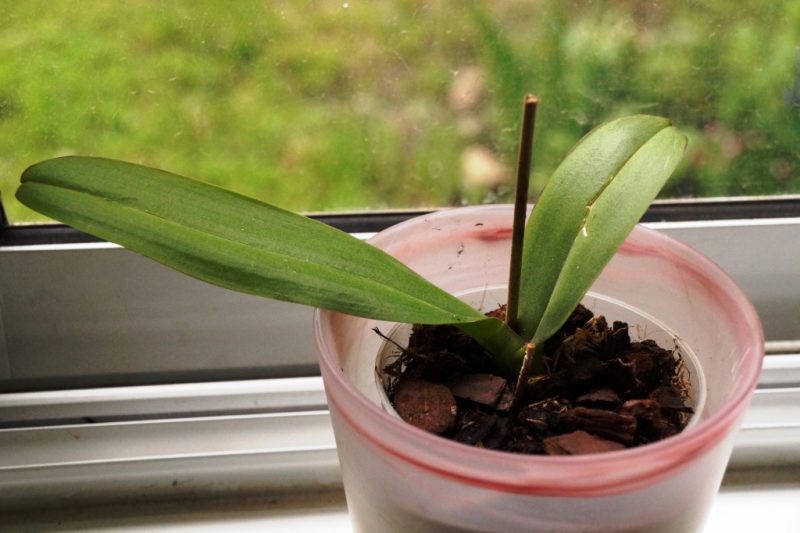
The transplanted orchid is not watered and put in the shade for 2 to 3 weeks. The plant will signal a successful transplant and complete adaptation with elastic leaves of a deep green hue.
Most species of orchids are painlessly transplanted. However, there are exceptions. Transplanted specimens lose leaf turgor, begin to wither, they do not bloom for a long time.
To avoid these troubles, experienced growers recommend adding pieces of old soil to the new substrate. This will contribute to a more rapid development of the microflora habitual for the flower and accelerate its adaptation.
Rules for the care of orchids after transplantation
After a successful transplant, the plant begins to grow rapidly and often produces a peduncle, therefore it is believed that the transplant stimulates the onset of flowering.Even if all is well, leave the transplanted flower unattended. He needs to create certain conditions and care.
- Transplanted plants are kept in bright rooms with high (from 75%) air humidity at temperatures from 15 to 28 ° C.
- The leaves of the flower are sprayed daily with warm, settled water.
- The plant is regularly watered with settled water at room temperature. The moistening frequency is determined by the complete drying of the soil, the absence of condensation on the walls and a light gray shade of the roots.
- About a month after the transplant, as soon as the active growth of the leaves begins, they begin to fertilize. The first time is foliar, I use solutions of liquid fertilizers or succinic acid, then fertilizers are applied to the soil, combining this procedure with watering or after it.
Observation of the transplanted plant and proper care after transplantation will avoid problems with the development of the root system and get a strong plant with long and abundant flowering.


