Orchid buds look like fluttering butterflies and such flowers always look spectacular in the interior. But if the pots for orchids are not chosen correctly, then over time the flowers will cease to please the eye. Therefore, if there are such plants in the house, or the florist intends to settle them, you need to carefully understand the issue.
Material Content:
What pot is needed for an orchid?
Orchids belong to plants that do not tolerate waterlogging of the root system, and they are divided into the following groups:
- epiphytes, that is, growing on trees, and receiving food from the air mass;
- lithophytes are those that grow on rocky surfaces or on rocks.
In both cases, their root system is in the following conditions:
- outflow of moisture occurs;
- the root system is constantly aerated;
- the roots of the flowers do not overheat.
Therefore, wondering which pot is needed for an orchid, you need to make sure that the above conditions are met.
Of course, when choosing a container, it is important to consider the overall design of the room, so it is worth considering different options for flower pots.
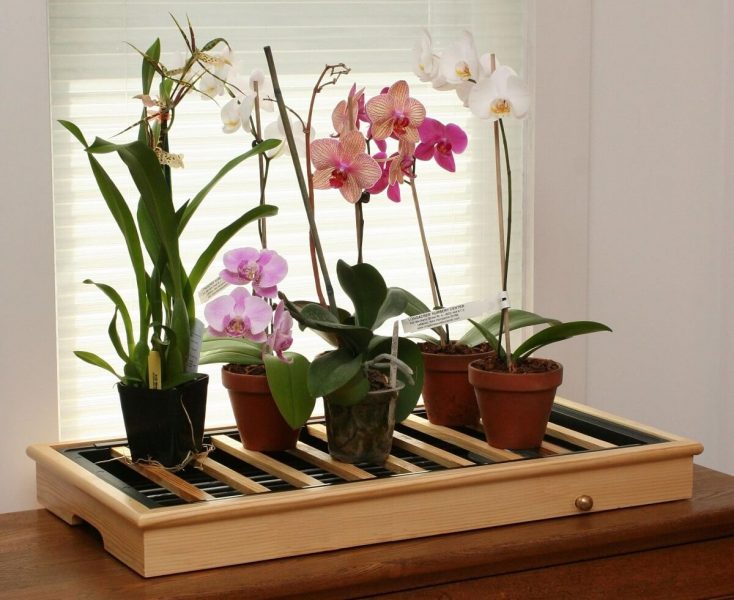
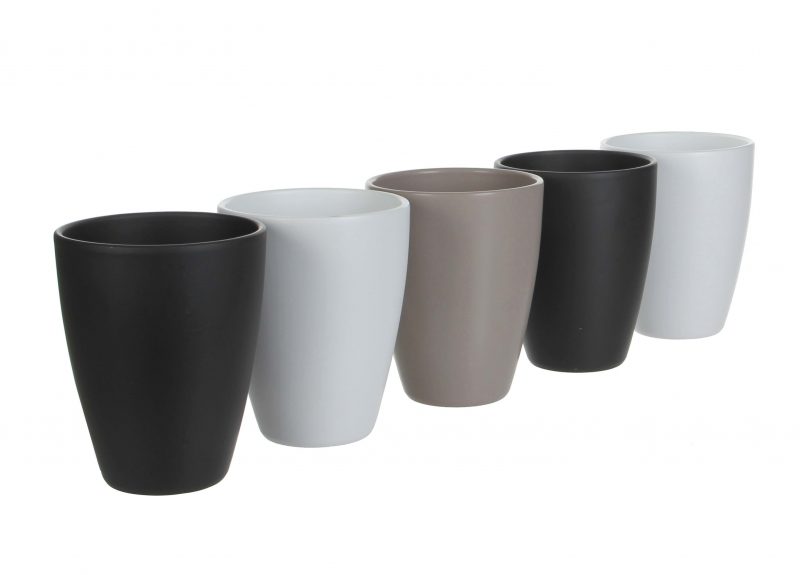
Plastic Orchid Pots
Such containers are most preferred for landing.
- They protect the root system from drying out, because it creates the effect of a greenhouse inside the pot.
- They are easy to place in any hanging planter.
- Plastic can serve several generations of plants.
Moreover, if there are not enough drainage holes in the pot, they can be made independently without risking damage to the pot.
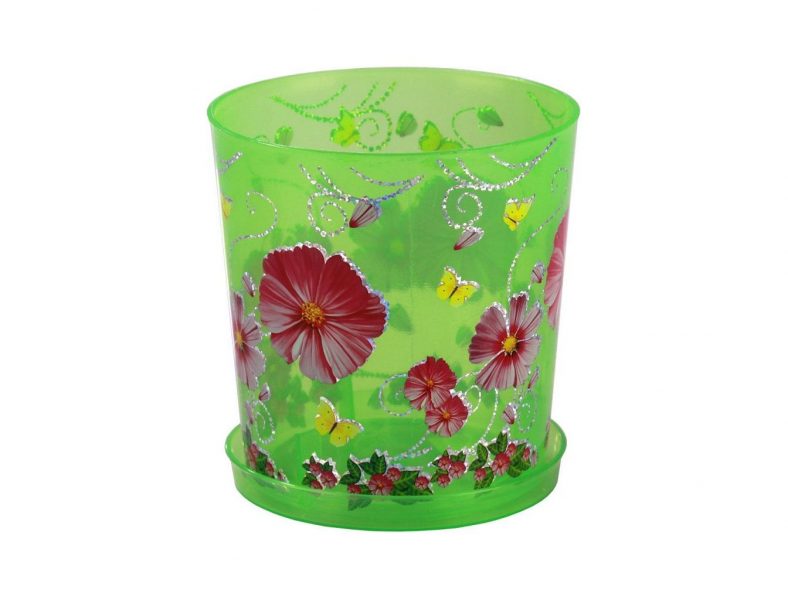
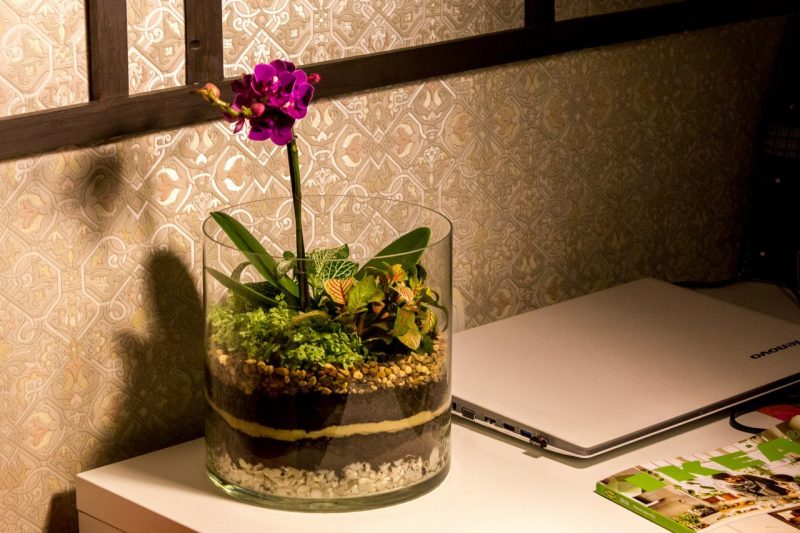
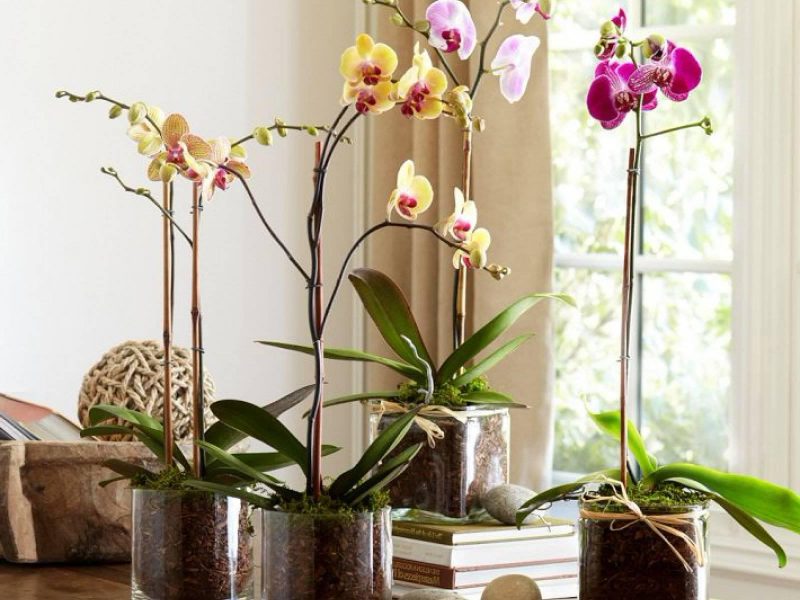
Glass flowerpots
An elegantly curved branch of an orchid, with a scattering of bright flowers looks very impressive in glass flowerpots, especially since the root system is a long green arrow lying in the drainage layer. And the whole flower looks like a kind of art object.
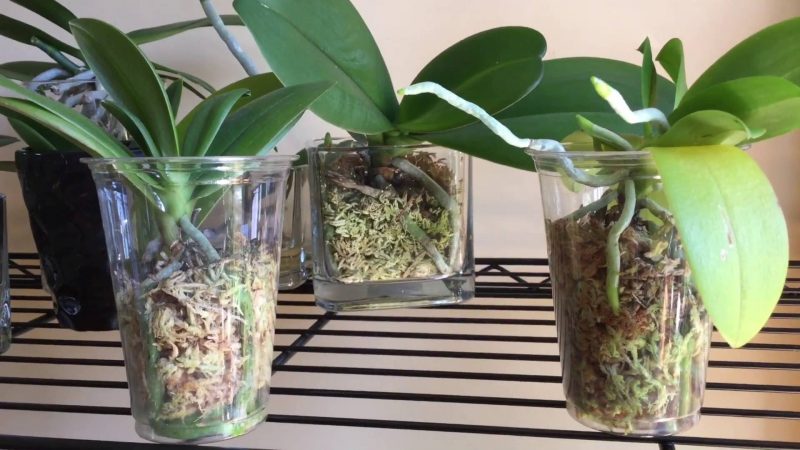
But when choosing a glass pot, it may be difficult to care for flowers, because it is quite difficult to find such glass products that will meet the necessary requirements, especially those with drainage holes. The capricious beauty of the orchid does not tolerate waterlogging, and it is difficult to drain excess fluid and not disturb the flower.
The output in this situation is as follows:
- Orchid planted in a plastic container.
- Plastic is placed in a selected glass pot.
- The container is masked by a drainage layer.
- If necessary, simply remove the plastic bowl, drain the liquid and return the flower to its place.
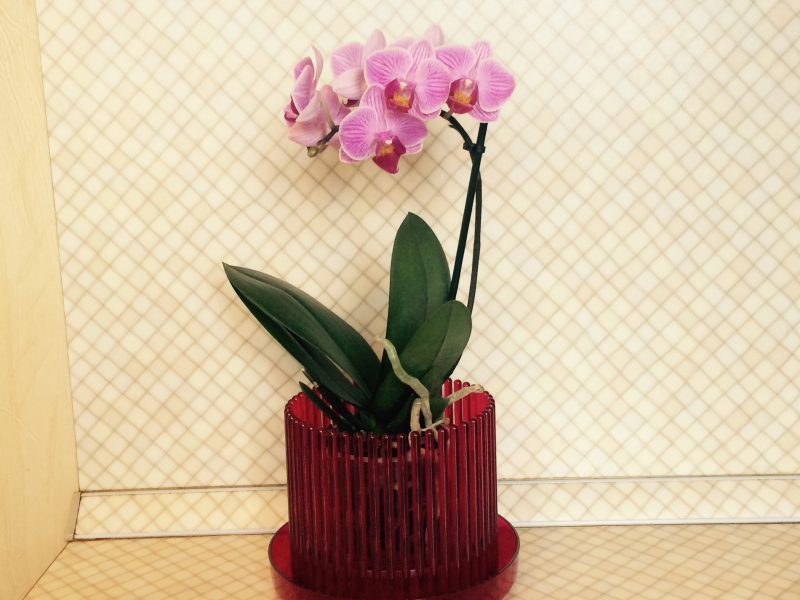
Glass pots may not necessarily be solid; orchids look great in decorative items that can mask the plastic container where the flower grows.
Clay pots
Clay pots have many advantages. They are easily permeable to air and moisture, so the substrate is completely saturated, which provides the flower with all the necessary useful substances.
But over time, the porous structure of clay becomes clogged with minerals and salts, and orchids become uncomfortable in such a home. Moreover, the root flower system is actively developing and grows strongly to the walls of the pot, so it becomes problematic to transplant it into another pot.
If the interior of the room requires ceramic products, then it is better to again place the orchid in a plastic pot, and put it in a clay pot.
It is important to remember that if a decision is made to plant an orchid in a clay container, then first you need to disinfect it.
- Warm up in the oven, with the exception of enamel pots.
- Treated with biofungicides from the inside.
Baskets of twigs and twigs
This option for planting orchids is suitable for those who belong to epiphytes.
Baskets can be made both from assembled independent material, and from an artificial analogue, but you can use ready-made baskets.
The difficulty of planting and caring for orchids planted in this way is as follows:
- watering orchids is carried out by immersing the roots in water, and it is difficult to do this when the flower grows in a basket;
- removing grown roots also becomes difficult, especially since they are damaged when you try to stop them;
- the basket may dry out or get wet.
Therefore, again, you can call for help a plastic container or lay the basket inside with a film with drainage holes.
Pot Crown for Orchid
The crown pot for orchids is becoming popular, but, according to many gardeners, such an option for planting is detrimental to flowers. Although, in theory, such a design takes into account all the features of plant growth, but over time, orchids planted in such a pot die.
The reason is that the tank has too much aeration, which is why moisture is too quickly eroded and the irrigation mode is violated. This leads to illness.
DIY Orchid Pots
It’s not difficult to make a pot for orchids with your own hands. Any plastic container can serve as the basis, but there are a lot of options for planters.
- polish a wide saw cut of a tree with sandpaper, make a hole in the middle, cover with varnish and place a container with an orchid;
- if multi-colored or monotonous small stones or shells are fixed with glue on a metal or plastic container, an original pot will be obtained;
- if you independently paint a liter jar with waterproof paints, and decorate the edges with burlap, this will also be an interesting option for framing an orchid.
Almost any improvised item can be used under a cache-pot. With a little effort, many things that have become unnecessary will shine with new colors.
How to determine the size of a pot suitable for an orchid
Thinking about how to choose a pot, first you need to understand how to determine the comfortable size of the container for planting?
- The height at the pot should be equal to the diameter of the top of the tank.
- Orchid loves tightness, so the roots should almost completely fill the volume of the bowl.
We transplant the orchid correctly
Transplanting orchids according to the rules is one of the stages of growing a plant.
- Since orchids are experiencing a difficult process and are ill for a long time, it is possible to carry out this no more than once every two years.
- The flower is transplanted in the spring when active growth begins.
- It is better to relocate the orchid after it has flowered, then the plant will be able to devote all its forces to adaptation in a new place.
- Do not neglect the disinfection of the pot, soil and auxiliary tools.
In order to accurately diagnose the need for transplantation, you need to carefully examine the plant and if the following factors are found, then the flower must be transplanted:
- the substrate in which the plant grows began to resemble sawdust or dust;
- pests or parasites are wound up in the pot;
- the root system has rotted.
The transplant process should take place according to the following plan:
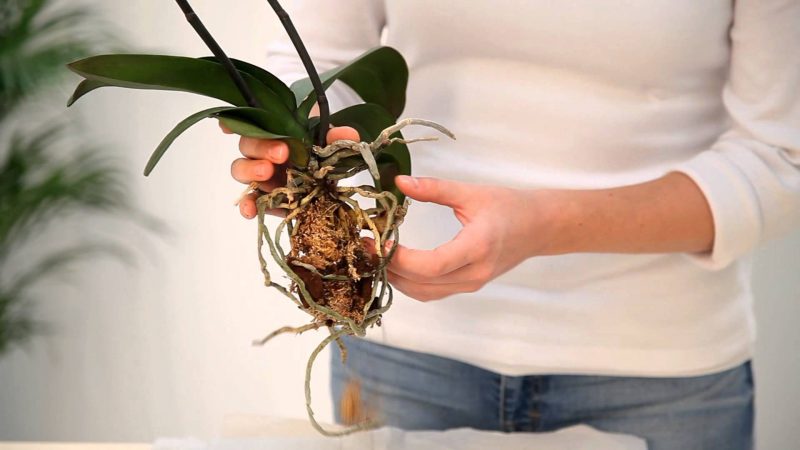
- If the orchid grows in a plastic container, then gently knead the pot from all sides to soften the substrate and not to damage the root system when removed.
- In order not to cause excessive discomfort to the flower, it is better to clean the root system from the old soil in a basin of water. You just need to lower the lower part into a basin with warm water, adhering particles of soil will easily move away.
- Further, the roots are soaked in a solution of biofungicides, but before that they must be carefully checked for hidden pests. It is important that immersion of the root system in water for several hours eliminates the roots not only from the soil, but also from parasites.
- After that, remove the old roots, carefully cutting with sharp scissors. The slice is treated with activated carbon crushed into dust.
- Also do with sluggish foliage.
- After all the procedures, dry the roots, put the orchid on a towel and leave it for 8 - 9 hours.
A well-groomed orchid will always be the pride of its owner!


