Gloxinia is one of the most popular and beautiful indoor plants in the world. Such widespread gloxinia, home care for which does not cause great difficulties, has received thanks to the decorative flowers of various colors and shapes. Surely every enthusiastic florist at least once thought about acquiring this miracle. How to grow gloxinia at home? How to care for her? What soil does synningia like? We will answer these and many other questions in this review.
Material Content:
Story
The species was named after the German botanist Benjamin Peter Gloksin, who was the first to cultivate this outlandish plant from the other end of the world in Europe. The second father of gloxinia was another German botanist, Wilhelm Sinning, who was seriously engaged in its selection and hybridization. As a result, gloxinia became a houseplant.
Species and varieties
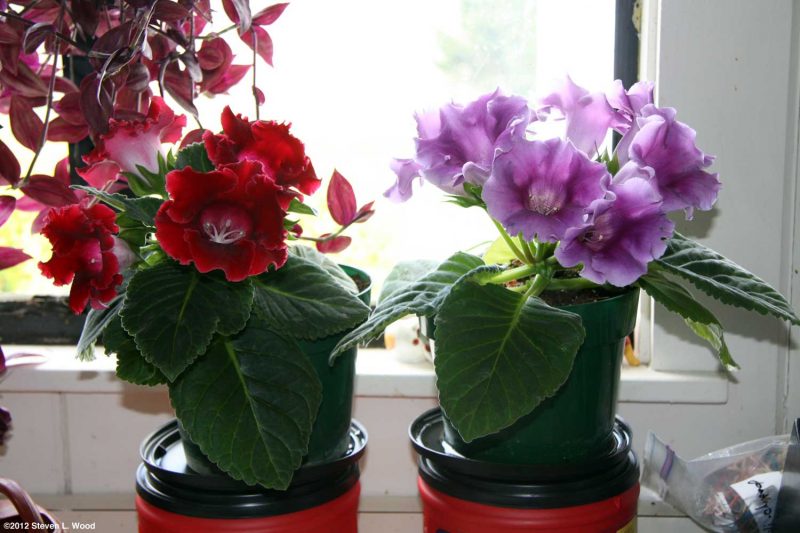
Gloxinia refers to perennial tropical herbs. In the wild, the flower grows in Mexico and South America, from where European colonialists brought it to the Old World in the second half of the 19th century. A feature of its root system is the presence of a pronounced tuber, which during the wintering period can even be dug up and stored in cool until spring, like potatoes. Leaves growing from the root in the form of a rosette are soft, fleshy, covered with small hairs. The stalk is short but thick. Gloxinia flowers vary by variety.
The most common types of gloxinia:
- Royal (purple flowers);
- Avante (white petals);
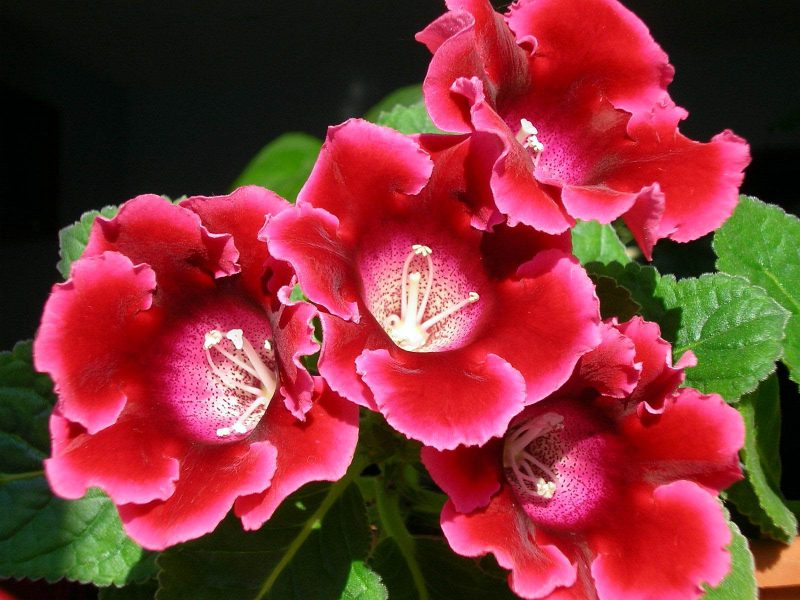
- Tigrina Red (bright red);
- Hollywood (dark purple);
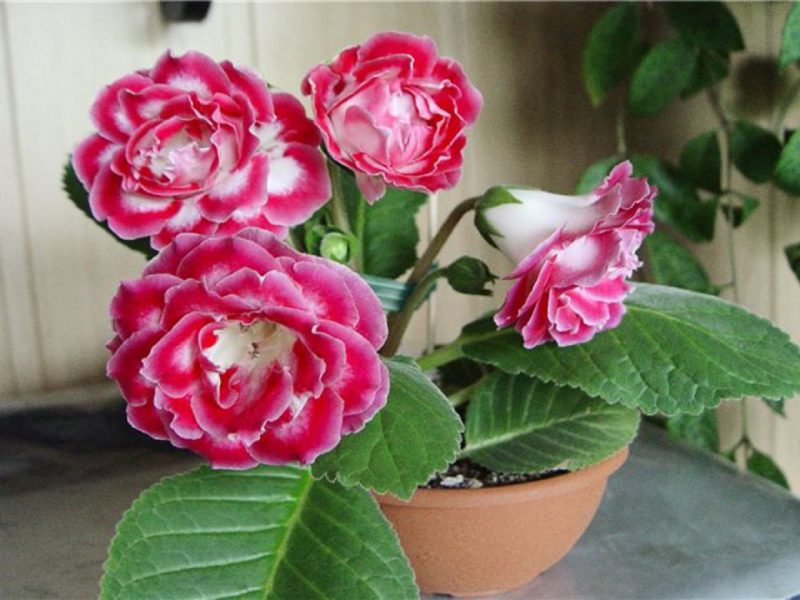
- Yesenia (pink velvet flowers);
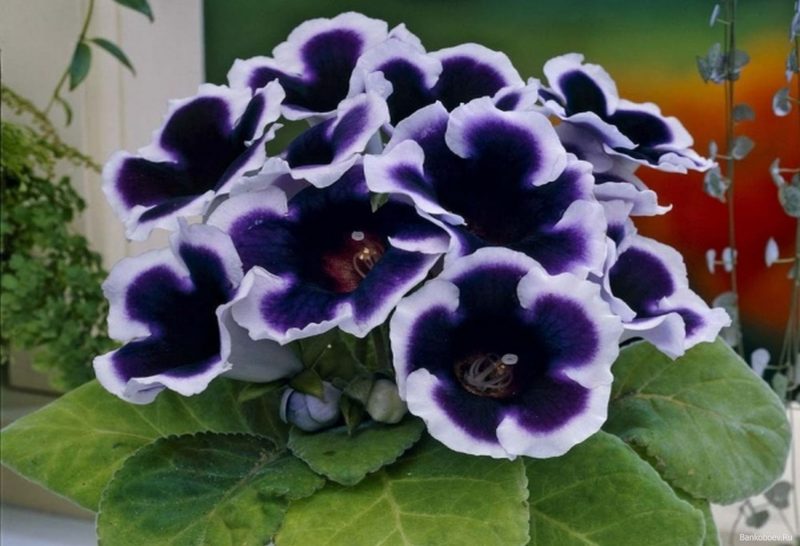
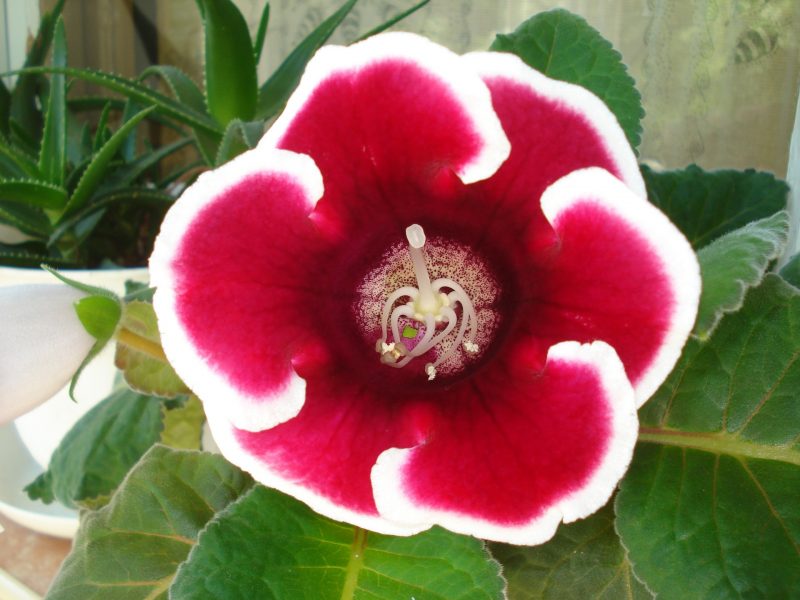
- Kaiser Wilhelm (black-purple flowers with a white border);
- Blanche De Meru (elongated pink flowers);
- Shagane (domestic variety with bright purple small flowers);
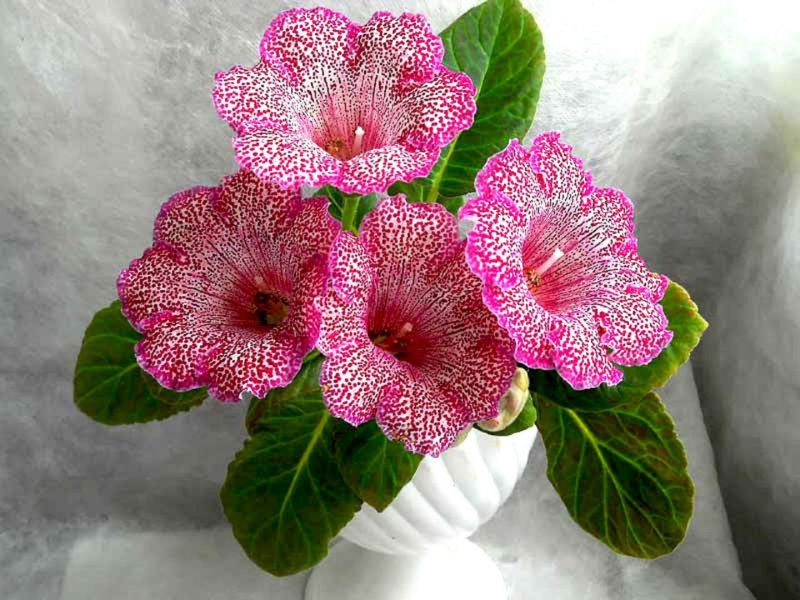
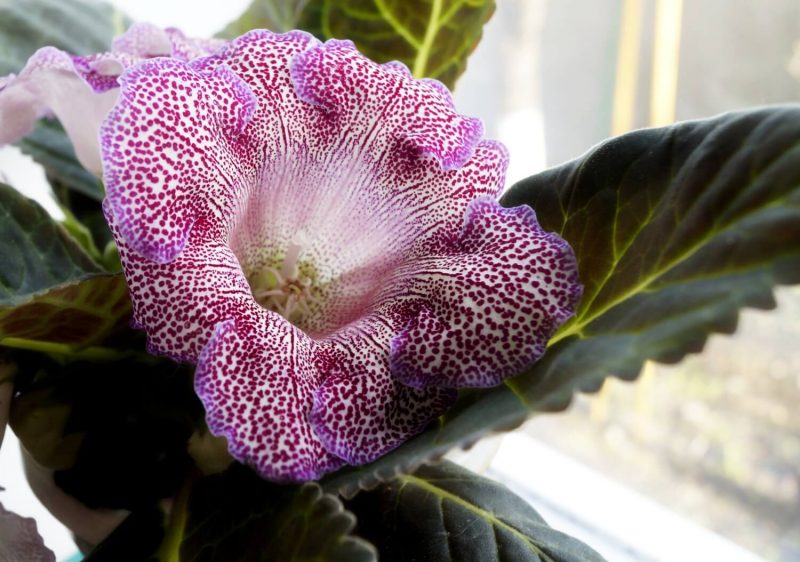
- Anfisa (pink petals with white spots).
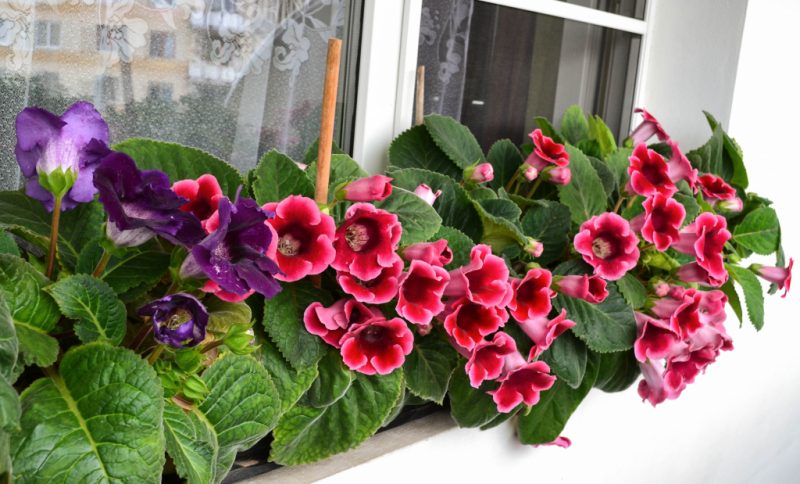
Gloxinia: basic growing requirements
Caring for gloxinia is not as difficult as for some other green pets. She loves the right soil, moderate watering and sunlight.
Ground and pot requirements
A flower is planted in the soil, composed of 1 part of sod land, 1 part of leaf humus, 1 part of plain garden soil and 1 part of sand, preferably coarse river. If it is not possible to provide such a variety of substrates, then soil taken from the meadow, from under linden or birch, and also a purchased composition that is best diluted with ordinary soil in a ratio of one to one, is suitable. Sometimes it is justified to add a small amount of sawdust or perlite to the mixture. The decision on the introduction of baking powder is made based on the consistency of the soil obtained. It should be light, breathable and crumbly.
An important condition is to ensure good drainage. There must be a hole in the bottom of the pot. At 15-25% of the height, the pot should be filled with pebbles, gravel, fragments of pottery, or at least small stones.
Ideally, the water should moisten the soil well, be easily absorbed, and flow freely out of the drainage hole.
Watering, fertilizing and fertilizing
In terms of fertilizers, gloxinia is not too demanding. Theoretically, you can not fertilize it at all, but then it is unlikely to please the owners with abundant flowering. During spring and summer, from time to time, but not more than twice a month, you can make universal complex fertilizers for indoor plants. Top dressing should be stopped in mid-August, due to the approaching cold season.
As for watering, it is important to comply with the measure. Young plants, whose root system has not yet completely covered the earthen lump, are prone to root rot and fungal diseases. However, even adult specimens often suffer from the bay. The best way to avoid this is to lay a drainage on the bottom of the pot and competently make an earthen mixture, which will be discussed later. If possible, it is better to water the flower with warm water.
Optimal conditions
Another feature of gloxinia: unlike many other indoor plants, it does not need to be sprayed, although moist air loves and grows somewhat faster if there are many sources of moisture evaporation around it. Unfortunately, the benefits are almost imperceptible from several water dishes. Better put gloxinia on the windowsill, where other indoor plants are already located: green leaves give off moisture well. If desired, you can add moss to some large pots.
Light gloxinia prefers not direct, but diffused, but quite intense and long-lasting. A great option is to put the pot on the south, east or west window for a very thin or mesh curtain. Prolonged exposure to direct sunlight, especially coupled with careless watering, can leave sunburns on the leaves. For this reason, try to irrigate the root rather than sprinkling.
Do not place the plant where drafts are possible. With hypothermia, the leaves become lowered, as if sluggish. If at the same time they lose their saturated green color, then this can indicate either a hypothermia of the root system or rotting processes that began in the soil.
If the buds do not open, drafts and cold water may be the cause.
If possible, gloxinia in the winter months is best kept in a cool, bright room with a temperature of + 10 ... +17 degrees.This will allow the tuber to relax, gain strength and “shoot” in the spring, which increases the chances of abundant and beautiful flowering. Just don’t be afraid of falling leaves when moving the plant in cool: with the retreat of winter new shoots will grow from the tuber.
Pruning and transplanting
Contrary to erroneous statements, you should not cut almost all the leaves - this simply does not make sense. It is argued that after radical pruning from tuber stepsons begin to grow, which in the future should bloom profusely. This is not entirely true. Stepsons, of course, will grow, but you can do without these victims. But excessive removal of the leaves is fraught with decay of the roots, which have nothing to nourish. By the way, towards the end of summer, it is often possible to achieve a second flowering wave, which, however, is not as intense as the first.
When transplanting, the size of the dishes is selected according to the volume of the root system. Freshly rooted leaves are planted in the smallest pots. For older plants, a container is selected whose volume is equal to or slightly larger than the volume occupied by straightened roots. Intensively growing specimens are transferred to a slightly larger capacity each year at the beginning of the growing season.
Remember: too large a pot is a risk factor in terms of gulf and rotting of the root system!
Gloxinia has faded, what to do next?
It blooms from March to August. The gloxinia flower holds for about a month, after which the shrunken peduncle can be safely cut. When gloxinia faded, not everyone knows what to do next. The first thing to do when the flowering is over is to remove the remains of the flowers, weak and too “fat” leaves. The latter, by the way, can be used for reproduction.
Error handling
What to do if mistakes are made in caring for gloxinia? With progressive signs of the bay and root decay, the flower needs to be transplanted. You need to get it out of the pot, clean it from the ground, remove rotten roots and too weak leaves and plant it in a new light soil. The “resuscitation” soil composition should contain more coarse sand and disintegrants than the standard one. After that, the plant is moderately watered, hermetically covered with a transparent plastic bag and stored in partial shade until it grows. You can air the mini-greenhouse 1-2 times a week. With a favorable outcome, it can be gradually removed.
How to calculate rotten roots? They are diagnosed by several signs, and we begin with the most obvious. If the root easily comes off the core root, it means that it is 100% rotted. If it does not come off completely, but as if peels off, then this is also a sure sign of his death. Such a root is trimmed to either the healthy part or to the branch point. Less obvious signs are the black or dark brown color of the root and a putrefactive odor. Healthy parts are light brown or even white. In advanced cases, the root system rots so much that nothing remains of it. The only option in this case is to take the preserved leaves and try to root them.
Propagation Features
The reproduction of gloxinia in practice is most easily carried out by leaf cuttings. Less often resort to sowing seeds and dividing the tuber.
Gloxinia leaf propagation
For this purpose, a large ripe leaf is cut from the plant. The petiole is recommended to be shortened to a length of 1.5-2 cm to avoid its decay. After that, the leaf is planted in moist coarse sand and placed in an airtight mini-greenhouse. Instead of coarse sand, fine quarry sand can also be used, but it is slightly less preferred. In this form, the leaf takes about 1 month to let out small roots. When they reach a length of 1-2 cm, you can move the plant into a small pot with soil. At first, you should still keep the sheet under cover, only not tight, but with a small hole.As the sheet becomes accustomed to dry room air, the gap can be increased, and after 2 weeks the film can be removed. Around this time, a rosette of small leaves should shoot from the base of the petiole. This means that the reproduction of gloxinia was successful! In the future, it is important to ensure that you do not flood the young plant, which at this age is especially sensitive to waterlogging.
Seed propagation
Gloxinia can be grown from seeds, it is only important to know that they germinate for a very long time: from 4 to 9 months. Small shoots develop slowly. To achieve success in this matter, it is recommended that the seeds be planted in light sandy soil and hermetically closed with a plastic film. It should be removed gradually, as soon as most of the seeds sprout.
Tuber division
This method is the most difficult and risky, since there is a danger of causing the tuber to rot after cutting it. It is recommended to divide sleeping large tubers that do not have rot and damage. It is better to cut them into no more than two parts. Places of cuts are sprinkled with coal.
Stem cuttings
Gloxinia can be propagated with stem cuttings, only this method is complicated by the fact that their length is very small. Therefore, they rarely resort to it. The technology is the same as when rooting leaves: the stalk is placed in coarse-grained moist sand and hermetically covered with a mini-wig. The appearance of the first roots can be expected in a month.
Pests, diseases and treatments
Gloxinia is rarely affected by pests. Sometimes she is attacked by a red spider mite. These insects look like small red dots on the surface of a leaf plate. They should never be allowed to breed! First, you can try to remove the tick by Fitoverm, but if it turns out to be too much, then you will have to resort to more powerful means: Omayt, Oberon, Sunmayt.
Of the diseases, gloxinia often suffers from root rot. It is treated by replacing an earthen coma and watering the plant with a weak solution of Fitosporin.
In general, growing gloxinia on the windowsill does not cause much trouble. This is a wonderful ornamental plant with beautiful flowers that, with proper care, have a more saturated color. Gloxinia is always glad to repay abundant and magnificent flowering for a good attitude to itself.


