There are ready-made ties of various colors on sale, but they are not cheap. A self-made description of the process of making a bow tie will be useful to schoolchildren and their mothers. The exciting process of creating this cute accessory is accessible even to those who have never held a needle and thread in their hands.
Material Content:
Master class, how to make a bow tie do it yourself
Simple step-by-step descriptions will help to make a stylish bow-tie from an ordinary tie, satin ribbon and a piece of fabric.
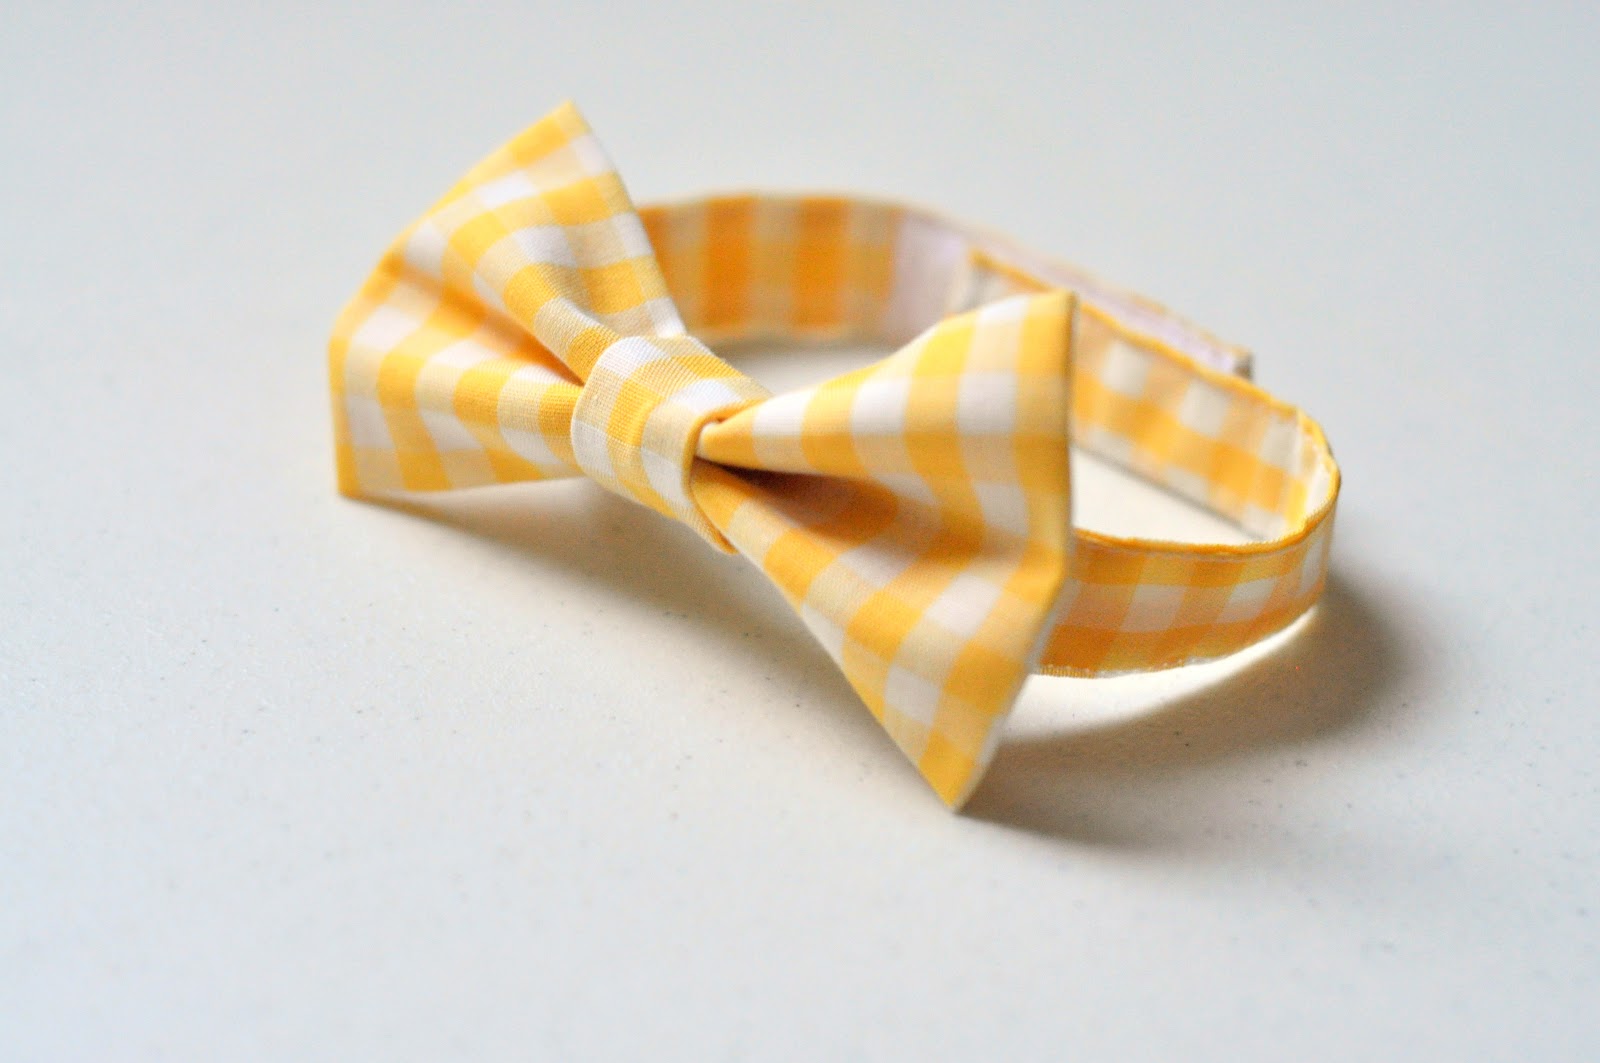
From a regular tie
An ordinary tie can be turned into a bow tie without ruining it.
Step-by-step description of the self-bind process:
- The wide part of the tie is inserted under the loop on the back, which usually holds the thin end.
- They retreat from the bent edge of 15 cm and fold the tie a second time. You can make the distance smaller, it all depends on what size butterfly is needed.
- Make the 3rd hem, stepping back 2 - 4 mm from the edge. Similarly, from the other end perform the 4th hem.
- Hold the finger in the center of the future butterfly and overlap on the front side with the remaining narrow end of the tie.
- On the wrong side of the butterfly make a loop, tighten, level the sides.
The bow tie is ready!
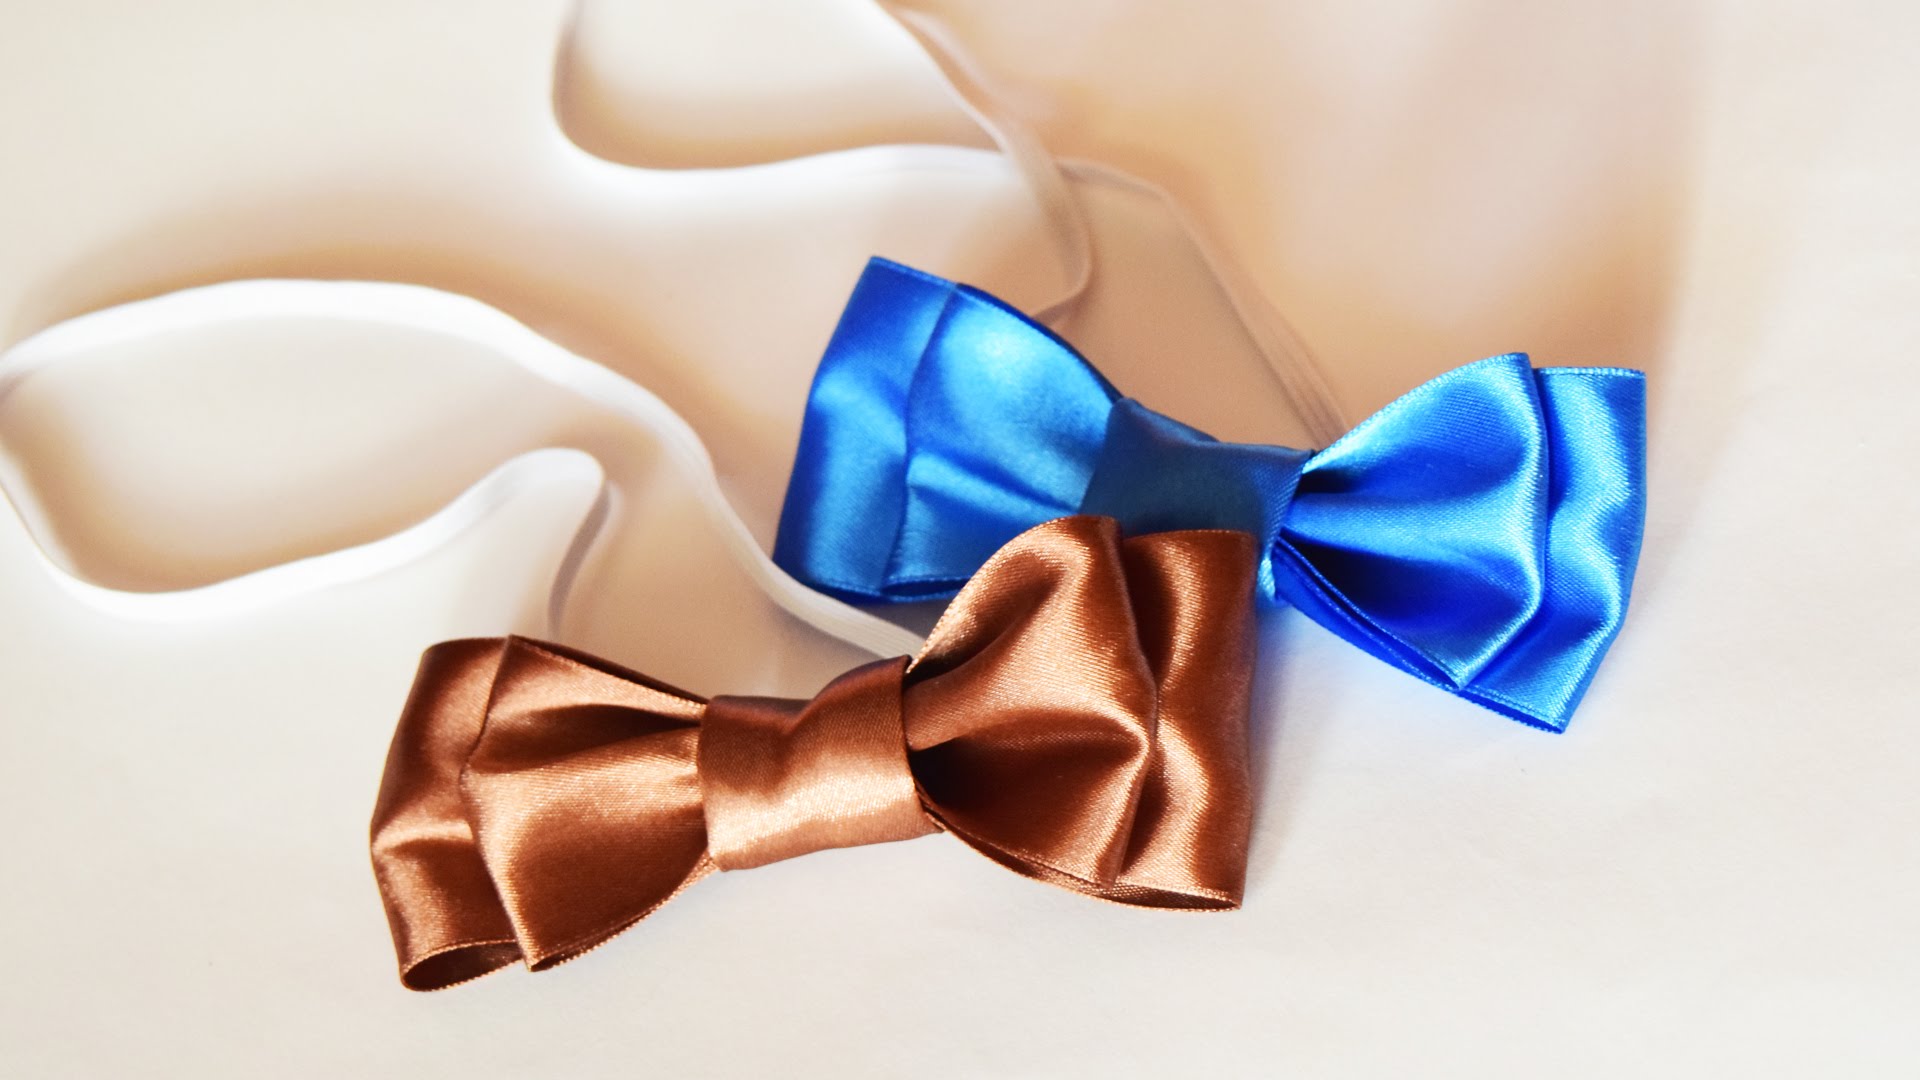
Satin ribbon

For a satin bow tie you need:
- 2 cuts of satin ribbon material 5 cm wide and 41 cm long;
- hot glue gun;
- an elastic band 1 cm wide and about a half meter long;
- accessories on an elastic band for regulation of length - 2 pieces.
Manufacturing process:
- Two pieces of tape are neatly and evenly applied to each other.
- Fold in half across. Fingers pinch the fold.
- Measure 9 cm from the bent edge and fix the marked spot with a needle.
- To make the seam even, on the opposite side of the tape also measure 9 cm and mark the place with a needle.
- Floss the marked line with a thread. The thread with the needle does not need to be cut, it is fixed. With the help of one thread the whole product will be sewn.
- They fold the butterfly, connecting the fold line, from which they retreated, and the just-made seam. They are fixed on one and the second side in the middle with needles.
- The free ends of the ribbons are tucked to fit the size of the butterfly, they will slightly go one on top of the other (1 cm each). Fasten with a needle.
- Now the blank is stitched in the middle. Use the thread and the needle left in the tape from the first seam. Make stitches from one and the second edge of the butterfly, 1 cm long.
- The needles that were used to fasten the tape are removed. Tighten the thread, forming a wide crease in the middle of the butterfly.
- The butterfly is fixed with a needle and thread in the correct, assembled state, making several stitches from the inside. Fasten the thread and cut.
- For fastening, take an elastic band 1 cm wide and longer than the neck circumference by 10 cm.
- The edges of the gum are treated with a lighter. To adjust the length of the elastic, 2 fittings are attached to it. The edges are fixed with glue or sew.
- Glue a bow to the elastic band.
- From a piece of the same ribbon that went into the manufacture of a bow tie, they make a middle for it. To do this, you need a piece with a length of 7 cm. It is folded 3 times in width. The edges of the part are fused with a lighter.
- Strictly center the middle on the bow.
The finished butterfly from a satin ribbon will turn out to be 9.5 cm long.
It is interesting: satin - what kind of fabric
Bow tie without sewing
It is easy to make a fashion accessory even without a needle and thread.
For manufacturing you will need:
- dense double-sided fabric measuring 15x30 cm;
- pin (base for brooch);
- hot glue gun;
- and scissors.
Process description:
- The fabric is rolled along, bending from two sides to the middle. One side should be a little overlapping. Ironed.
- The resulting rectangular billet is now rolled across so that three layers come out.
- Make a bow, pressing the blank with fingers in the middle.
- From the wrong side they fasten a thin strip with a glue gun. Glue a pin to it.
A butterfly without a single seam is ready in 5 minutes.
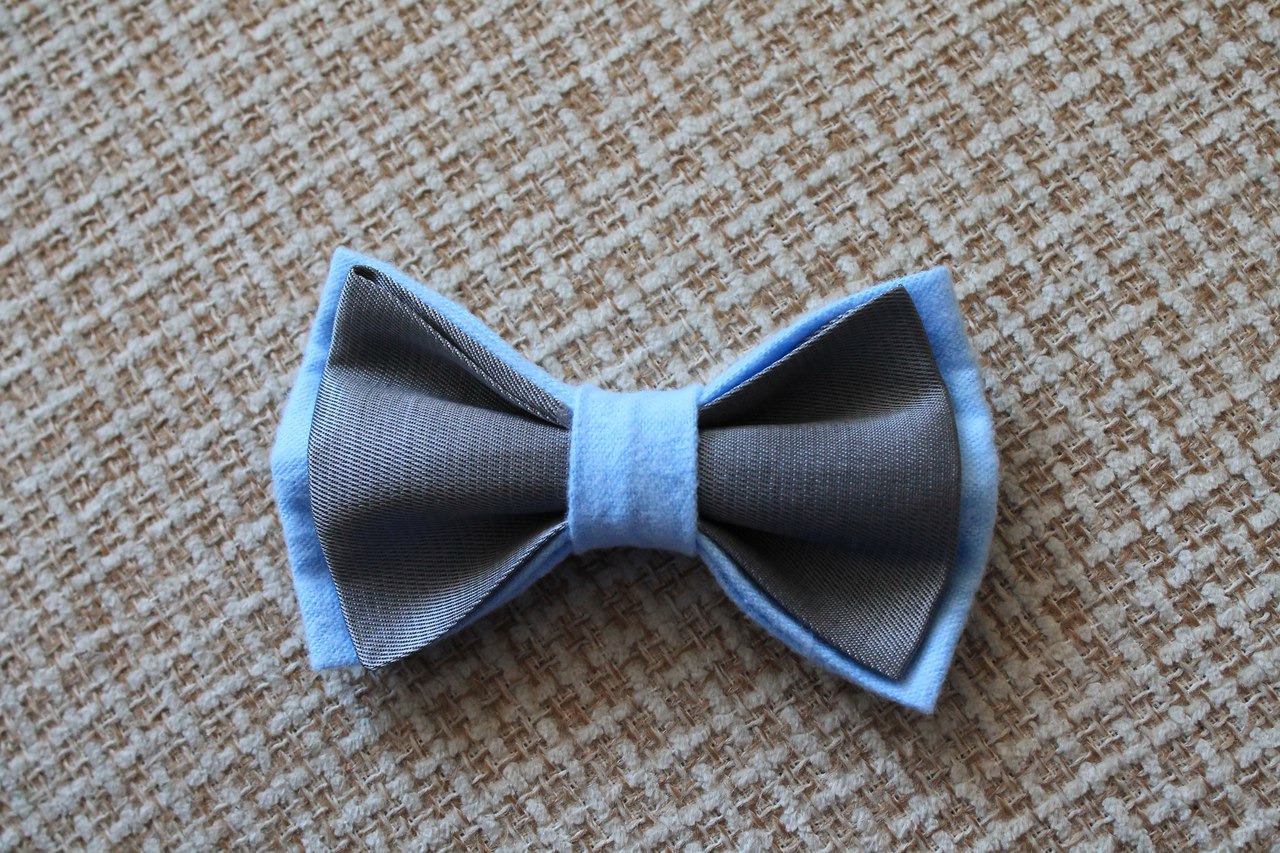
From the cut of fabric
You can sew a bow tie with your own hands from a piece of fabric even without a machine, because all the details are very small and easy to process.
To make the butterfly, you will need three pieces of fabric - 11x20 cm, 10x19 cm, 4.5x7.5 cm.
Step-by-step process description:
- Take the largest rectangle, bend it along in half and stitch the edge.
- Turns the rectangle out and iron it so that the seam is in the middle.
- Bend across the stitched rectangle with a seam outward, sew through, connecting the two free ends.
- Turn out and iron. The same is done with the remaining two pieces of fabric.
- Now two large rectangles are threaded into the smallest - a jumper, and form beautiful folds in the middle.
The butterfly strap is made of fabric or a regular elastic band is used - it is not visible under the shirt collar.
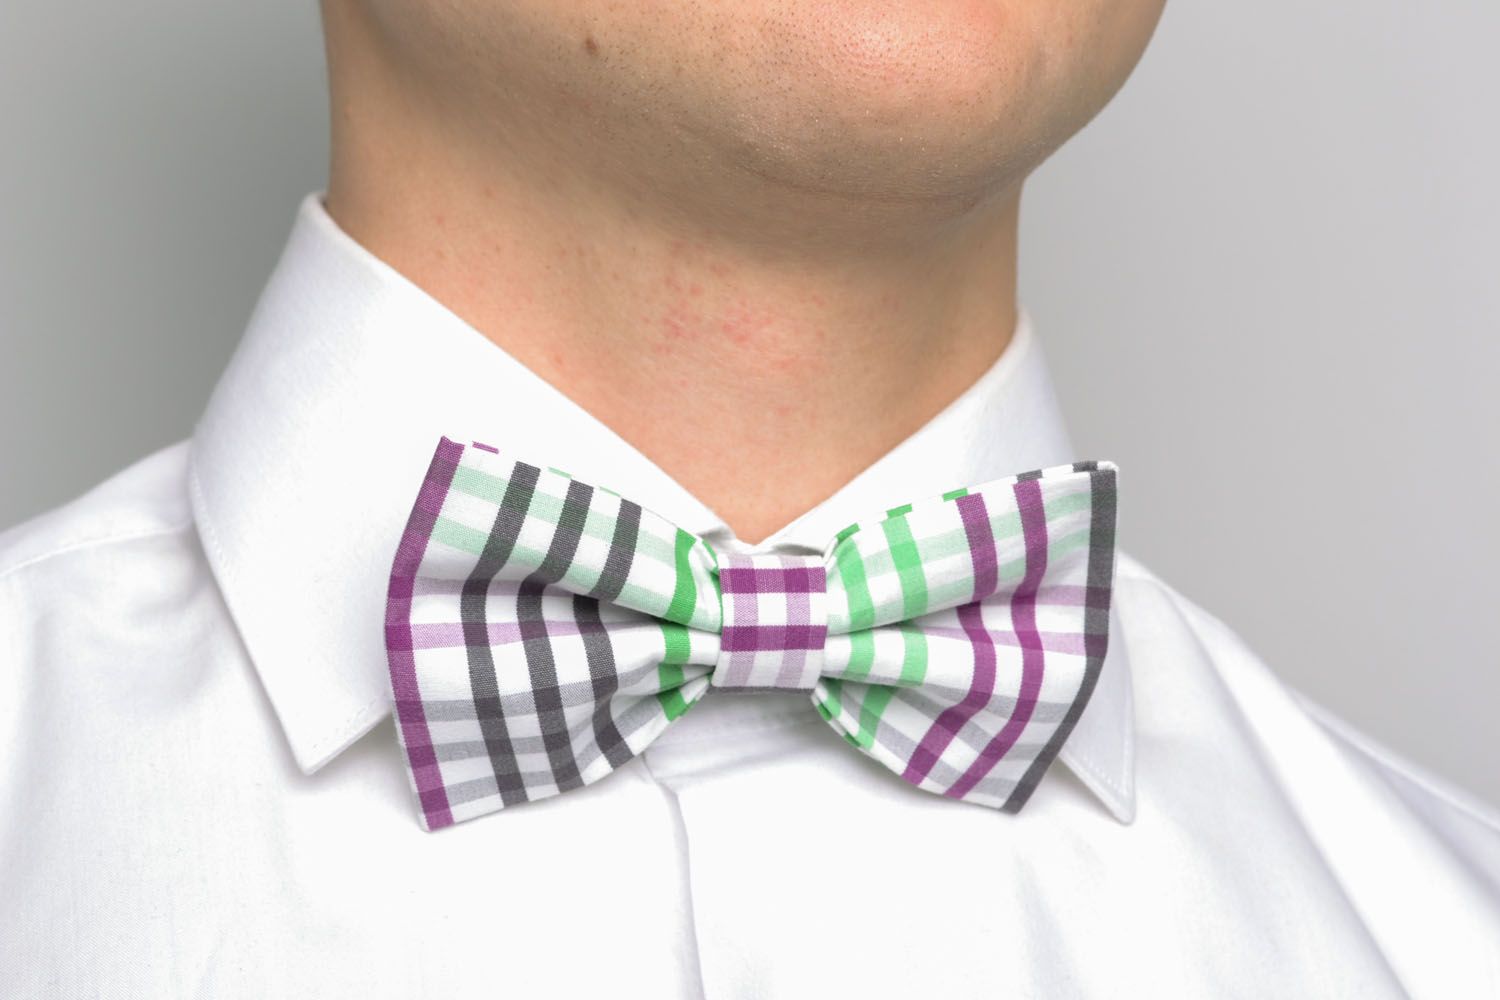
Accessory step-by-step patterns
In the photo of fashion magazines, young men in real ties flaunt. But becoming a happy owner of such a thing, it is not easy to figure out how to wear it.
Outline description of how to tie a bow tie:
- Having lifted a collar of a shirt, cover with a tie a neck. Two free ends hang on the chest, while the left of them should be slightly longer than the right.
- Make a simple knot so that both ends are on the same level.
- Then the lower end of the tie is formed into a bow tie, and the upper end is passed through the bottom.
- The long end, which is on top of the butterfly, is passed under the knot and pulled out.
- Straighten the tie and gently lower the collar.
Now you can easily sew a bow-tie to a boy at school or make it out of an ordinary tie for yourself. Nothing complicated!


