Our hands are always and everywhere in sight: at work, in the store, in transport and on a date. Shellac nail design is not only one of the ways to distinguish yourself, show others your sophisticated taste, but also an effective method to significantly increase the durability of your manicure.
Material Content:
New items, fashion trends 2018-2019
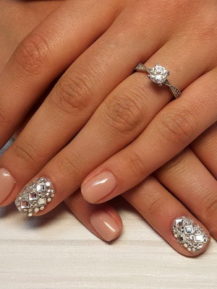
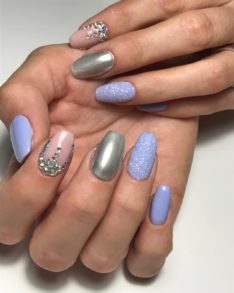
This season, the almond-shaped, oval shape of the nails is fashionable. The main slogan of these years is shine, radiance and decoration. We are no longer guided by the principle that diamonds should be worn only in the form of jewelry, and not on the dress and nails. The more “stones” and shine in the manicure, the better.
Rhinestones, foil, broths, rubbing, sparkles are in fashion - all that will help to create an imitation of precious metals.
The color scheme includes the following shades:
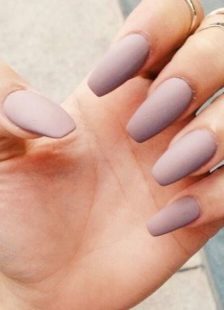
- Beige, as close as possible to skin color.
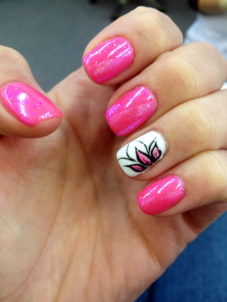
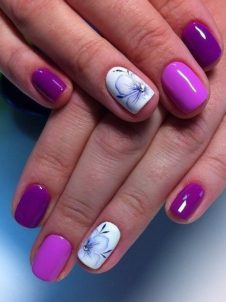
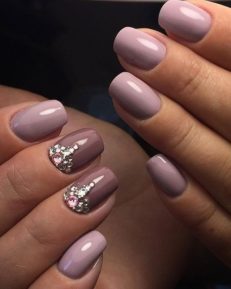
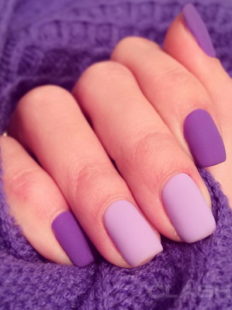
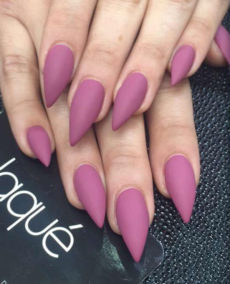
- Floral shades: pink, purple, violet, lilac, peach.
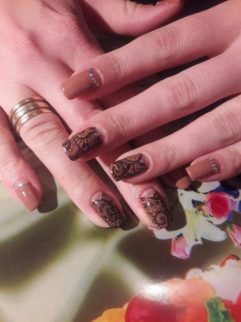
- Coffee colors: baked milk, cappuccino.
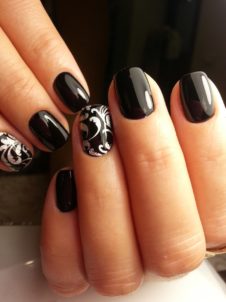
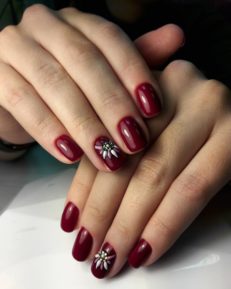
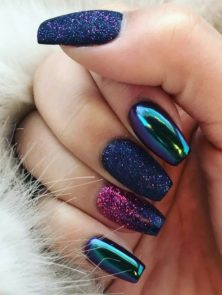
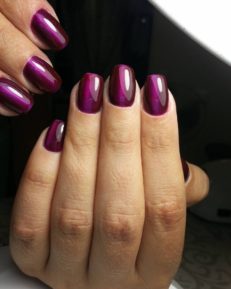
- Saturated shades: coral, dark plum, charcoal black.
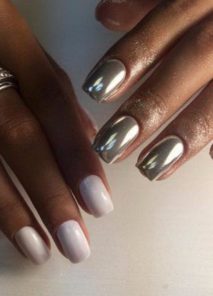
- Metallized coatings: gilded, silver, bronze.
Fashion nail designs:
- plain coatings;
- stickers with cartoon characters or drawings with them;
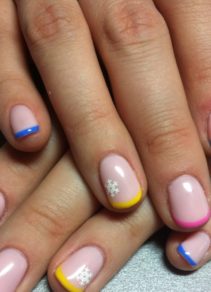
- French manicure;
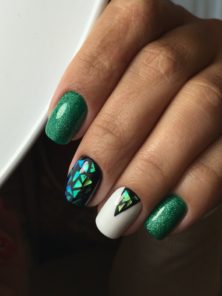
- a scattering of “confetti” made of foil (broken glass, yuki, kamifubuki);
- negative space;
- shellac geometry;
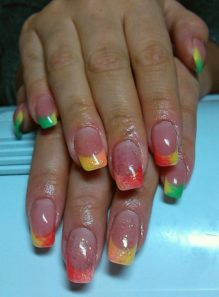
- ombre - the gradient is performed both in one color scheme, and in a combination of contrasting shades.
Actual ideas of manicure for short nails
Long nails have one very important advantage - the manicure on them lasts much longer than on long ones.
Popular nail design ideas:
- Plain glossy or matte red finish.
- "Candy" and pastel shades. A combination of several colors looks especially interesting.
- The use of rubbing, sparkles and rhinestones.
- "Naked manicure" along with geometry.
- The combination of 3D colors and broths.
- Openwork and "knitted" manicure.
- Drawing a few smiles on the tip of the nail in contrasting shades.
- Stamping.
- "Aquarium". Feathers and dried flowers are visible under the clear lacquer.
- Use of stickers and thin shiny strips for nail design.
- 3D polymer shapes: cutaway fruits, flowers, butterflies, and other insects.
The choice of shellac design on short nails is limited only by imagination.
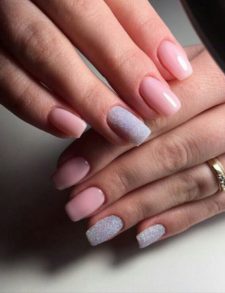
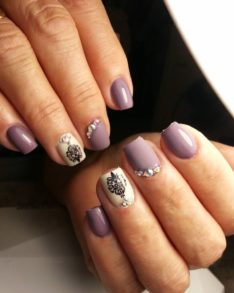
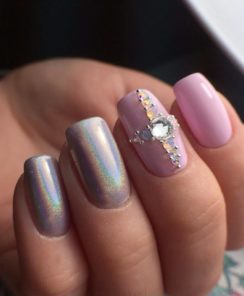
Using rhinestones, powders
Manicure, brilliant in every sense, will help to attract attention. The powder (rubbed) for nails can be divided into two types: pearl and mirror. The first creates a soft and delicate mother of pearl coating, and the second - metallized, chrome plated.
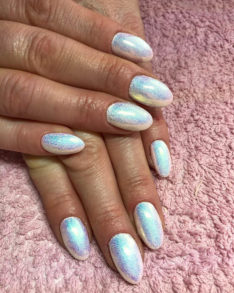
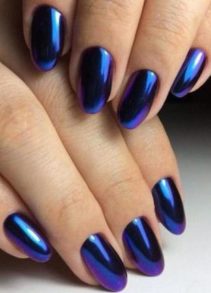
It should be borne in mind that “pearl”, pastel shades of gel varnishes are more suitable for pearl rubbing, and dark, saturated for mirror.
To create a bright manicure you will need:
- lamp for polymerization (drying) of manicure;
- gel polish for a base coat;
- shellac of a favorite color;
- pearl or mirror rubbing;
- applicator for powder (or eyeshadow);
- rhinestones;
- glue for nail design;
- top coating without a sticky effect;
- a primer;
- degreasing and disinfectant;
- cuticle oil.

Step-by-step instruction:
- Sanitize nails and cover with primer.
- Apply base gel polish and dry in a lamp.
- Cover the nails with the base color and polymerize again.
- Apply top coat and dry.
- Then, using the applicator, rub the powder on all or several nails and again cover with the top.
- Dry the resulting manicure in a lamp and if the effect is insufficient, you can repeat the procedure.
- At the end of the design, glue a pair of rhinestones on the selected nails.
- Cover the cuticle with nutritious oil.
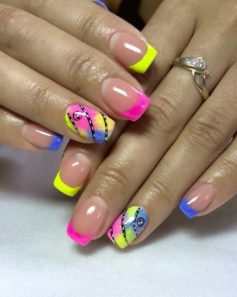
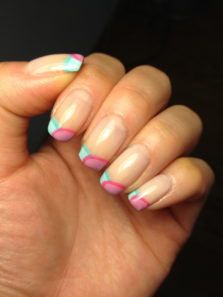
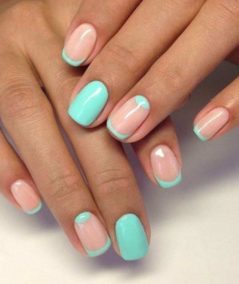
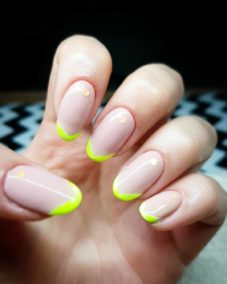
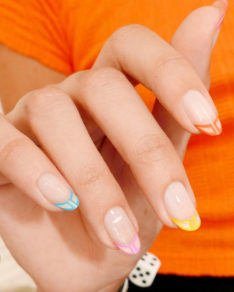
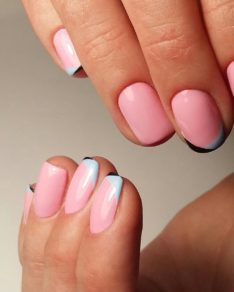
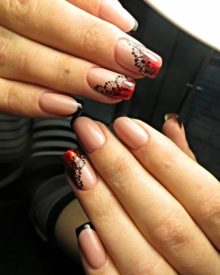
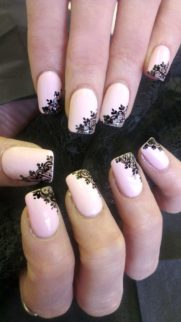
Colored french manicure
No matter how much the nail fashion changes, there are designs that will always be in trend. These include French manicure.
Options shellac jacket:
- Classical. They carry out pastel shade varnish ranging from close to skin color to saturated caramel colors. A white “smile” is drawn on the tip of the nail.
- Lunar. Nails are covered with any shade of varnish, even burgundy, and the "smile" is no longer painted on the growing part, but at the base, closer to the cuticle.
- "Hybrid". Two "smiles" are drawn: on the tip of the nail, and at its base.
To create a colored French manicure you will need:
- lamp for polymerization (drying) of manicure;
- gel polish for a base coat;
- shellac pink;
- white gel polish;
- top cover;
- a primer;
- degreasing and disinfectant;
- cuticle oil;
- 3D modeling tool;
- thin brush;
- stick of orange (lemon) tree.
Step-by-step instruction:
- Sanitize nails and cover with primer.
- Apply base gel polish and dry in a lamp.
- Cover pink and polymerize again.
- Using a brush, draw a white “smile” on the tips of the nails and dry in a lamp.
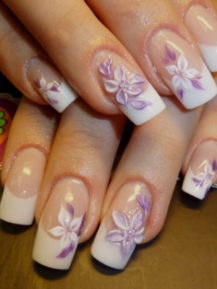
- With an orange stick, get a small ball of paste for modeling and use your fingers to roll it into an even round ball.
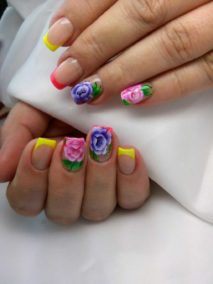
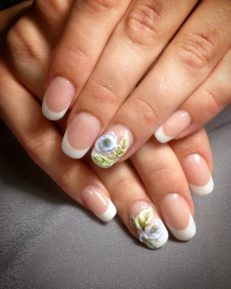
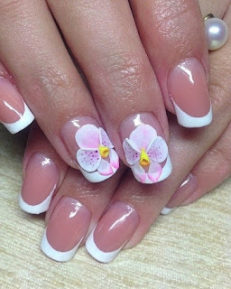
- Then attach the resulting pea to the nail on the ring finger and slam the orange spatula, simulating a three-dimensional flower petal.
- Continue sculpting. There can be three or four petals, or much more.
- At the end of the manipulation, dry the nails in the lamp.The 3D modeling tool comes in completely different shades. To create a harmonious manicure, it is recommended to choose a shade that is suitable in color to the main coating.
- When the flowers are ready, carefully cover the nails, including the 3D pattern, with a top-notch product.
- Dry in a lamp, remove the sticky layer and apply nutritious oil to the cuticle.
Nail Art for Long Nails
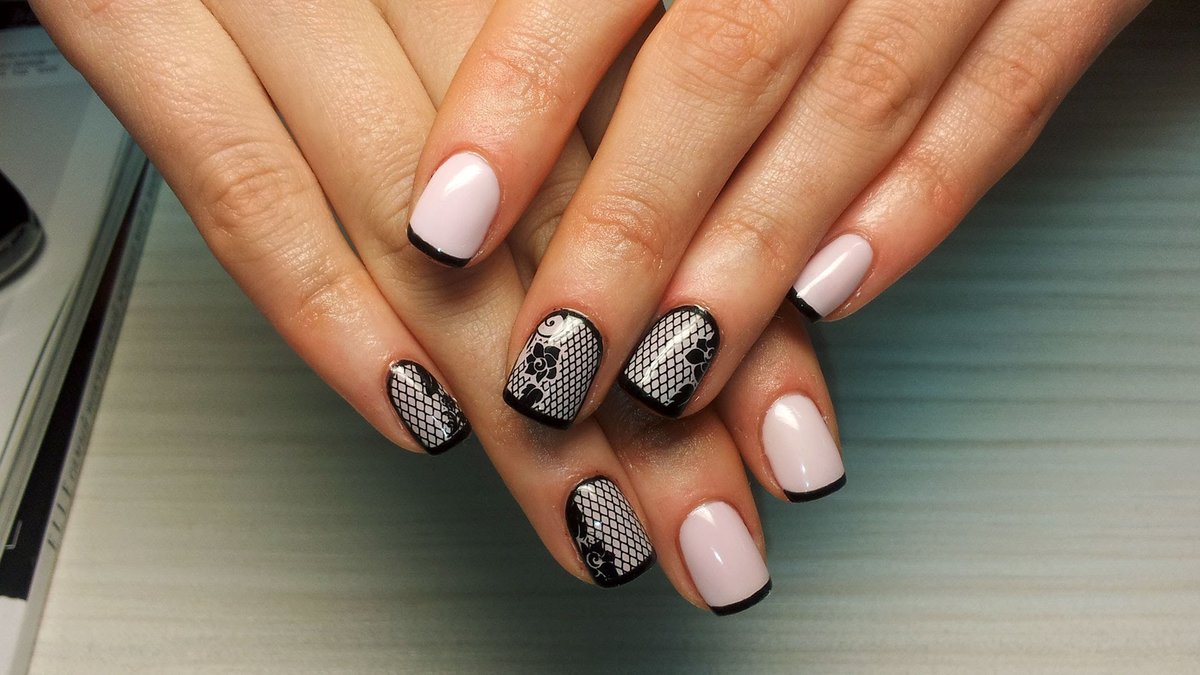
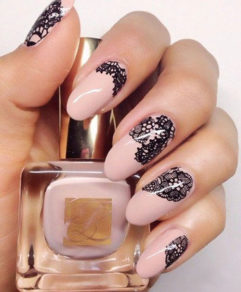
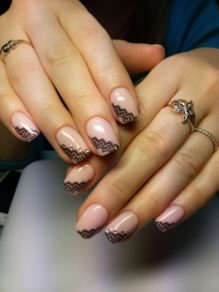
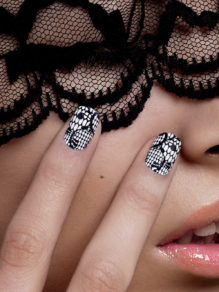
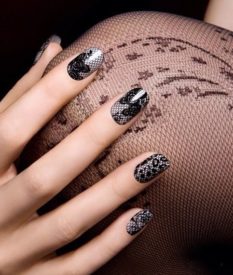
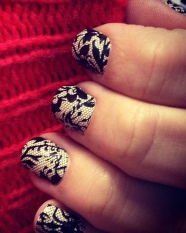
A very feminine and stylish version of manicure for long nails can be created using a piece of tulle or lace.
For the "air" manicure you will need:
- lamp for polymerization (drying) of manicure;
- gel polish for a base coat;
- pastel peach shellac;
- white gel polish;
- top cover;
- a primer;
- degreasing and disinfectant;
- cuticle oil;
- a patch of tulle or other lace fabric.

Step-by-step instruction:
- Degrease nails and coat with primer.
- Apply base gel polish and dry in a lamp.
- Cover with peach shellac and polymerize again.
- Then apply a delicate shred to the nails and cover with white gel polish.
- Carefully remove the fabric and dry the resulting pattern in a lamp.Important. With sufficient experience, monograms and other drawings can be done with acrylic paints and a thin brush.
- Cover the nail plate with a top-down agent, dry and remove the sticky layer.
- Lubricate the cuticle with nutritious oil.
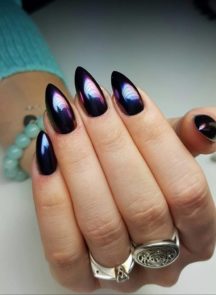
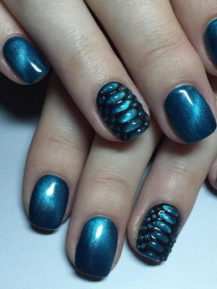
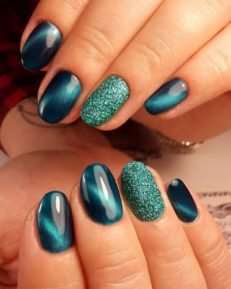
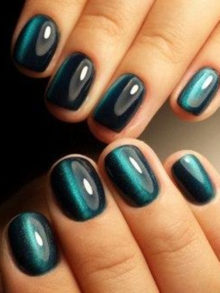
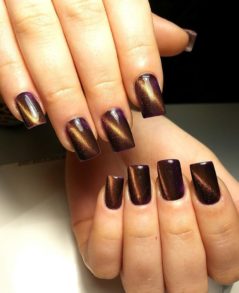
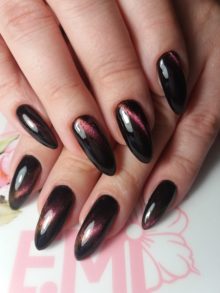
Original cat eye design
Pupils of cat's eyes fascinate with their mysticism. This explains the unprecedented popularity of the eponymous manicure. Repeat this design can be easily and simply at home.
For a cat's eye manicure you will need:
- lamp for polymerization (drying) of manicure;
- gel polish for a base coat;
- shellac “cat's eye” (differs from ordinary gel varnishes in the content of metal microparticles);
- top cover;
- special "shovel" with a magnet;
- a primer;
- degreasing and disinfectant;
- cuticle oil.
Step-by-step instruction:
- Sanitize nails and cover with primer.
- Apply shellac and apply a “spatula” with a magnet for 10 - 15 seconds.
- Dry the nails in the lamp.
- Apply top coat and polymerize again.
- After complete drying, remove the sticky layer and apply nutritious oil to the cuticle.
The “cat's eye” design has several varieties, depending on the magnetic pattern on the shoulder blade.
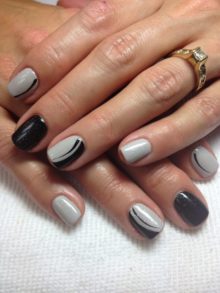
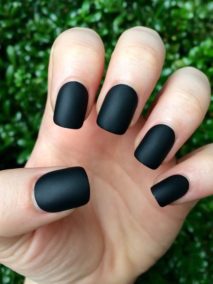
Plain, matte finish
For everyone who is bored with the daily glossy finish, it is recommended to try a fashionable matte design.
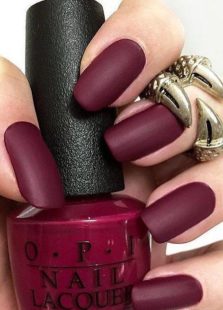
There are several options for the execution of such a manicure:
- Using a top matte finish. Nails, as described in previous versions of the manicure, are covered with a base, the main color. And complete the design with a top gel polish with a matte finish. You can decorate this manicure with “random” strokes of a glossy top.
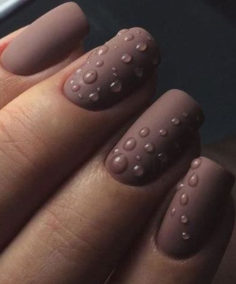
- Bubble design using broths. For this manicure, after coating with the main varnish, the nails are showered with many beads, and after that they are polymerized in the lamp. Then the design can be completed with a top or on top of the broths put the main color. Dry and secure with a topcoat.
- "Fur" powder. A sheared flock is applied to the top varnish (not dried in the lamp), then polymerized. The manicure is ready.
All of the above types of manicure is easy and simple to do with your own hands at home in a matter of time.


