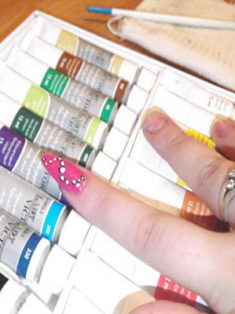
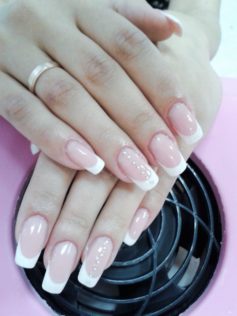
Long and beautiful nails are the dream of every girl. But alas, getting them more often is possible only with the help of building. The salon procedure is not cheap, but if you have all the necessary equipment, you can spend it at home. We will figure out what is needed for nail extension.
Material Content:
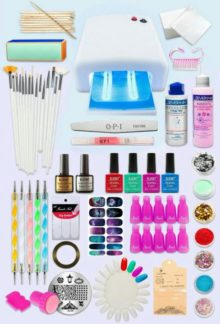
Nail extension equipment
Regardless of what material is used to create long nails - gel, acrylic or acrylic, one of the most important devices is an ultraviolet lamp for nail extension. This is the most important equipment without which this procedure is impossible.
Finding a UV lamp is worth doing in advance. It is important to purchase quality equipment so that it lasts as long as possible. It is advisable to stay on the device of a well-known manufacturer.
An important parameter of a lamp is its power. For home building, it should be in the range of 24-36 watts. This is quite enough for gel and acrylic coating to solidify. It is also worth paying attention to the size of the working area, so that all fingers are placed on the dryer.
Note. If you want to professionally engage in building, then it is advisable to purchase a device with LED-lamps. They are more durable.
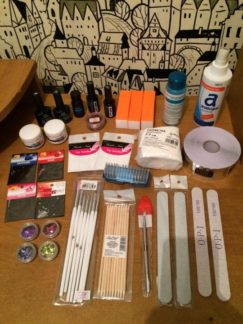
List of tools for home treatment
The list of tools for building should be known to every girl who wants to do this at home. It is impossible to perform this procedure in the absence of any one device: they are all extremely important.
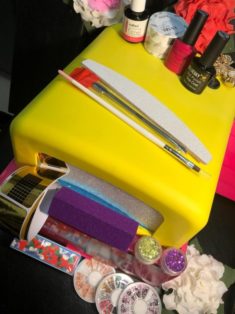
Nail extension tools:
- Nail scissors.They are necessary if you need to correct the shape of your own or artificial nail. It is advisable to have two scissors - small with a thin cutting part and larger with a thick blade.
- Nippers or tweezers. Some are more comfortable using this tool than scissors with curved edges. Nippers easily remove cuticles, burrs or adjust the shape of the nail.
- Tipsorez (boat). It is irreplaceable when using tips during building.
- Files. This tool will be needed to shape and polish your nail plate, as well as to work with artificial nails. In the first case, you need a ceramic or glass nail file, in the second - metal. To file extended nail plates is a tool with high abrasiveness, up to 120 grit, natural ones - less coarse, above 240 grit.
- Buffs. It is a piece of foam, on the surface of which a special coating is applied to polish and file an artificial nail plate. It is advisable to purchase a four-sided buff, since it is more convenient for them to work.
- Brushes of several types. Needed for applying gel or acrylic. The arsenal should be flat, thin and with a very narrowed tip of the brush.
- Dots Used to create points in the picture.
- Sticks for applying decorative elements. Made from orange tree. They can also be used instead of pushers to create a pattern, apply rhinestones and adjust the spreading of the gel.
- Pushers or scrapers. This is an auxiliary toolkit that is necessary for working with cuticles.
- Manicure brush. Needed to remove dust from the surface of the nail plate.
Necessary materials
After all the tools have already been purchased, it is worthwhile to select the consumable. The list of materials differs depending on what will be taken as the basis - gel, acrylic or acrylic. Consider all the options for building.
For gel extension
You can purchase a ready-made kit that will contain all the necessary materials. If you want to reduce the financial cost of the purchase, you should purchase all the components separately.

Gel nail extension takes place using the following materials:
- Gel. This is the basis. It is a mixture of viscous consistency. There are 3 variations of it, but at home it is worth buying a single-phase. It is the most economical to use.
- Primer or primer. It is necessary for the preparation of the nail plate for applying the base.
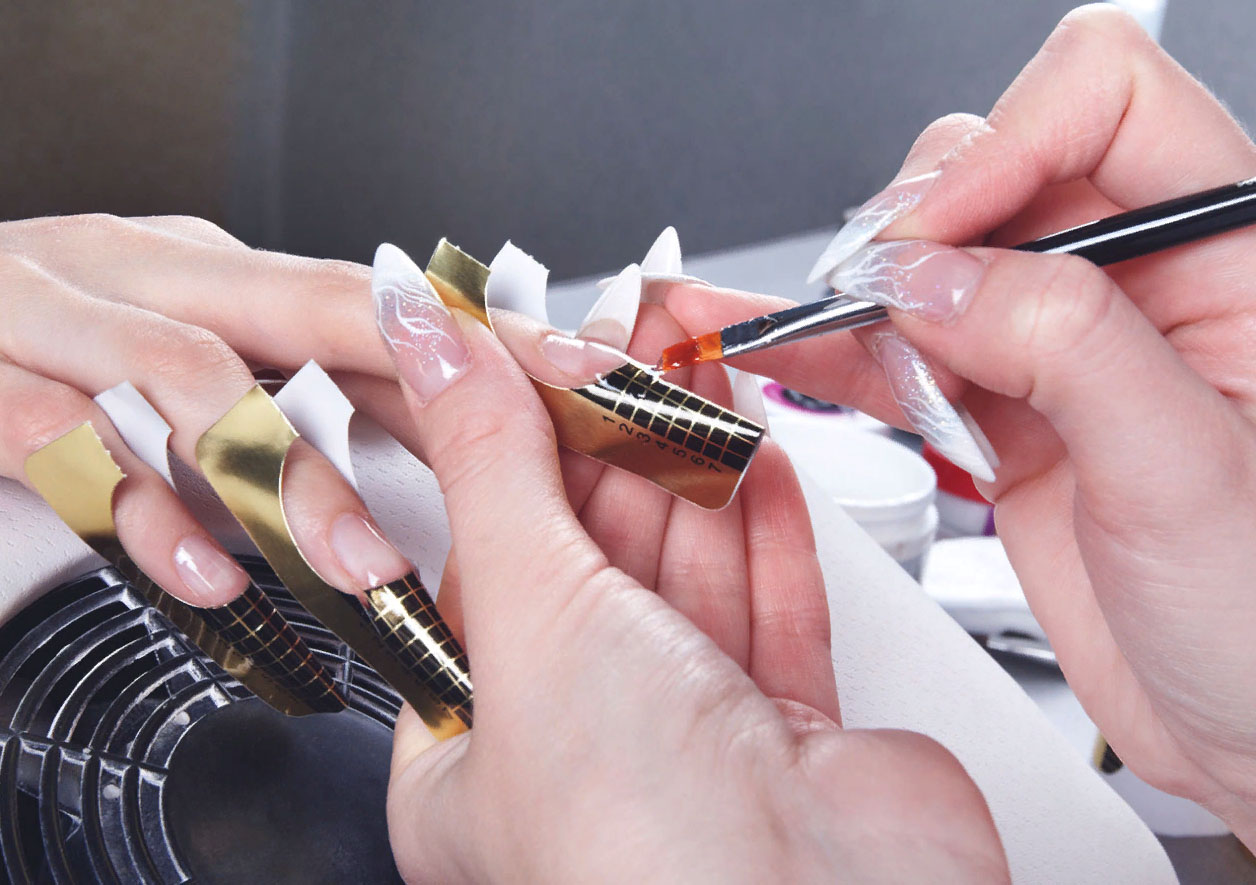
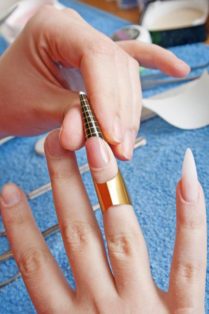
- Forms. To form the desired shape of the nail plate. They are paper, plastic or metal.
- Tips. This is an indispensable thing if you want to get long nails. These are ready-made plastic plates that come in different shapes, lengths and colors (rectangular, oval, short, elongated, transparent, white). They serve as a continuation of the extended nail.
- Glue for tips.
- Finish gel. It is applied over the base to increase the service life of the coating.

As an auxiliary material, a degreaser, antiseptic, cuticle processing oil, paper napkins will be needed.
Note. If there is a desire to engage in building up on a professional level, then for greater comfort it is worth buying a hand roller.
Using acrylic
Nail extension with acrylic is carried out using a primer, molds, tips and glue for them, a topcoat, as well as a degreaser, dehydrator and other consumables.

The main material is acrylic powder and solvent. It is worth noting that acrylic comes in several varieties. You can even purchase a ready-made set that contains several types to create a beautiful design.
Types of acrylic powder:
- stained glass - is used for modeling with obtaining a "crystal" or "candy" effect;
- color - suitable for creating a bright manicure;
- camouflage - an opaque powder, reminiscent in color of the natural shade of the nail.
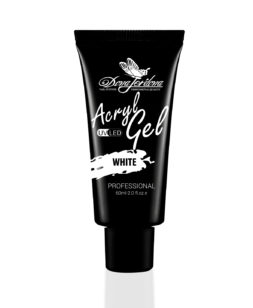
Acrigel extension
Acrigel or polygel contains all the advantages of acrylic and gel.
For such an extension you will need:
- degreaser;
- a primer;
- polygel;
- forms for building;
- top (fixer).
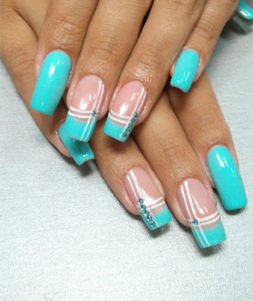
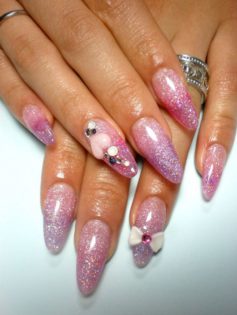
What does a beginner need for nail design?
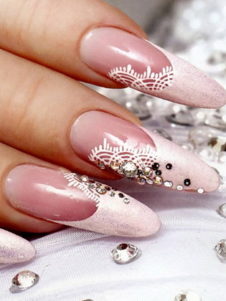
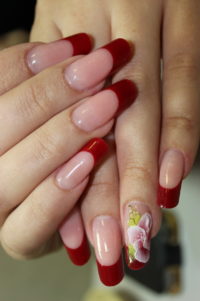
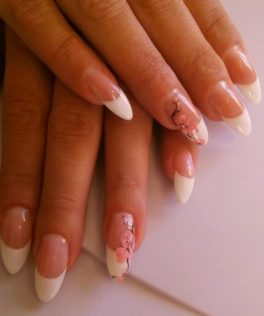
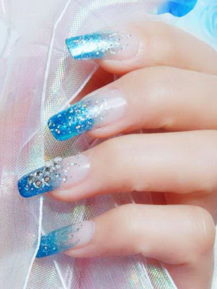
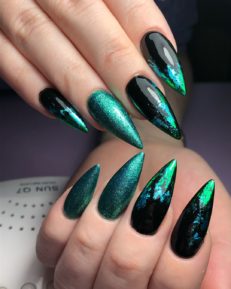
There are many options for nail art using decorative elements.
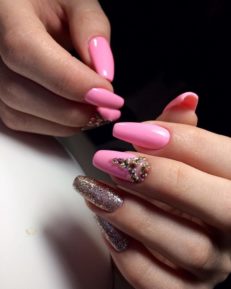
To create a design, you can use the following material:
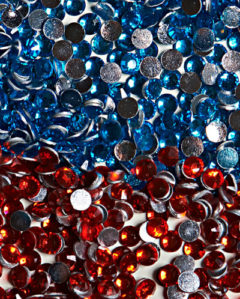
- rhinestones - from glass, plastic and metal;
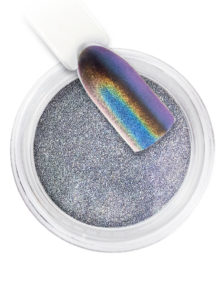
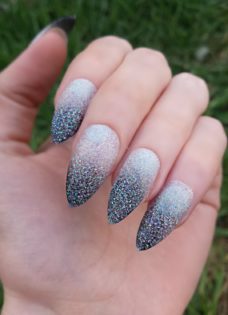
- dry-glitter;
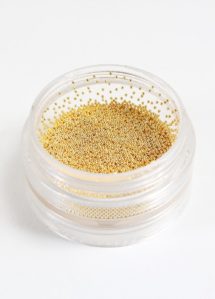
- broths - beads;
- foil - tear-off or transfer;
- confetti;
- lace;
- feathers.
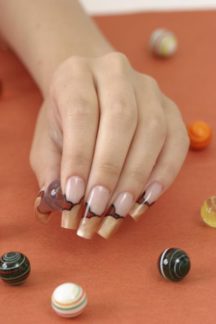
You can also simply paint your nails with varnish or make a jacket. In the latter case, it is worth buying stencils and white gel polish.
To create drawings you can not do without dots, applicators for manicure, felt-tip pens, markers. Beginners should limit themselves to decals, stickers, designer ribbons.
Wizards Tips for Effective Use
To create a beautiful manicure, you need not only to purchase all the tools and materials, but also to use it correctly.
Here are some tips from professionals to properly build nails at home:
- For work, you will need several types of scissors, brushes and files, which would differ in shape and other parameters. The fact is that with natural nails you need to work with one tool, and with artificial - with another.
- To simulate the shape of the extended nail plate, you need to use oval-shaped nail files, processing along the contour should be done with a tool in the form of a boomerang, and grind it with a rectangular one.
- Beginners should buy metal pushers with a knurled handle, as they are convenient to use. The width of the tool blade depends on the size of the nail plate: the narrower it is, the smaller the tool should be.
- When choosing scissors and nippers, you should pay attention to the sharpness of the cutting part. If the blade is not sharpened well, then it will crush the nail. It is better to give preference to stainless steel pliers.
- If you do not understand the quality of the gel, then do not get a lot of jars at once. It is enough to buy several different manufacturers, and then choose the highest quality.
- When working with gel, you should use brushes with a hard pile, and a brush with a soft one.
- It is better to buy an acid-free primer.
- When working with acrigel, you need to be very careful. You can’t press hard with a brush, the movements should be smooth, the base must be stretched as if.
- When choosing forms for building, it is worth giving preference to a wide area: they are better attached.
With the help of decorative extensions, you can create a perfect manicure. When choosing a coating, pay attention to its advantages and disadvantages.


