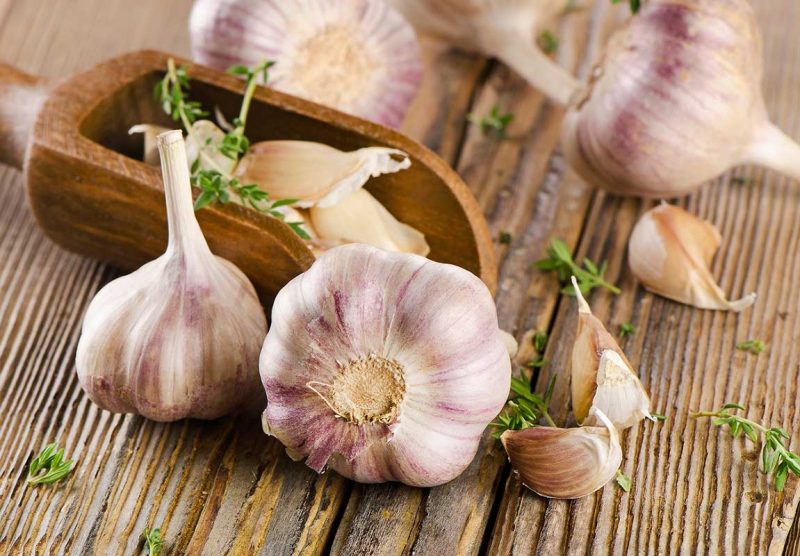
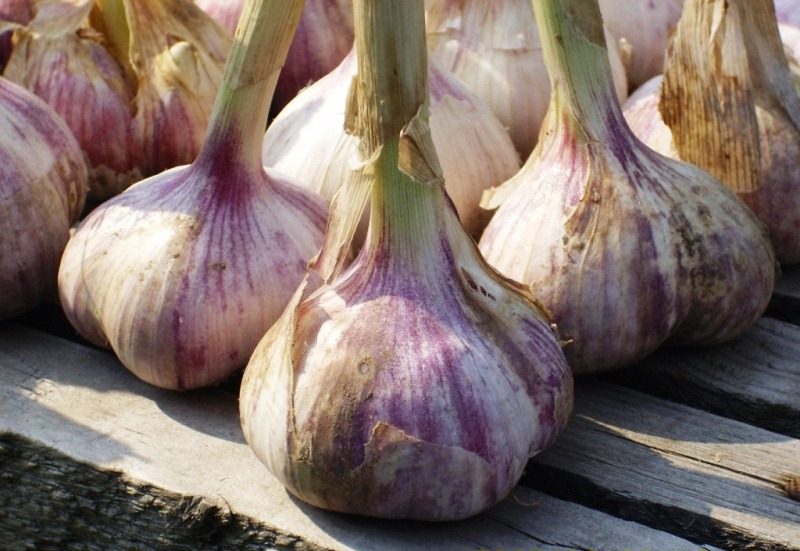
Not a single garden is complete without a bed of garlic. This is not only a necessary seasoning, but also an invaluable assistant in the fight against influenza and the common cold. Growing garlic and caring for it on the shoulder of any gardener, you only need to know his preferences well and perform all the techniques of agricultural technology.
Material Content:
The basic rules of growing
To get a good crop of this crop, not so much is required:
- high-quality and healthy planting material;
- loose fertile soil;
- timely landing;
- proper watering and top dressing;
- adherence to cleaning terms.
Selection of planting material
If you plant teeth from your own crop last year, then you need to choose the seeds only the largest heads. They should not have double teeth, as well as double tops - these are signs of degeneration. Teeth with external injuries and traces of diseases are not suitable for planting. Before planting the cloves of spring garlic, they need to be prepared: vernalize and germinate.
- vernalization - kept in the refrigerator (not in the freezer!) for a month;
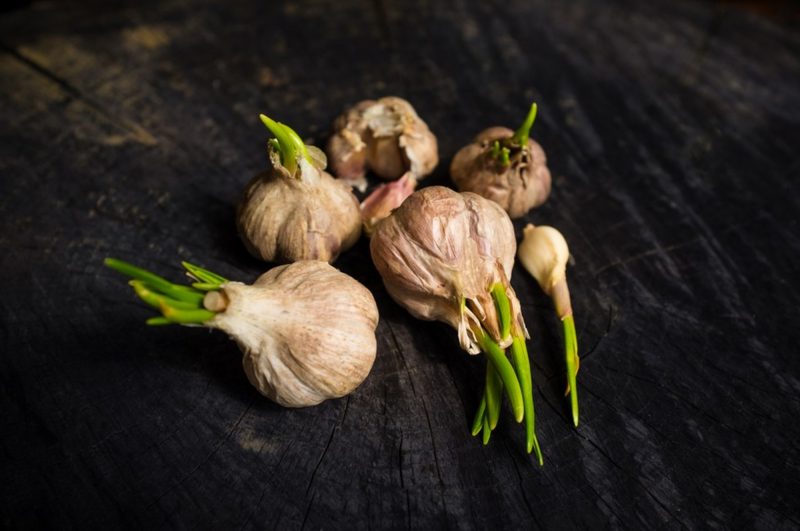
- germination - placed in a damp cloth, wrapped in a bag and kept in the vegetable section of the refrigerator until the emergence of root buds.
Harvest from prepared planting material will be higher. To disinfect it, the heads with root buds disassembled into teeth are soaked in an ash solution or in a solution of potassium permanganate. To prepare an ash solution, 400 g of ash are boiled in 2 l of water for half an hour. The teeth are laid out for 2 hours in the cooled solution.
To prepare a solution of potassium permanganate, a teaspoon of the drug is diluted in a ten-liter bucket of warm water. The exposure time is 10 hours. Prepared teeth are planted on the beds.
Planting in the open ground of spring garlic
Prepared and sprouted seeds of spring garlic are planted in the ground in early spring.
Soil preparation and location
Garlic cultivation begins with soil preparation. This procedure is carried out in the fall. The place for plants needs to be sunny, the leaves will also grow in the shade, but you cannot get a good head. Spring garlic prefers loose fertile light or medium loamy soils with a sufficient content of humus. The soil reaction should be neutral or slightly acidic.
In the fall, during digging, they bring in each square. m:
- 0.5 buckets of humus or well-ripened compost;
- 2-3 glasses of ash;
- 15 g of complex mineral fertilizer.
Immediately before planting, the bed is loosened, but not dug up. It should have a flat surface so that all set teeth are on the same level.
Then plant the garlic
The right precursors for spring garlic are very important. Plant health largely depends on them. It is best to plant spring garlic cloves after any pumpkin crops. They do not have common pests and diseases, and the beds after their harvesting remain well-manicured, the soil is loose and fertile. Good predecessors are cereals, greens or legumes. But you can return garlic to its original place or plant after onions only after 4 years. Undesirable neighborhood of beds with garlic and peas and beans. Their selection does not like each other, and the yield of all crops will be low.
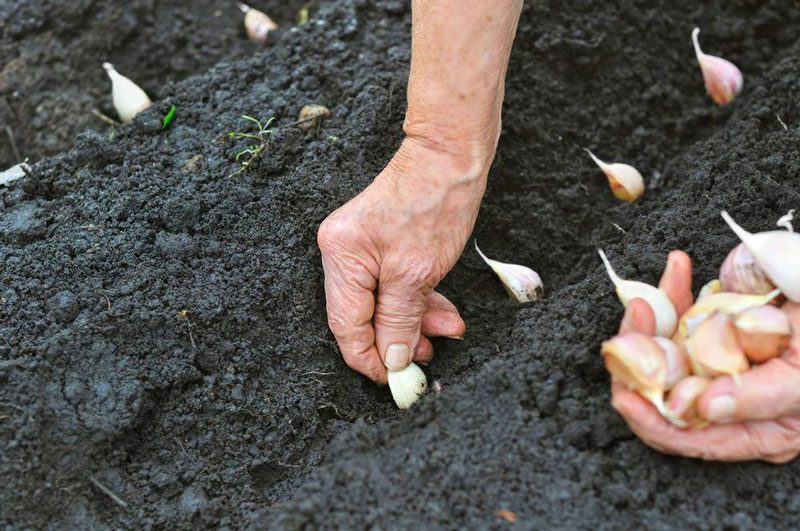
How and when to plant
Spring garlic is planted only in the spring. With a winter landing, he can easily freeze. Nevertheless, this representative of onions is not afraid of frost, therefore, it is planted as soon as the earth warmed up to 5 degrees, but still completely retained moisture after the snow melted. Spring garlic grows better at low temperatures, so you can’t be late for planting dates. They depend not only on the region of cultivation, but also on the weather.
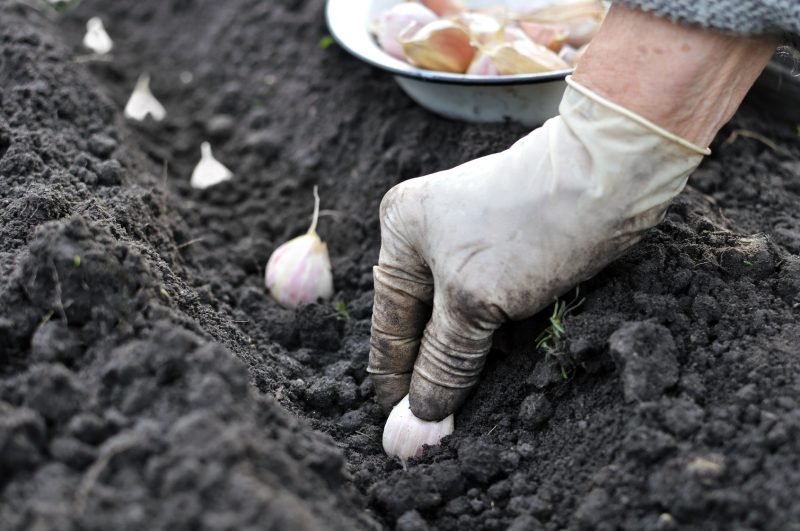
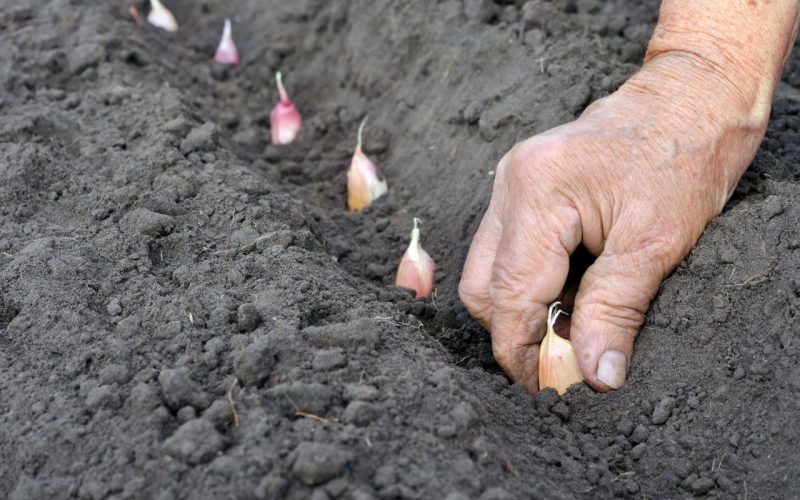
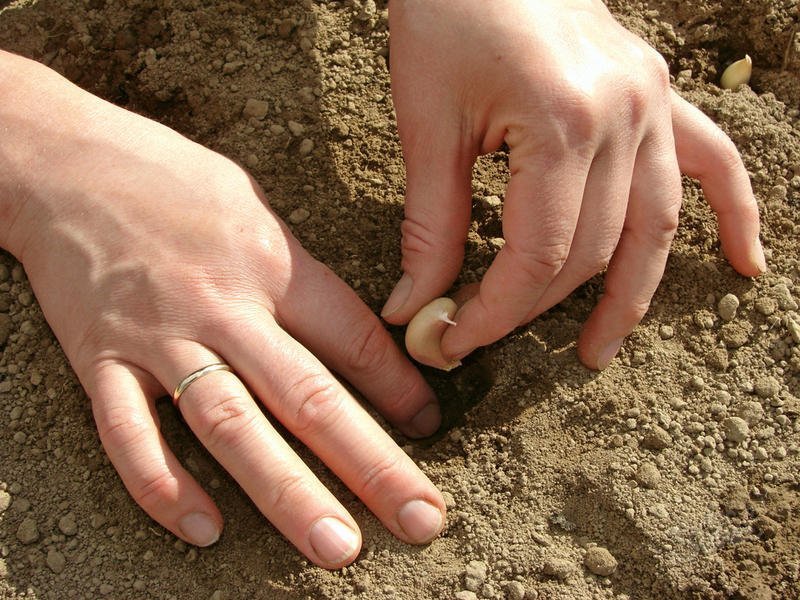
Planting method: they form grooves on the bed with a depth of about 4 cm, into which the teeth are carefully laid out with their roots down. They can not be pressed into the ground - the fragile rudiments of the roots are easy to damage, and then the seedlings will have to wait a very long time. Ideally, if the orientation of the rows is from west to east - so they will receive the most light.
Landing pattern
The teeth are planted shallowly, sprinkled with a layer of earth 2 cm thick. The distance between small cloves is about 8 cm, and between large cloves - up to 12 cm. A row from a row should be at a distance of 25 cm. Landings should be well mulched with a layer of humus 3-4 cm thick It will provide plants with additional nutrition and protect the soil from drying out.
Winter garlic: the nuances of growing
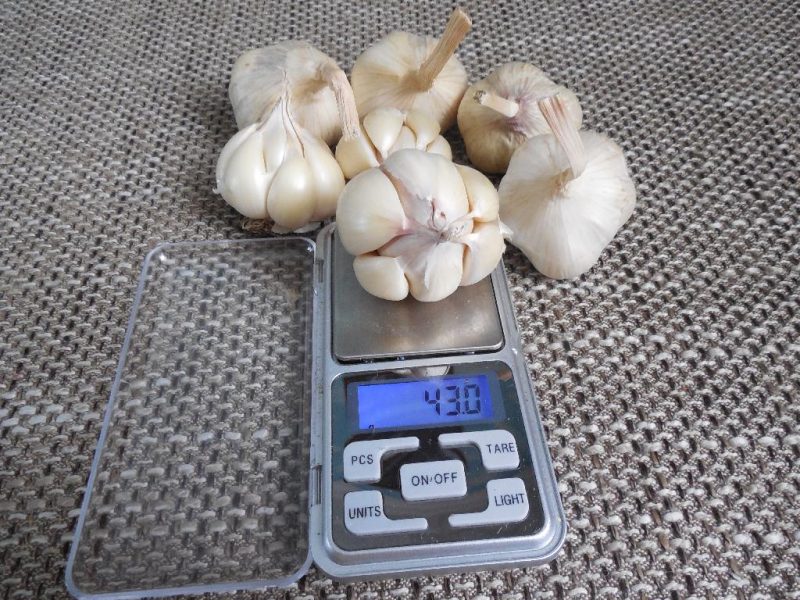
This type of garlic boasts large heads. In some varieties, cloves weigh 12 g or more. Even from the name it’s clear that they plant it in the winter. After planting, the teeth should have time to take root before frost, but not sprout. Usually they need 1-1.5 months for this. Therefore, planting dates are calculated based on the onset of a frosty period in a given region.
What does winter garlic prefer:
- light sandy loamy soil, rich in humus and well retaining moisture;
- all-day lighting location;
- a bed prepared in advance for each sq. m which add a bucket of humus, 25 g of nitrophosphate and superphosphate.
Planting winter garlic is carried out 2-3 cm deeper than spring, the technology and planting scheme are not significantly different. But in the preparation of planting material there are differences. As with spring garlic, the largest teeth are selected for planting, but they do not need vernalization. It is also optional to germinate it, but it is necessary to treat it with a potassium permanganate solution or an ash extract. Do this the same way as with spring garlic cloves.Planting is best done with peat or humus in case of severe frost without snow.
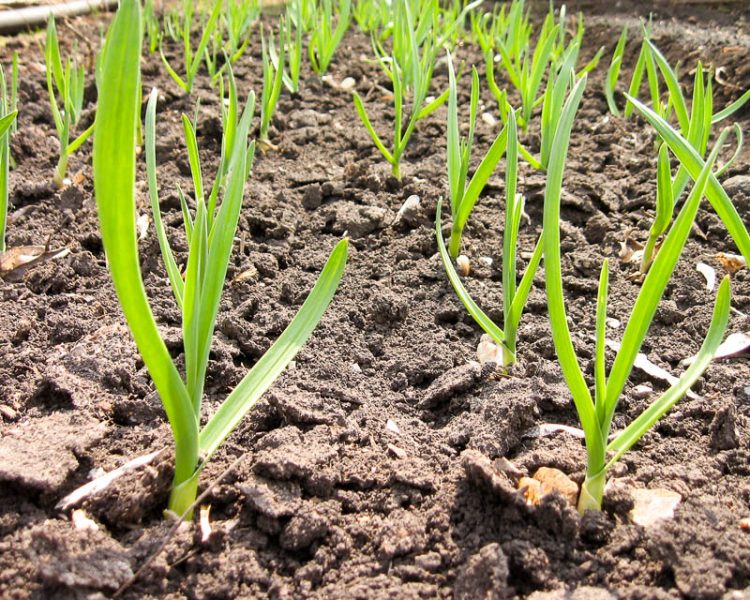
In the first spring, beds with hatching seedlings are loosened. So that the tips of the leaves do not turn yellow, loosening can be combined with foliar top dressing with a solution of nitrogen fertilizer at the rate of Art. spoon per 10 liters of water. In cold soil, roots work poorly and do not absorb nitrogen. It lacks rapidly growing foliage, so the tips of the leaves turn yellow.
Winter varieties are divided into arrowed and not arrowed. The former produce a flower arrow, but they do not form seeds, but aerial bulbs. If they are not needed for subsequent reproduction, the arrows break out as soon as they begin to twist, leaving a stump of 1 cm. 1-2 arrows should be left as beacons. Cracking of the cover on the resulting bulbs will serve as a signal for harvesting.
Outdoor Care
Like onions, garlic has not lost the habits that it gained by growing in its natural habitat: spring and early summers, rich in moisture from melting mountain snow, contribute to the formation of green mass. The drought coming in summer is a signal to the formation of a bulb or head. The regime of watering garlic in the beds should take into account this feature.
Watering
In the absence of rain, watering should be regular. It is made as the top soil layer dries to a depth of 2-3 cm. The root-inhabited layer should get completely wet. Stop watering 3-4 weeks before harvest, allowing the head to gain weight corresponding to the variety.
Fertilizer and fertilizing
If garlic grows on fertile soil, and the bed before planting was well seasoned with nutrients, then a good crop can be obtained without additional nutrition. Otherwise, you can not do without dressing. At different stages of development, the nutrient requirements of garlic are different.
- When building green mass, plants most of all need nitrogen. It can be given in the form of root dressings with solutions of ammonium nitrate or urea. Fertilizer is bred in accordance with the instructions, usually - Art. spoon on a bucket. Most often, two top dressings are practiced: the first in the stage of emergence of seedlings, the second in the formation of 3-4 leaves. Per sq. m beds is enough 2-3 liters of solution. If the land is fertile, just one feeding is enough.
- The third feeding is carried out 2 weeks after the second full complex fertilizer - Art. spoon on a bucket of water. Per sq. m beds are poured 3-4 liters of solution.
- The last top dressing is carried out at the stage of bulb formation. At this time, plants are most in need of phosphorus and potassium. It is good to pour ash under them and loosen. To enrich the soil with phosphorus, dissolve 2 tbsp. tablespoons of superphosphate in hot water. When it cools down, poured onto the square. m 3-4 liters of solution.
Each liquid top dressing is combined with pure watering. The next day, the beds loosen.
The following agricultural technique will help to get larger heads: 3-4 weeks before harvesting, the soil from the bulbs is neatly scooped up in rows between rows, exposing them completely. Thus, there is freedom for growth, which increases the yield.
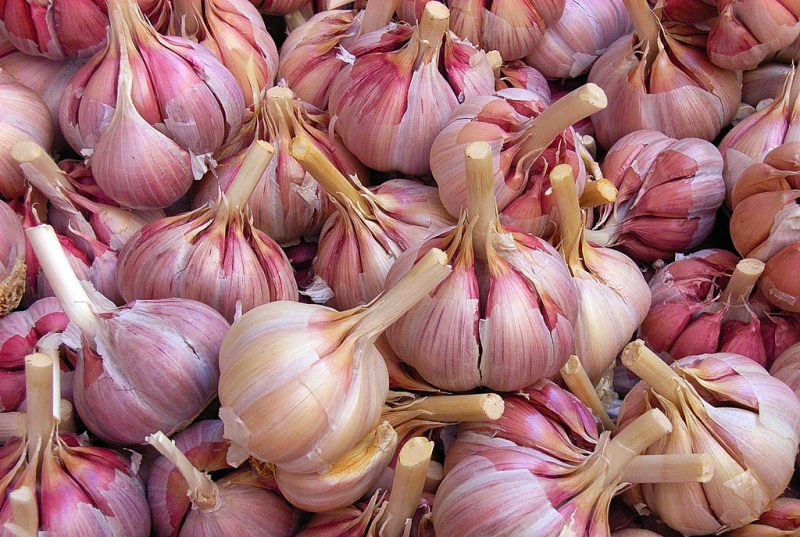
Garlic Harvest
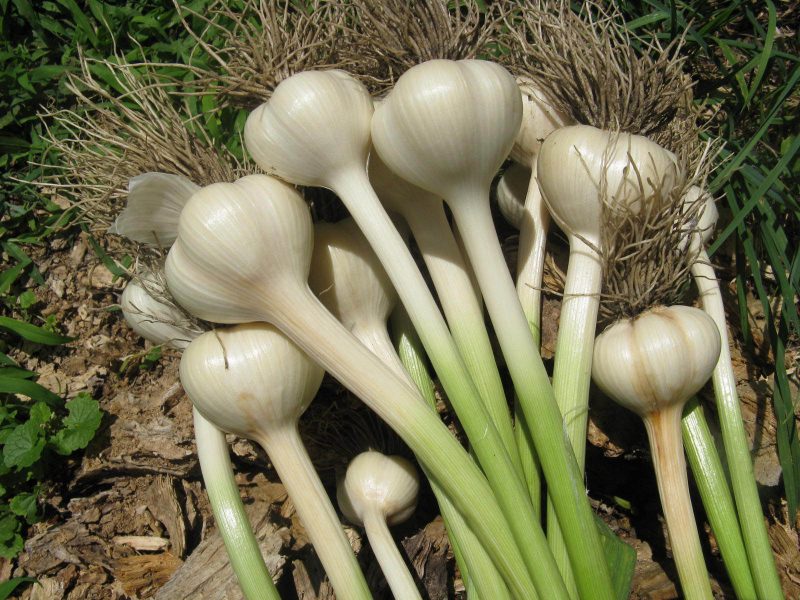
When harvesting garlic, it is better not to tighten, otherwise the heads will crack and will be worse stored. A signal for cleaning is lodging of shoots and yellowing of the lower leaves. The fact that it is time to harvest will also tell the cracked cover bag on the left beacons. You can not dig out garlic ahead of schedule. Unripe bulbs will not only be smaller in size than they could, but they will also be worse stored. After harvesting, the garlic is dried for several hours in the garden, and then dried in the shade in a well-ventilated place.
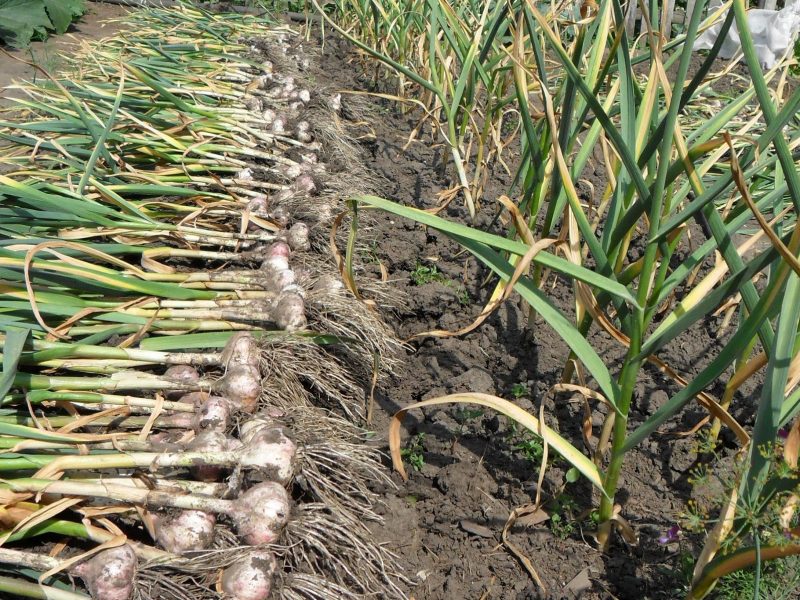
Harvesting winter garlic - July, spring - September. It is removed after the leaves are completely yellowed.
Propagation Features
Spring garlic propagates only vegetatively - with teeth.Winter garlic can also be propagated. But the shoot varieties have one more possibility: sowing air bulbs, the so-called bulbs. They are formed at the end of each arrow. When growing garlic from bulbs, the seed material heals. In the first year, single teeth grow out of them - bulbs, consisting of one tooth. They are used for autumn planting along with traditional cloves and give a good harvest of large and healthy bulbs.
Sowing bulbs of winter garlic
They can be sown in autumn or spring. Sowing time depends on the size of the bulbs. Large air bulbs can be kept in the room until spring, small ones will simply dry out, and in the soil they will survive the winter perfectly. Bulbs are collected when they get the color appropriate for the variety, and the seed sac bursts. For planting, it is better to select the largest specimens. Prepare a bed for sowing in the same way as for winter garlic. Sowing dates - all of September and early October. Sowing pattern: 10 cm between rows and 2-3 between bulbs. They are laid out to a depth of about 3 cm. So that the crops do not freeze, it is better to mulch them. It is easiest to sprinkle the beds with a layer of humus of 2-3 cm. Care in spring and summer for crops does not differ from that for winter garlic.
Diseases and Pests: Control Methods
Despite the large number of phytoncides, this plant is also susceptible to disease, and pests can attack it.
Table: Diseases and pests of garlic.
| Pest or disease | How does it manifest | How to fight |
|---|---|---|
| Ticks root and four-legged | Lagging of the bottom of the bulb and its decay, sores on the teeth | Compliance with crop rotation, warming garlic at 40 degrees after harvest, careful selection of seed |
| Onion fly | Larvae eat out some of the teeth, the tips of the feathers of garlic turn yellow | Joint plantings with carrots, dusting the beds with ash and tobacco dust or ground hot pepper, pouring a solution of salt from 1 cup per 10 liters of water, pouring infusion of mullein or urea solution |
| Nematodes | The green stem is bent, the heads are loose, the integumentary scales are behind | Crop rotation, disinfection of planting stock |
| Fusarium | Called by a mushroom, the stems lose leaves that dry out. Pale pink or white traces of mycelium on the bulb and stem | Processing of seed material and soil with fungicides: Hom, Fitosporin, Maxim |
| Rust | Rusty spots on leaves, developmental delay, scanty harvest | Seed and bed treatment with fungicides |
| Peronosporosis | The upper part of the stem turns yellow and dries, growth slows down | Warming up the harvested crop and seed in bright sunshine at a temperature of about 40 degrees, treatment with fungicides: Tiram, Polycarbacin |
| Bacteriosis | Fawn wounds on teeth | Do not harvest until complete ripening, process the beds with Homom. |
Types and varieties of garlic
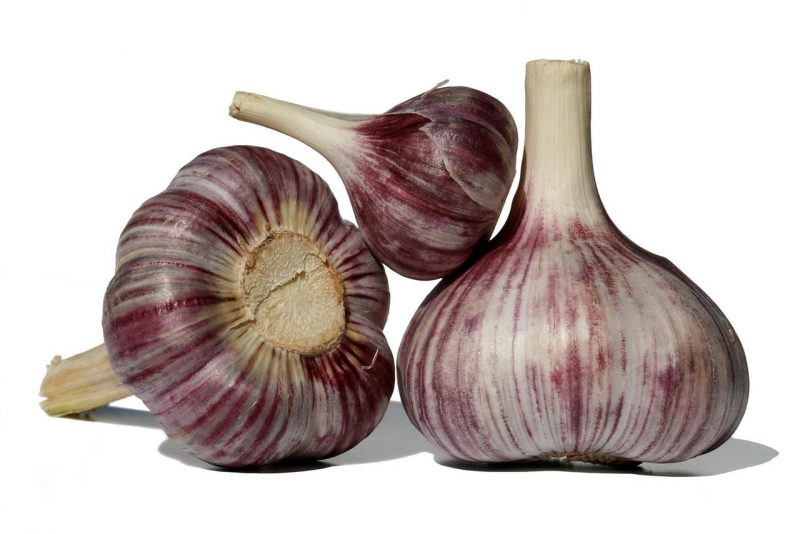
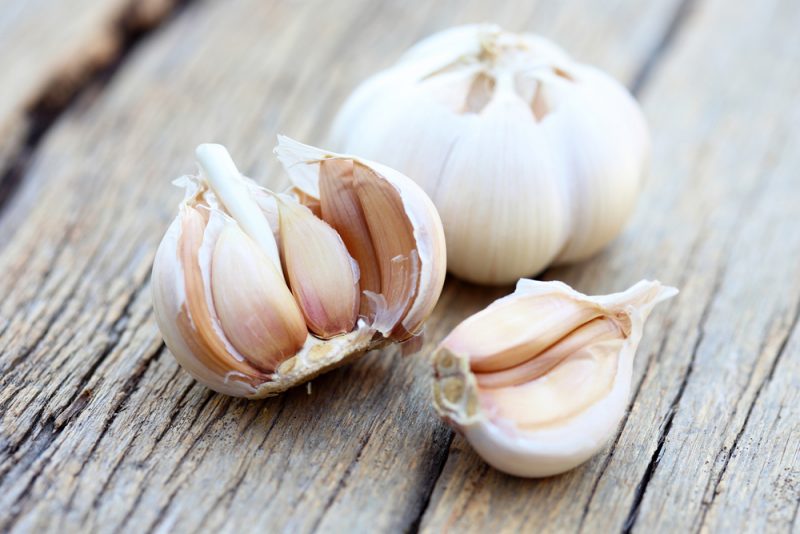
Garlic is divided into two groups, which differ not only in shelf life, bulb structure and vegetation time, but also in terms of planting. Spring garlic is characterized by a lower yield, but it is stored almost until a new crop. His teeth are smaller and arranged in a spiral. Winter garlic has a central core around which the teeth are grouped, spring garlic does not have it.
Winter varieties
Gribovsky anniversary.
Onion 11 cloves. Its average weight is about 40 g. The taste is sharp. Ripening time is later. Variety shooter. The color of the covering scales is purple.
Gribovsky - 60.
Early ripening variety giving an arrow. An onion with an acute taste consists of 11 cloves and weighs 40-60 g. Covering scales are reddish with a purple hue.
Komsomolets.

The variety of lancing coverts is pink and purple. The teeth in the bulb are from 7 to 11. It has a sharp taste.
Danilovsky local.
Does not give an arrow. In a large bulb with lilac coverts, the number of teeth varies from 6 to 11.
Spring varieties
Gulliver.
Gives very large bulbs weighing up to 115 g.Gray scales, sharp taste, ripening later.
Elenovsky.
The variety is frost-resistant, the heads weigh 35 g. Matures in the medium term. It is stored up to 2 years.
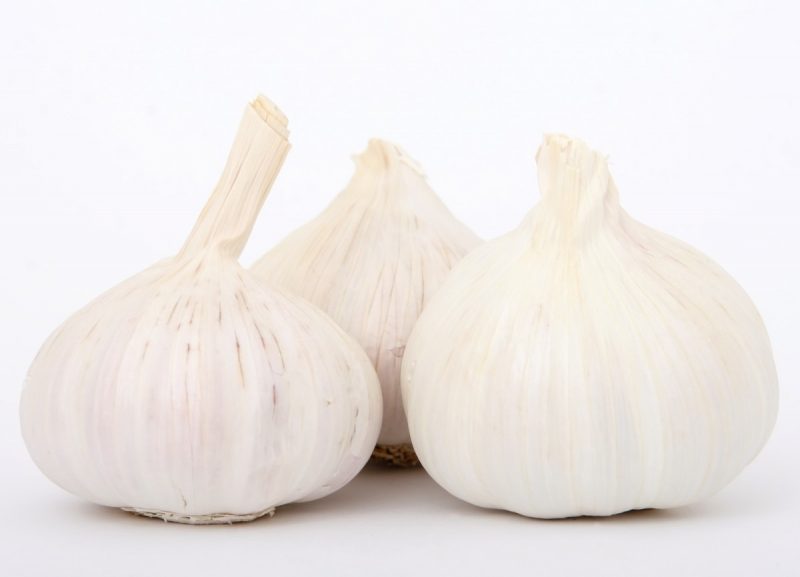
Sochi.
The variety ripens early. Bulbs weighing up to 45 g with white scales, excellent taste. They can be stored for 1.5 years.
Victorio.
The taste is peninsular. The bulb can have up to 13 cloves, it weighs about 40 g, shelf life up to 8 months.
Garlic has a long tradition of use, both as a spicy seasoning that complements the taste of many dishes, and as a preventive and therapeutic agent for many diseases.


