Aquarium nail design looks beautiful and unusual. A good master can create a real work of art, turning every nail into a precious piece of jewelry. You should learn more about aqua design before visiting a beauty salon with the intention of trying out this innovation on yourself.
Material Content:
How to make an aquarium manicure
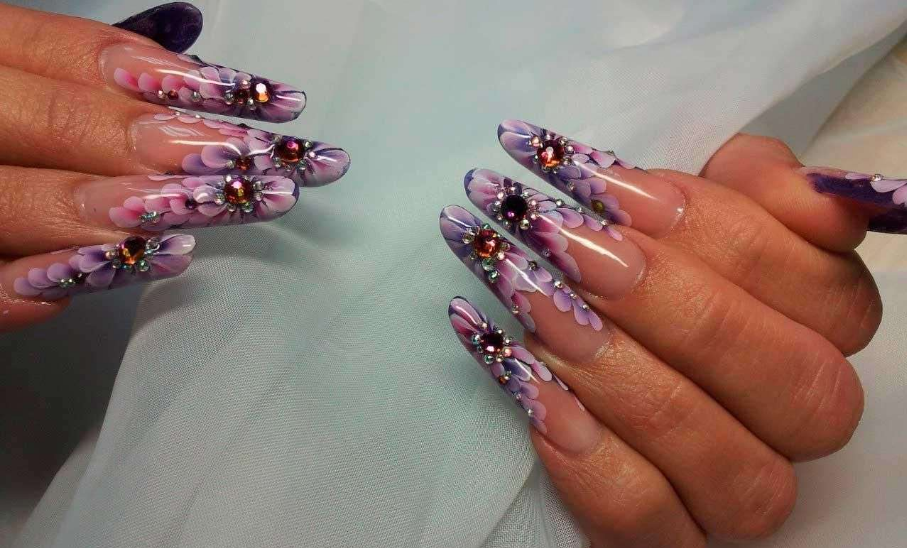
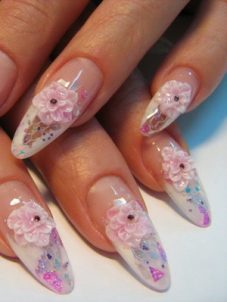
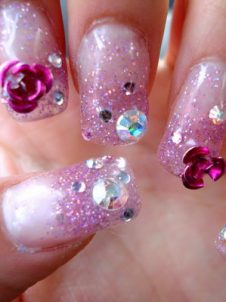
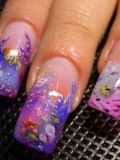
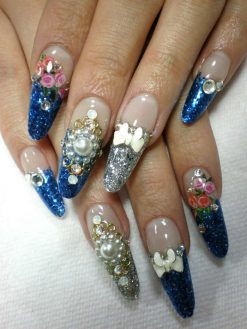
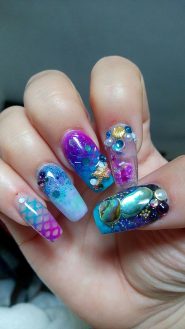
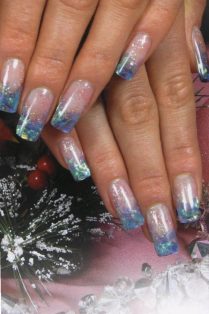
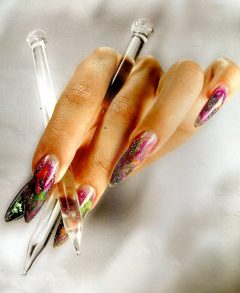
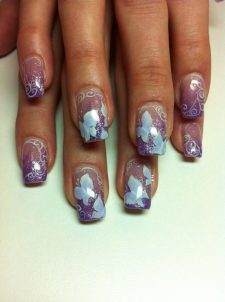
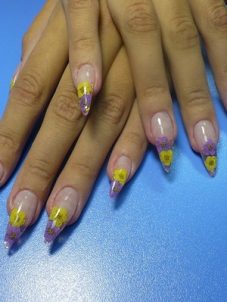
The manicure received such an unusual name due to its three-dimensional effect. The nail resembles a glass vessel filled with miniature objects, flowers, sparkles, rhinestones.
To perform aqua-design, you need to find an experienced craftsman who has photos of his work collected in a portfolio and good customer reviews.
Meanwhile, a simple option can be done at home yourself, if there are suitable materials and equipment.
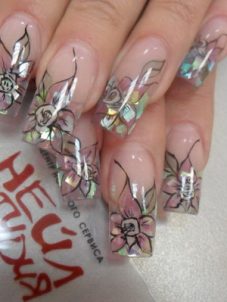
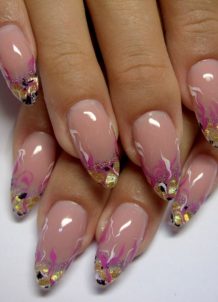
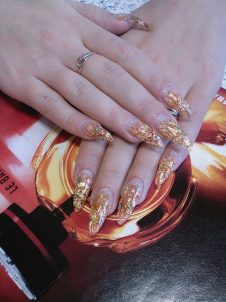
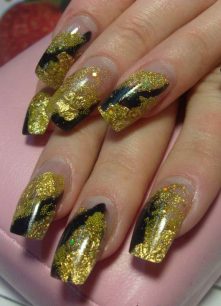
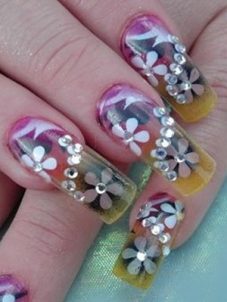
Materials for aquarium manicure use the most diverse. In the first place in terms of frequency of use is colored sand. The second place in popularity is occupied by mica - it gives the picture volume. It is usually used with sand of the same color. In third place is the foil. It creates the effect of an expensive, rich work.
And also other materials are used:
- bouillons - small pearls, which are also called semolina;
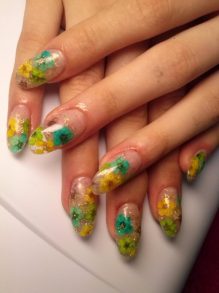
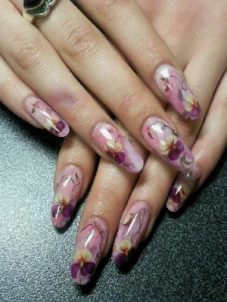
- dry flowers;
- sparkles;
- shells, etc.
To perform aqua design, you may need transparent acrylic, varnish, an ultraviolet lamp, brushes of different sizes, paints and much more.
The main advantages and disadvantages of nail design

Aquarium manicure is superior to other types of design for such reasons:
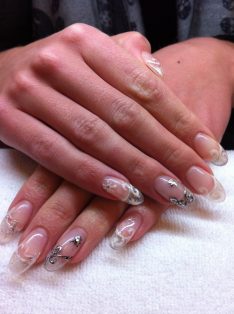
- the three-dimensional image on the nail plate looks beautiful and unusual, leaves no one indifferent;
- the surface of the nails remains smooth, which is convenient since puffs on clothes and tights are not formed;
- high-quality manicure is a masterpiece of artistry;
- can be performed on short natural and extended nails.
Hands decorated with aqua-design nails will be the subject of close attention, they should be perfectly groomed. For this, it is advisable to use a protective and moisturizer.
Aqua nail design has its drawbacks. Quality work will be expensive and will take at least 2 hours. An inexperienced master can ruin the nails, making them too vulgar, thick or uneven.
Stages to create
The implementation of the nail design can be divided into several stages. Every little thing is important to get a good result.
How to make an aquarium gel design, work steps:
- Prepare the nail. They process it, degrease it, polish it, clean the cuticle. The nail plate is honed with a nail file under zero, then the nails on the tips or templates are extended.
- Design is based on the base layer. First, a gel is applied, on it is a pattern of selected materials. On top of the resulting pattern is covered with a second layer of gel.
- After the manicure hardens, the final grinding is performed.
Aqua design can be done with transparent acrylic.
Step-by-step job description:
- A thin layer of translucent acrylic is applied to the treated natural nail. Until it has frozen, ready-made elements are applied in the form of flowers, hearts or other decorations.
- When the acrylic hardens, it is necessary to apply a layer of super-sheen to secure the decor.
- Having created the desired composition, cover the nail with a thin acrylic layer. While it freezes, lay out another layer of decorative elements. A thin brush and paint at this stage draw a thematic ornament.
- Close the aqua design with another acrylic layer, given the architecture of the nail plate.
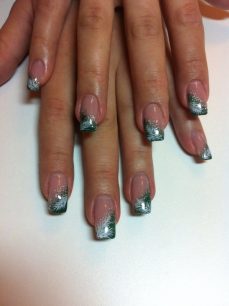
- After sawing and polishing with oil, a super-sheen layer is applied to the surface of the nail, and is decorated with silver sand.
Another "home" way to create aqua design is to use transparent tips. For its implementation, tips of different sizes are needed - a small one is placed on what is larger, and glued, leaving space between them. Using a needle, decorative elements are placed inside, filled with gel, and dried in a UV lamp.
Fashion trends
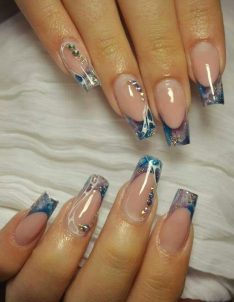
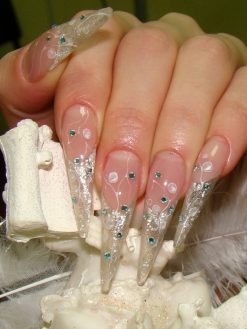
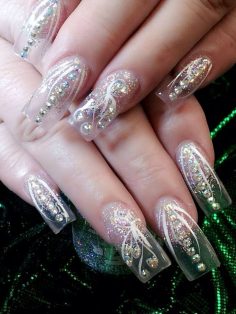
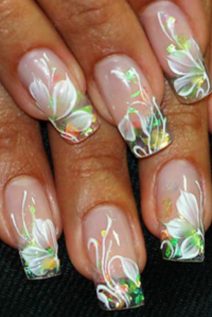
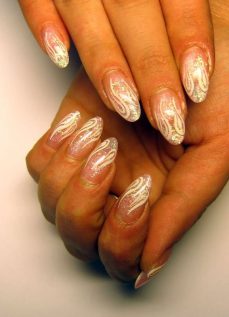
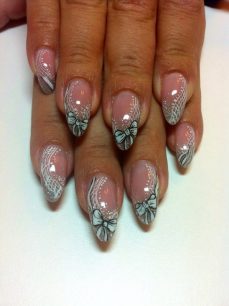
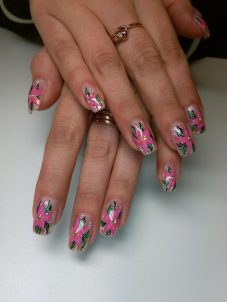
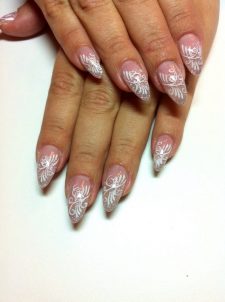
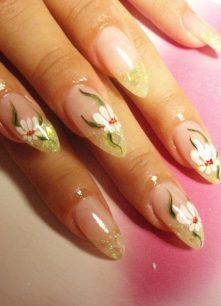
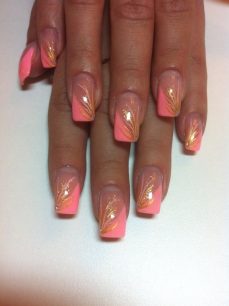
Elongated nails decorated with aqua-design and watercolor painting are in fashion.
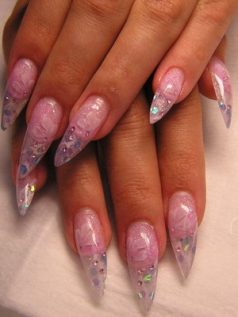
Step-by-step master class from the international class teacher Inna Gorodnova for the form of nails "stylet":
- Before starting work, an antiseptic is applied to the hands and arms of the client.
- A 180 file removes the free edge and removes the gloss from natural nails. Remove dust residues.
- They put a form for modeling the free edge, taking into account when stating that there will be a stylet.
- Apply a degreaser (dehydrator).
- To simulate the free edge using a building gel for nails and a brush No. 6.
- The free edge is modeled in the form of a stylet and dried in an ultraviolet lamp for 2 minutes.
- Carefully remove the mold, remove the sticky layer and grind a little, removing the gloss from the gel.
- An acid-free primer is applied - a tool for better adhesion of artificial material to a natural nail.
- For modeling use nail acrylic and brush. Model the nail bed, slightly lengthening it.
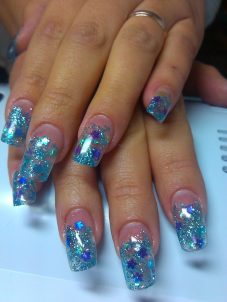
- A thin layer of gel is applied to the elongated end of the nail. Glitter of different colors is laid out on top. Dried in a UV lamp.
- Color gel gives a bluish tint to the design. Dried in a UV lamp.
- Again apply a thin layer of Crystal gel and add a piece of pearl ribbon. Dried in a UV lamp.
- Finally, they model the nail with a transparent gel, covering the entire internal design. Dry in a UV lamp for 2 minutes.
- Remove the sticky layer from the gel and file off the nails. If necessary, remove excess thickness with a device for artificial nails.
- Remove micro scratches by grinding. Remove dust with a cotton pad.
- To give the design a finished look, they draw with paints. Use watercolor and a thin brush.
- To give the nails maximum gloss, apply top gel without a sticky layer. Dry in a UV lamp for 2 minutes.

Refined aqua design of nails is ready. Fashion trends are changing, and the art of good masters always remains in price. Quality work has been and will be popular.


